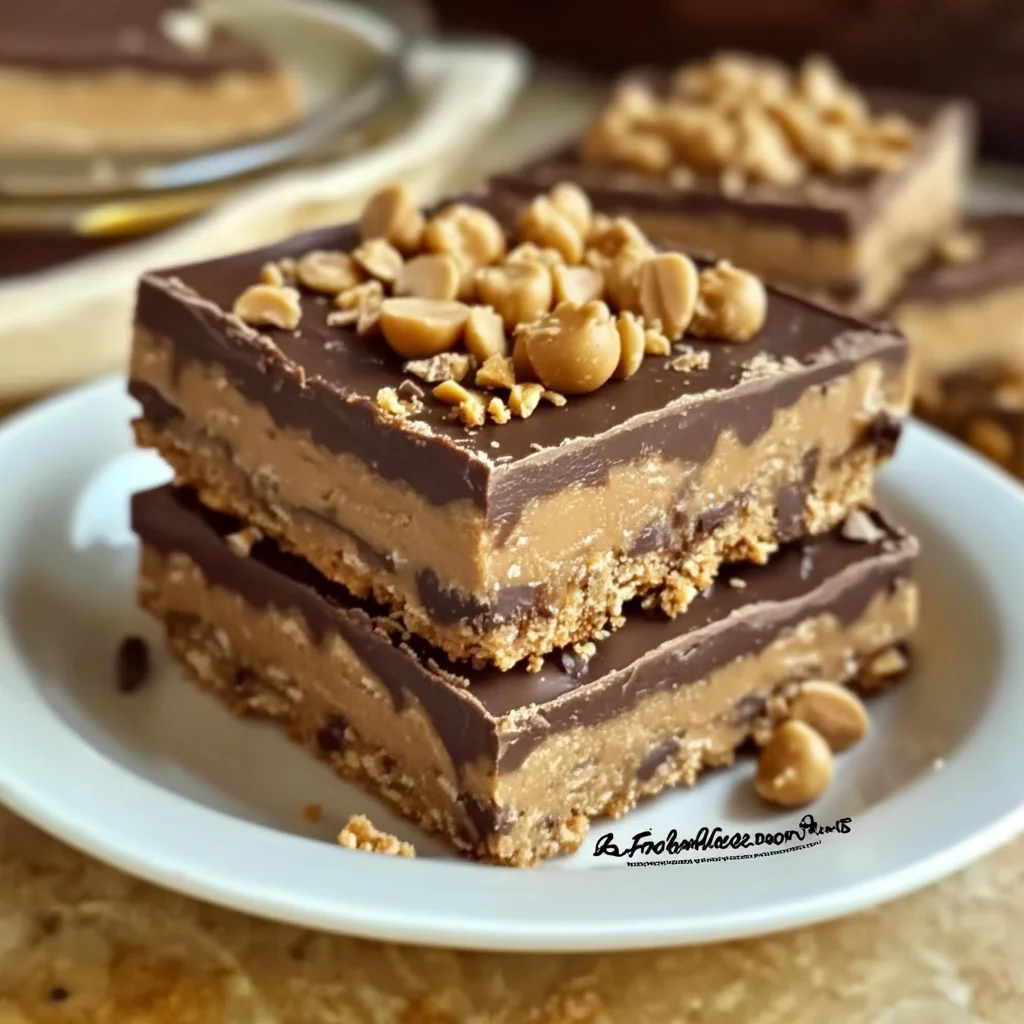
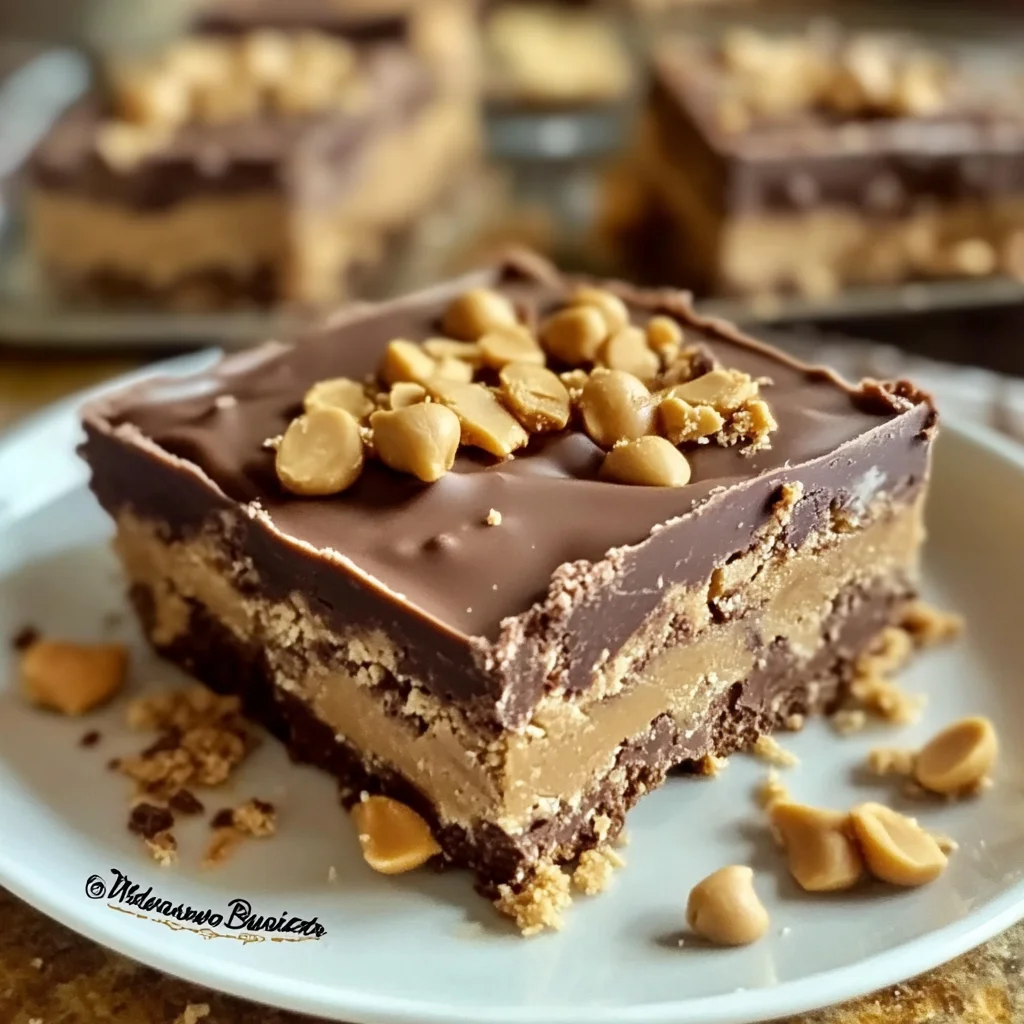
Hey there, sweet treat lovers! Get ready to meet your new obsession. Do you ever just crave something ridiculously delicious, something that feels like a warm hug from your childhood, but you just can’t be bothered to turn on the oven? Yep, me too. That’s where these Easy No-Bake Chocolate Peanut Butter Bars come in! They are the ultimate comfort food, packed with that classic chocolate and peanut butter combo we all adore, and they require zero baking. Seriously, zero! They’re rich, they’re decadent, and they disappear faster than you can say “more please!” This recipe is so simple, it feels almost like magic. Perfect for a last-minute potluck, a sweet craving attack, or just because you deserve something amazing today.
Why You’ll Love This Recipe
- Fast: Whip up the base and topping in minutes.
- Easy: No baking, simple steps, truly foolproof.
- Giftable: Package them up for friends, they’ll adore you!
- Crowd-pleasing: Who doesn’t love chocolate and peanut butter together?
- Classic Flavor: Tastes just like your favorite candy bar, but homemade!
Ingredients
Here’s what you’ll need to make these dreamy bars. Nothing fancy, just simple ingredients you probably have hiding in your pantry right now!
- 2 cups (200g) graham cracker crumbs: You can buy them pre-crushed or just blitz a sleeve or two of graham crackers in your food processor or smash them in a bag with a rolling pin. Get out some frustration!
- 2 cups (250g) powdered sugar: Also known as confectioners’ sugar. This gives the base its sweet, fudgy texture. Sifting isn’t usually necessary unless your sugar is super clumpy.
- 1 cup (225g) unsalted butter, melted: Melt this gently. It binds everything together beautifully.
- 1 cup (240g) creamy peanut butter (for base): Use your favorite creamy peanut butter here. I find that standard shelf-stable peanut butter works best for the base texture in this particular recipe.
- 1½ cups (260g) semisweet chocolate chips: Good quality chips melt smoother.
- ½ cup (120g) creamy peanut butter (for topping): More peanut butter? Yes please! This gets mixed with the chocolate for that perfect swirled or smooth topping.
How to Make It
Alright, let’s get this no-bake party started! Follow these simple steps and you’ll be chilling your bars in no time.
1. Prep your pan: First things first, line a 9×13-inch baking dish with parchment paper. I always leave some overhang on the sides – it makes lifting the whole glorious slab out for cutting SO much easier later on. Trust me on this one!
2. Mix the base: Grab a big mixing bowl. Toss in those graham cracker crumbs, the powdered sugar, the melted butter, and the first cup of creamy peanut butter.
3. Combine: Now, get in there and stir! You can use a sturdy spoon or even your hands (clean ones, of course!). Mix until everything is just combined. It should look like wet sand or maybe a very thick cookie dough – uniform and moist.
4. Press it down: Pour this glorious mixture into your prepared 9×13-inch dish. Use a spatula, the bottom of a glass, or your hands again to press it down firmly and evenly into the bottom of the pan. You want a compact, flat layer – this is the foundation of your delicious bars!
5. Make the topping: Get a medium-sized microwave-safe bowl. Add your semisweet chocolate chips and the remaining ½ cup of creamy peanut butter to the bowl.
6. Melt the chocolate: Time to melt! Pop the bowl in the microwave and heat it in 30-second bursts. After each 30 seconds, take it out and give it a good stir. Keep doing this until the mixture is completely melted and wonderfully smooth and glossy. Be patient and stir well between intervals to prevent burning!
7. Pour it on: Carefully pour that warm, melted chocolate-peanut butter goodness over the pressed graham cracker base in the dish.
8. Spread evenly: Use a spatula or the back of a spoon to gently spread the melted topping all the way to the edges, covering the base completely. Make it look pretty!
9. Chill out: Now for the hardest part – waiting! Pop the dish into the refrigerator for at least 2 hours. This gives the bars time to firm up nicely so you can slice them without a mess.
10. Let it soften slightly: Before cutting, take the dish out of the fridge and let it sit at room temperature for about 5 minutes. This makes slicing much easier and prevents the chocolate from cracking.
11. Slice and serve: Use the parchment paper overhang to lift the entire slab out of the pan onto a cutting board. Use a sharp knife (running it under hot water and wiping dry between cuts can help!) to cut the slab into squares or bars of your desired size. Now, dig in and enjoy the pure bliss!
Substitutions & Additions
Want to play around with the recipe? Here are a few ideas to make these bars your own!
- Different Nut Butters: Swap peanut butter for almond butter, cashew butter, or even sunflower seed butter (make sure it’s creamy!) for a different flavor profile. Just be aware that the texture might vary slightly.
- Chocolate Type: Use milk chocolate chips or dark chocolate chips instead of semisweet for a different level of sweetness. You could even use white chocolate!
- Gluten-Free? Use gluten-free graham crackers or another similar gluten-free cookie crumb (like shortbread or cookie wafers).
- Add a Crunch: Sprinkle crushed peanuts, chopped pretzels, or mini chocolate chips over the melted chocolate topping before it sets for extra texture.
- A Pinch of Salt: A sprinkle of flaky sea salt over the top just before chilling really elevates the chocolate and peanut butter flavors!
- Swirled Top: Instead of fully mixing the topping peanut butter into the chocolate, you could melt the chocolate chips alone, melt the ½ cup peanut butter separately, pour the chocolate over the base, then dollop spoonfuls of the melted peanut butter over the chocolate and swirl gently with a knife for a marbled effect.
Tips for Success
Making these bars is super straightforward, but a couple of pointers can make sure they turn out absolutely perfect every time!
- Measure Carefully: Especially the graham cracker crumbs and powdered sugar. Too much dry ingredient can make the base crumbly.
- Press FIRMLY: Don’t be shy when pressing the base into the pan. The more compact it is, the less likely it is to fall apart when you cut the bars.
- Don’t Overheat Chocolate: Melting the chocolate and peanut butter in short intervals is key. If you overheat chocolate, it can seize up and become lumpy and unusable. Low and slow (in the microwave!) is the way to go.
- Let it Soften Before Cutting: That 5-minute wait after taking them out of the fridge makes a huge difference in getting clean cuts.
- Use Parchment Paper: Seriously, don’t skip this step! It makes removing the bars from the pan effortless.
How to Store It
These bars store beautifully, which is great news because you’ll want to keep them around!
Store the cut bars in an airtight container in the refrigerator. Layer them between sheets of parchment or wax paper to prevent sticking. They will keep well in the fridge for up to a week (if they last that long!).
For longer storage, you can freeze the bars. Place them in a single layer on a baking sheet until frozen, then transfer them to a freezer-safe container or bag, again separating layers with parchment paper. They’ll keep in the freezer for up to 2-3 months. Thaw in the refrigerator before serving.
FAQs
Got questions? I’ve got answers!
Can I use crunchy peanut butter?
Yes, you can use crunchy peanut butter! It will add a nice texture to the base, but the base won’t be as smooth. For the topping, creamy usually works best for melting smoothly with chocolate.
Why is my chocolate topping lumpy?
This is usually due to overheating! Melt the chocolate mixture in short bursts (30 seconds max) and stir really well after each one. The residual heat will continue melting the chips as you stir.
Can I use a different size pan?
A smaller pan (like an 8×8 inch) will result in thicker bars, and you’ll likely need to increase the chilling time. A larger pan might make them too thin and potentially crumbly. A 9×13 is ideal for the ratio here.
Are these safe for peanut allergies?
Absolutely NOT. This recipe contains a significant amount of peanut butter. Please do not make these for someone with a peanut allergy!
Easy No-Bake Chocolate Peanut Butter Bars
Ingredients
Equipment
Method
- Step 1: Prep your pan: Line a 9x13-inch baking dish with parchment paper, leaving some overhang on the sides.
- Step 2: Mix the base: In a large mixing bowl, combine graham cracker crumbs, powdered sugar, melted butter, and the first cup of creamy peanut butter.
- Step 3: Combine: Stir until everything is just combined and the mixture is uniform and moist.
- Step 4: Press it down: Pour the mixture into the prepared dish and use a spatula, the bottom of a glass, or your hands to press it down firmly and evenly into a compact, flat layer.
- Step 5: Make the topping: In a medium-sized microwave-safe bowl, add your semisweet chocolate chips and the remaining ½ cup of creamy peanut butter.
- Step 6: Melt the chocolate: Microwave the bowl in 30-second bursts, stirring well after each interval, until the mixture is completely melted, smooth, and glossy.
- Step 7: Pour it on: Carefully pour the warm, melted chocolate-peanut butter mixture over the pressed graham cracker base in the dish.
- Step 8: Spread evenly: Use a spatula or the back of a spoon to gently spread the melted topping all the way to the edges, covering the base completely.
- Step 9: Chill out: Pop the dish into the refrigerator for at least 2 hours to allow the bars to firm up.
- Step 10: Let it soften slightly: Before cutting, take the dish out of the fridge and let it sit at room temperature for about 5 minutes.
- Step 11: Slice and serve: Use the parchment paper overhang to lift the slab out. Use a sharp knife (run under hot water and wipe dry for clean cuts) to slice into squares or bars. Enjoy!