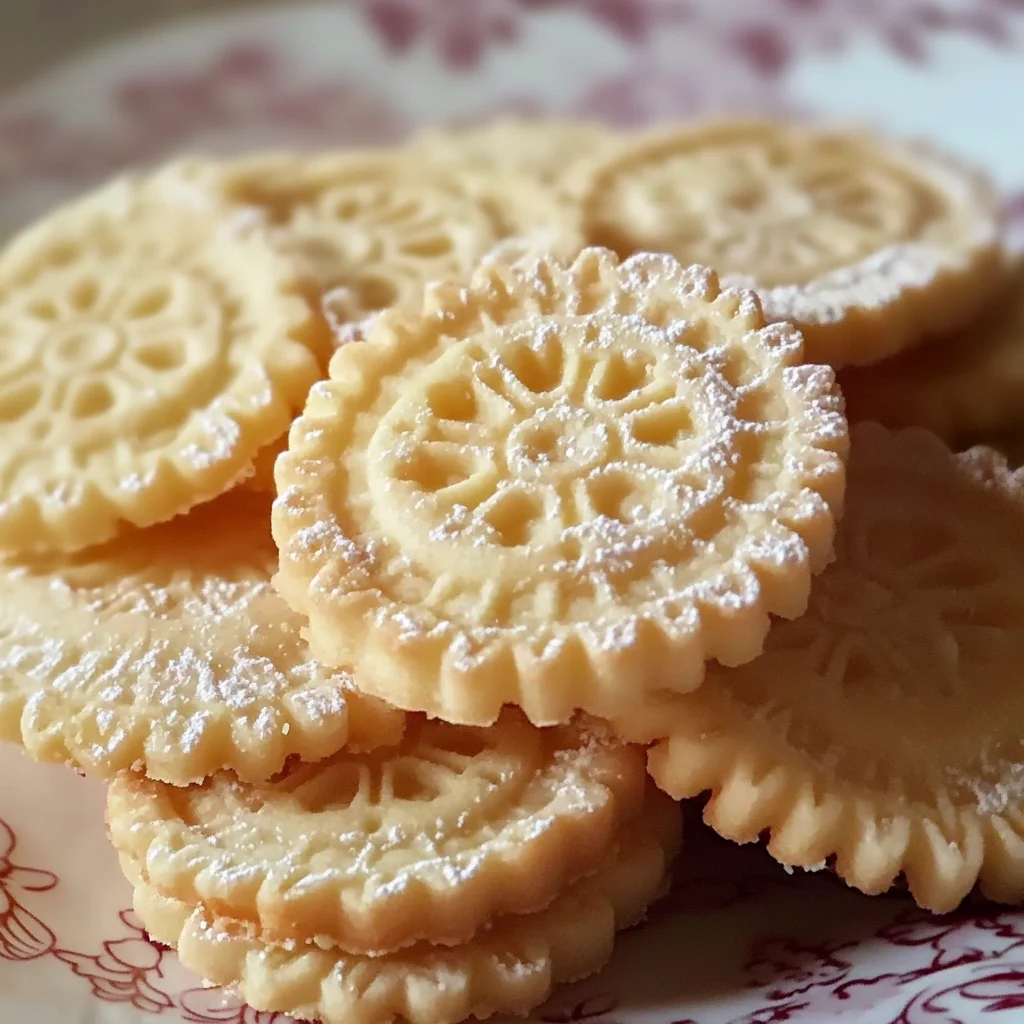
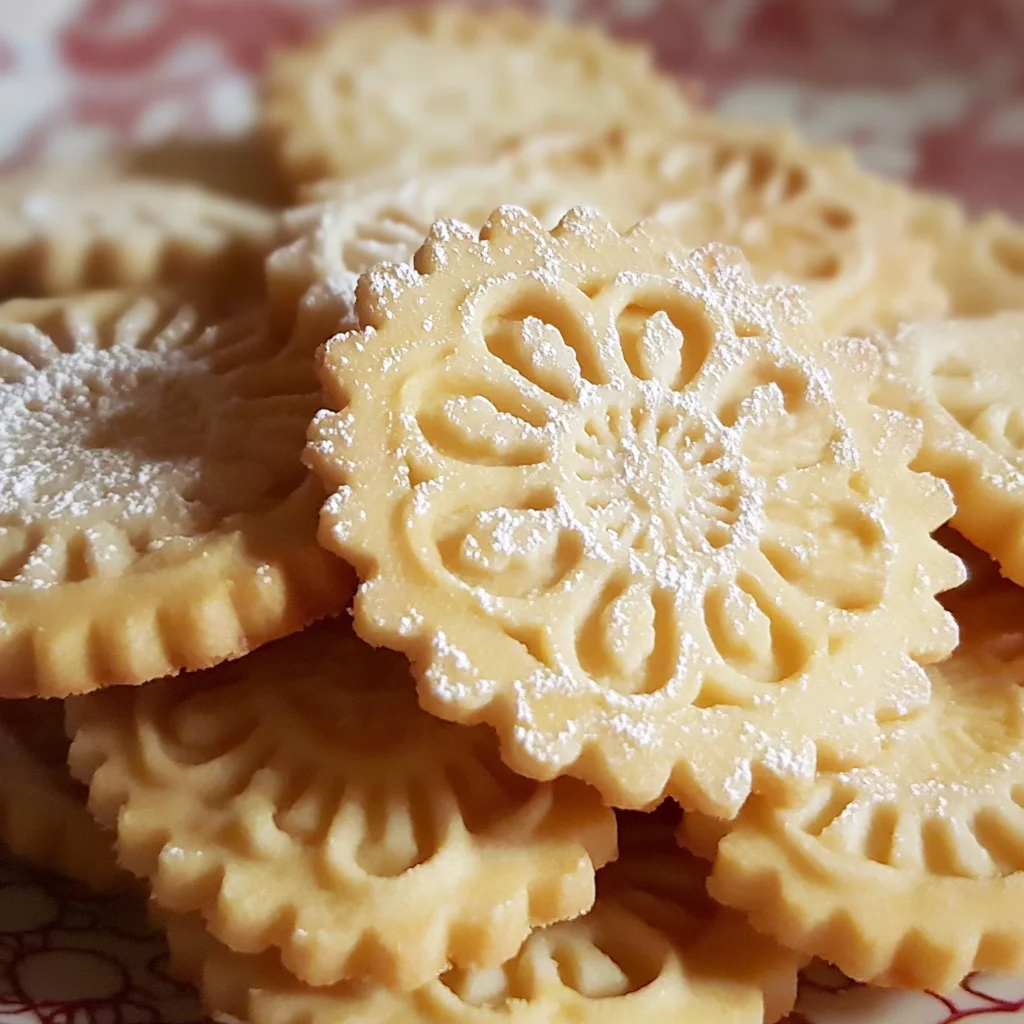
Oh, my sweet friends! There’s something truly magical about a simple butter cookie, isn’t there? It transports you, doesn’t it? For me, these French Butter Cookies, or Sablés Breton as they’re known across the pond, conjure up images of cozy afternoons, a steaming cup of tea, and the sweet whisper of a gentle breeze through an open window. They’re not just cookies; they’re little golden discs of pure, unadulterated joy, each bite a delicate crumbly dream that melts in your mouth.
And the best part? While they taste like something you’d pick up from a fancy French patisserie, they are unbelievably easy to make right in your own kitchen. Seriously, if you’ve ever dreamt of impressing your loved ones with minimal effort and maximum deliciousness, this is your moment. They’re quick, they’re simple, and they’re about to become your new favorite go-to treat!
Why You’ll Love French Butter Cookies (Sablés Breton)
- Fast: From start to dough in under 15 minutes!
- Easy: No fancy techniques or special equipment needed, just basic baking skills.
- Giftable: These beautiful golden cookies make perfect homemade gifts for friends, neighbors, or teachers.
- Crowd-pleasing: Who doesn’t love a buttery, rich, melt-in-your-mouth cookie?
Ingredients
Gathering your ingredients for these delightful Sablés Breton is a breeze. Most of these are likely already hanging out in your pantry and fridge!
- Unsalted Butter, softened: 1 cup (2 sticks) – Good quality butter makes all the difference here. Since butter is the star of the show, let it shine! Make sure it’s properly softened, not melted, for that perfect creamy start.
- Granulated Sugar: ⅔ cup – Just enough sweetness to complement the rich butter.
- Large Egg Yolks: 2 – These are key for that signature richness and delicate crumb. Save the whites for an omelet or meringue!
- Vanilla Extract: 1 teaspoon – A classic, warm flavor that truly elevates these cookies. If you have vanilla bean paste, even better!
- All-Purpose Flour: 2 cups – Our trusty base, providing structure to these buttery treats.
- Fine Sea Salt: ½ teaspoon – Don’t skip this! It perfectly balances the sweetness and enhances all the other flavors.
- Egg Yolk (for brushing): 1 – This gives our cookies that gorgeous, golden-brown sheen.
How to Make French Butter Cookies (Sablés Breton)
Ready to bake some magic? Let’s get this buttery show on the road!
- Cream It Up: In a large mixing bowl, grab your softened butter and granulated sugar. With an electric mixer (or a good old-fashioned whisk and some elbow grease!), cream them together until they’re light, fluffy, and look like sunshine. This usually takes about 2-3 minutes. This step is crucial for incorporating air and creating that tender texture.
- Egg-cellent Additions: Next, add your two egg yolks and the vanilla extract to the creamed butter and sugar. Mix until everything is beautifully combined. Scrape down the sides of the bowl to make sure no yummy bits are left behind!
- Bring on the Dry: In a separate, medium-sized bowl, whisk together your all-purpose flour and fine sea salt. Once they’re combined, gradually add these dry ingredients to your wet butter mixture. Mix on low speed, just until a soft, cohesive dough forms. The key here is to not overmix; once you see the flour disappear, stop! Overmixing can lead to tough cookies, and we want delicate, melt-in-your-mouth goodness. Just like when you’re making a comforting classic carrot cake, careful mixing is the secret to a perfect texture.
- Chill Out: Now for the (slightly) hard part – waiting! Divide your dough into two equal parts. Shape each part into a flat disk, wrap them tightly in plastic wrap, and pop them into the refrigerator for at least 1 hour. This chilling time helps the butter firm up and prevents the cookies from spreading too much in the oven, giving you those perfectly shaped rounds.
- Roll and Cut: When your dough is nicely chilled, preheat your oven to 350°F (175°C). Lightly flour a clean surface – your countertop or a large cutting board works great. Take one disk of dough out of the fridge (keep the other one chilled until you’re ready for it) and roll it out to approximately ¼ inch thick. Now, for the fun part! Grab your favorite round cookie cutter (or any shape you like, really!) and cut out your cookies. Carefully transfer them to a baking sheet lined with parchment paper. Speaking of fun cookie shapes, have you ever tried making unique designs like strawberry cheesecake stuffed cookies?
- Golden Glaze: In a small bowl, whisk your remaining egg yolk with about a teaspoon of water (this helps thin it out a bit). Gently brush the tops of your cookies with this egg wash. This is what gives them that classic golden shine!
- Bake to Perfection: Slide your baking sheets into the preheated oven and bake for 12 to 15 minutes, or until the edges are lightly golden brown. Keep a close eye on them, especially during the last few minutes, as oven temperatures can vary.
- Cool Down: Once baked, transfer these gorgeous cookies to a wire rack to cool completely. Resist the urge to eat them all hot (I know, it’s hard!), but they firm up and become even more delightful as they cool. If you’re looking for another easy dessert that’s perfect for a party and doesn’t even require baking, you might love these easy no-bake caramel pretzel bars for a contrasting treat!
Substitutions & Additions
While these cookies are perfect as is, a little creativity never hurt anyone! Here are a few ideas to switch things up:
- Citrus Zest: Add 1 tablespoon of finely grated lemon or orange zest to the dough for a bright, zesty kick.
- Almond Extract: Swap out half of the vanilla extract for almond extract for a delicate, nutty flavor.
- Chocolate Dip: Once cooled, dip half of each cookie in melted dark or milk chocolate for an extra layer of decadence.
- Sprinkles: Add some colorful sprinkles to the dough before chilling, or on top of the egg wash before baking for a festive touch.
- Flaky Sea Salt: A tiny sprinkle of flaky sea salt on top of the egg wash before baking can really make the flavors pop!
Tips for Success
Even though these are super easy, a few little pointers can make them absolutely perfect!
- Don’t Overmix: I mentioned it before, but it’s worth repeating! Overmixing develops gluten, which can lead to tougher cookies. Mix just until combined.
- Chill Time is Crucial: Seriously, don’t skip the chilling step. It helps the butter solidify, preventing the cookies from spreading too much and ensuring they hold their shape beautifully.
- Even Thickness: Try to roll your dough to an even ¼ inch thickness. This ensures all your cookies bake evenly at the same rate.
- Parchment Paper is Your Friend: Lining your baking sheets with parchment paper or a silicone baking mat prevents sticking and makes cleanup a breeze.
- Don’t Overbake: These cookies are meant to be delicately golden, not deeply browned. Pull them out when the edges just start to turn golden for that perfect melt-in-your-mouth texture.
How to Store French Butter Cookies (Sablés Breton)
If you manage to have any left (a true challenge, I know!), here’s how to keep them fresh:
- Room Temperature: Store cooled cookies in an airtight container at room temperature for up to 5-7 days.
- Freezing Dough: You can freeze the unbaked dough disks, tightly wrapped, for up to 2-3 months. Thaw in the refrigerator overnight before rolling and baking.
- Freezing Baked Cookies: Fully cooled baked cookies can be frozen in an airtight container for up to 1 month. Thaw at room temperature before serving.
FAQs
Here are a few common questions you might have about these delightful cookies:
What does “Sablés Breton” mean?
“Sablés” is French for “sandy,” referring to the incredibly delicate, crumbly, and melt-in-your-mouth texture of these cookies. “Breton” indicates their origin from Brittany, a region in France known for its rich butter.
Can I use salted butter?
While unsalted butter is preferred for better control over the salt content, you can use salted butter. Just reduce or omit the ½ teaspoon of fine sea salt in the recipe to avoid them being too salty.
Why are egg yolks used instead of whole eggs?
Egg yolks contribute richness and fat, which is essential for the characteristic tender, crumbly texture of Sablés. They also help bind the dough without adding too much moisture that whole egg whites would, which could make the cookies chewier rather than delicate.
My dough is too sticky/too crumbly. What did I do wrong?
If your dough is too sticky, you might need to add a tiny bit more flour, a teaspoon at a time. If it’s too crumbly, ensure your butter was properly softened. Sometimes, just a bit more kneading (by hand, gently!) can help bring it together. The chilling step also helps firm up a sticky dough.
For more delicious and easy recipes, make sure to follow us on Pinterest!

Melt-in-Your-Mouth French Butter Cookies (Sablés Breton)
Ingredients
Equipment
Method
- Step 1: Cream It Up: In a large mixing bowl, cream softened butter and granulated sugar with an electric mixer until light, fluffy, and like sunshine (about 2-3 minutes). This incorporates air for a tender texture.
- Step 2: Egg-cellent Additions: Add the two egg yolks and vanilla extract to the creamed mixture. Mix until beautifully combined, scraping down the sides of the bowl.
- Step 3: Bring on the Dry: In a separate, medium-sized bowl, whisk together all-purpose flour and fine sea salt. Gradually add these dry ingredients to your wet butter mixture. Mix on low speed just until a soft, cohesive dough forms. Do not overmix; stop once the flour disappears to avoid tough cookies.
- Step 4: Chill Out: Divide the dough into two equal parts. Shape each into a flat disk, wrap tightly in plastic wrap, and refrigerate for at least 1 hour. This chilling firms the butter and prevents spreading.
- Step 5: Roll and Cut: Preheat your oven to 350°F (175°C). Lightly flour a clean surface. Take one disk of dough (keep the other chilled) and roll it out to approximately ¼ inch thick. Cut out cookies with a round cookie cutter and carefully transfer them to a baking sheet lined with parchment paper.
- Step 6: Golden Glaze: In a small bowl, whisk the remaining egg yolk with about a teaspoon of water. Gently brush the tops of your cookies with this egg wash to give them a classic golden shine.
- Step 7: Bake to Perfection: Bake for 12 to 15 minutes, or until the edges are lightly golden brown. Keep a close eye on them, especially during the last few minutes.
- Step 8: Cool Down: Transfer the baked cookies to a wire rack to cool completely. They firm up and become even more delightful as they cool.