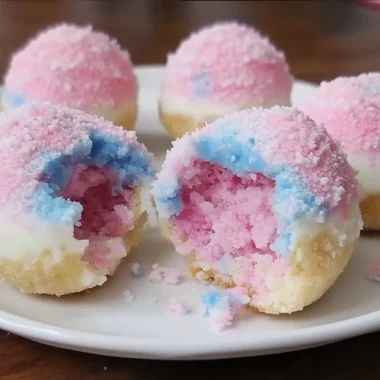
There’s something truly magical about Easter mornings—the sun peeking through fresh spring blooms, the scent of fresh-baked goodies filling the air, and the joyful anticipation of family gathered around the table. For me, no Easter is complete without a batch of something sweet and colorful that brings smiles to everyone’s faces. That’s exactly why I adore these Easter Day Jello Cookies. They’re a nostalgic throwback to childhood celebrations, packed with vibrant flavors and a soft, tender crumb that simply melts in your mouth.
What’s even better? These cookies are incredibly easy to whip up, quick to bake, and perfect for gifting or sharing with guests. Whether you’re an experienced baker or just looking for a simple but festive treat, these cookies will instantly become a go-to recipe in your holiday repertoire. Let me walk you through why these Easter Day Jello Cookies are a must-try and how to make them your own!
Why You’ll Love Easter Day Jello Cookies
- Fast: You’ll have the dough ready in minutes and cookies baking before you know it.
- Easy: Minimal ingredients and simple steps make this recipe approachable for all skill levels.
- Giftable: Their bright colors and soft texture make them perfect for Easter baskets or party favors.
- Crowd-pleasing: The unique jello flavor and tender crumb win over both kids and adults alike.
Ingredients
Before you start mixing, let’s talk about the ingredients that give these cookies their charm:
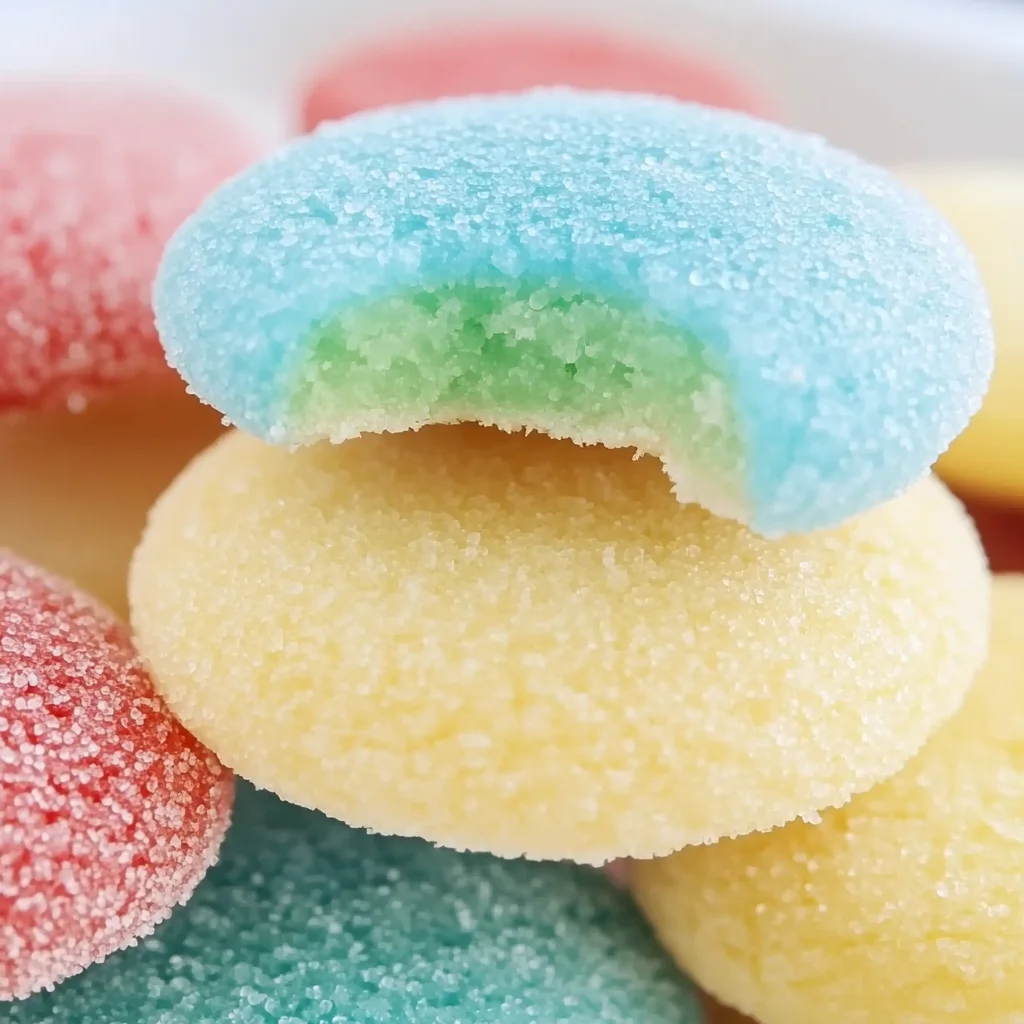
- Flavored gelatin (strawberry, lemon, or lime): This is the star ingredient that adds both flavor and gorgeous color. You can switch it up depending on your mood or theme!
- Unsalted butter: Softened to create that rich, tender crumb we all love.
- Granulated sugar: For just the right level of sweetness and a slight crisp on the edges.
- Large egg: Binds everything together, adding moisture and structure.
- Vanilla extract: A splash of warmth and depth to balance the fruity gelatin.
- All-purpose flour: The base of the cookie, giving it structure and heft.
- Baking powder: Helps the cookies rise just enough for softness.
- Pinch of salt: Enhances all the flavors and keeps the sweetness from being too one-dimensional.
Each ingredient plays its part in creating these soft, melt-in-your-mouth cookies. If you’ve enjoyed treats like these before, you might appreciate how this recipe’s simplicity lets the jello flavor really shine through. If you’re in the mood for more colorful cookie inspiration, you might also enjoy my recipe for Earl Grey Cookies—they’re equally elegant and delicious!
How to Make Easter Day Jello Cookies
Now, let’s dive into the step-by-step process. I promise it’s straightforward and fun. Here’s how you can create these joyful cookies from scratch:
- Preheat your oven: Set it to 350°F (175°C) and prepare a baking sheet by lining it with parchment paper. This prevents sticking and helps the cookies bake evenly.
- Beat the butter and sugar: In a large bowl, use a hand mixer or stand mixer to beat the softened butter with the granulated sugar for 2–3 minutes. You want the mixture light and fluffy—that’s the secret to tender cookies.
- Add egg and vanilla: Crack in the egg and pour in the vanilla extract. Mix again until the batter is smooth and well combined. This adds moisture and depth to your dough.
- Combine dry ingredients: In a separate bowl, whisk together the all-purpose flour, flavored gelatin, baking powder, and salt. This ensures even distribution of the gelatin and leavening agents.
- Mix dry into wet: Gradually add the dry ingredients to your wet mixture, stirring gently. You’ll end up with a soft dough. If the dough feels too sticky to handle, pop it into the fridge for 15 minutes—it makes shaping much easier.
- Shape your cookies: Scoop tablespoon-sized portions of dough and roll them into balls. Place them about 2 inches apart on your baking sheet. Gently flatten each ball with your palm or the bottom of a glass. If you’re feeling festive, now is a great time to add some colorful sprinkles on top!
- Bake: Slide your baking sheet into the oven and bake for 8–10 minutes. Keep an eye on them—you’re looking for set edges but soft centers. Overbaking will make them dry, and we want soft, chewy cookies.
- Cool and decorate: Let the cookies cool on the baking sheet for about 5 minutes before transferring them to a wire rack. This helps them set without breaking apart. Once cooled, you can add any extra decorations or enjoy them just as they are!
These cookies are a perfect complement to any springtime gathering. If you love soft, fruity cookies, you might also want to check out my Strawberry Crunch Cookies for another burst of fresh flavor and texture that’s perfect for the season.
Substitutions & Additions
One of the best parts about this recipe is how adaptable it is. Here are some ideas to customize and upgrade your Easter Day Jello Cookies:
- Gelatin flavors: While strawberry, lemon, and lime are classic, you can experiment with other flavors like raspberry or orange to match your color scheme or taste preferences.
- Butter alternatives: If you want a dairy-free option, use softened coconut oil or a plant-based butter substitute. Just note that the flavor and texture might vary slightly.
- Add-ins: Fold in a handful of white chocolate chips or chopped nuts for an extra surprise inside. I especially love adding white chocolate chips as they complement the fruity gelatin beautifully.
- Sprinkles and toppings: Use festive pastel sprinkles, sanding sugar, or even edible glitter to make your cookies pop for Easter celebrations.
- Vanilla twist: Try swapping vanilla extract for almond extract for a subtle, nutty depth that’s unexpected but delightful.
Don’t be afraid to get creative here! Sometimes these little twists make a recipe memorable and uniquely yours. If you’re in the mood to keep things fruity and fun, you might also like trying my Easy Peach Pie Cruffins, which are another delightful spring treat.
Tips for Success
To make sure your Easter Day Jello Cookies come out perfect every time, here are some tips I’ve picked up through baking and sharing these with family and friends:
- Don’t skip chilling if dough is sticky: Refrigerating the dough for 15 minutes makes it much easier to handle and helps the cookies hold their shape better in the oven.
- Watch your baking time: These cookies bake quickly and can dry out if left too long. Remove them when edges are just set but centers still look soft.
- Use parchment paper or silicone mats: This prevents sticking and helps with even baking. I love using silicone mats because they’re reusable and eco-friendly.
- Softened butter is key: Make sure your butter is soft enough to cream easily but not melted. This helps create the light, fluffy texture that makes these cookies so tender.
- Customize your presentation: Adding sprinkles before baking or icing after cooling gives you lots of options to match your Easter theme.
- Make ahead: You can prepare the dough a day ahead and keep it wrapped in the fridge. Just give it a quick stir before scooping and baking.
With these tips in hand, you’ll bake your batch with confidence and create cookies that look as good as they taste. And if you’re looking for more cozy baking ideas for your seasonal celebrations, I highly recommend checking out my Ultimate Classic Carrot Cake—it’s a crowd favorite for holidays and beyond!
How to Store Easter Day Jello Cookies
After all the baking and decorating, you’ll want to keep these cookies fresh and soft for as long as possible. Here’s how to store them:
- At room temperature: Store the cookies in an airtight container lined with parchment paper. They will stay fresh for about 3-4 days.
- Freezing: These cookies freeze wonderfully. Place them in a single layer on a baking sheet to freeze individually, then transfer to a freezer-safe bag or container. They keep well for up to 3 months. Thaw at room temperature before serving.
- Avoid the fridge: Refrigerating these cookies can dry them out quickly, so it’s best to stick with room temperature or freezer storage.
I often make a double batch and freeze half for last-minute Easter treats or unexpected guests. It’s such a time-saver and a sweet surprise to pull out later!
FAQs
Can I use sugar substitutes in this recipe?
Yes, you can replace granulated sugar with natural sweeteners like coconut sugar or erythritol, but keep in mind it may slightly alter the texture and flavor.
Why do the cookies sometimes spread too much?
Make sure your butter isn’t melted and that you chill the dough if it feels too sticky. Also, flattening the dough gently helps keep the cookies uniform.
Can I use unflavored gelatin with added flavoring instead?
It’s best to use flavored gelatin powder as it provides both color and flavor. Unflavored gelatin won’t give the same effect unless you add extra flavorings and coloring.
Can I make these cookies vegan?
You can try substituting the butter with a vegan alternative and using a flax egg instead of a chicken egg, but the texture may differ slightly. Experimenting is fun, and if you want more vegan dessert ideas, I’ve got plenty you might love!
These Easter Day Jello Cookies are not just a recipe—they’re a celebration of spring, family, and the simple joys of baking together. Whether you’re making them for a festive brunch or a sweet gift, they’re guaranteed to bring a smile.
For more delicious recipes and kitchen inspiration, feel free to explore my blog. And if you enjoy festive treats like these, you might also want to try my easy-to-make Muddy Buddies—a perfect sweet snack for any occasion.
Happy baking and happy Easter!
Don’t forget to follow me on Pinterest for more tasty recipes and food inspiration!
Easter Day Jello Cookies
Ingredients
Equipment
Method
- Step 1: Preheat your oven to 350°F (175°C). Line a baking sheet with parchment paper.
- Step 2: In a large bowl, beat the softened butter and granulated sugar with a hand or stand mixer for 2–3 minutes until light and fluffy.
- Step 3: Add the egg and vanilla extract to the bowl and mix until smooth and well combined.
- Step 4: In a separate bowl, whisk together all-purpose flour, flavored gelatin, baking powder, and salt to evenly distribute the dry ingredients.
- Step 5: Gradually add the dry ingredients to the wet mixture, stirring gently to form a soft dough. Chill dough in the fridge for 15 minutes if too sticky to handle.
- Step 6: Scoop tablespoon-sized portions of dough and roll into balls. Place on the prepared baking sheet about 2 inches apart. Flatten each ball gently and add sprinkles if desired.
- Step 7: Bake cookies for 8–10 minutes, until edges are set but centers remain soft. Avoid overbaking to keep cookies chewy.
- Step 8: Let cookies cool on the baking sheet for 5 minutes, then transfer to a wire rack to cool completely before decorating or serving.