Oh, friend, do you remember those magical bouncy balls from your childhood? The ones you’d get from a gumball machine or a party favor bag, that seemed to defy gravity with every bounce? There was just something so captivating about them, wasn’t there? Well, get ready to recapture that pure, unadulterated joy because today, we’re diving into making our very own Rainbow Bouncy Balls! And let me tell you, this isn’t just a recipe; it’s a little dose of nostalgia, a burst of color, and a whole lot of fun packed into one incredibly easy 3-ingredient slime-like craft project.
This isn’t one of those complicated science experiments that require a lab coat and a degree in chemistry. Nope! This is a simple, quick, and wonderfully memorable activity that you can do with the kids on a rainy afternoon, or even by yourself when you just need a little whimsical pick-me-up. Trust me, the sheer delight of watching your homemade creation bounce will bring a smile to your face!
Why You’ll Love Rainbow Bouncy Balls
- Fast: From start to bounce, you’re looking at minutes, not hours! Perfect for impatient little (or big) crafters.
- Easy: No fancy equipment, no complex steps. If you can stir, you can make these!
- Giftable: Pop a few in a cute jar or a cellophane bag, and you’ve got a unique, handmade gift that everyone will adore.
- Crowd-pleasing: Whether it’s a birthday party activity or just a fun afternoon at home, these colorful creations are sure to be a hit. They’re also perfect for a party alongside a bowl of classic muddy buddies!
Ingredients
Gather your supplies, my friend! You likely have most of these tucked away in your pantry or craft cabinet already.
- ½ cup Warm Water: Just regular tap water, but warm helps everything dissolve smoothly.
- 1 tbsp Borax Powder: This is our secret ingredient for that amazing bounce! You can usually find it in the laundry aisle of your grocery store.
- 2 tbsp White School Glue: Think classic Elmer’s glue. The kind we all used for school projects.
- 1 tbsp Cornstarch: This little helper gives our bouncy balls a lovely, smooth texture and helps cut down on stickiness.
- Food Coloring or Gel Dye: The more vibrant, the better! This is where the “rainbow” comes in, so don’t be shy with your favorite hues.
- Glitter (Optional): Because everything is better with a little sparkle, right? Add it to the glue mixture for extra magic.
- Glow-in-the-Dark Paint (Optional): For an extra cool twist, imagine these bouncing around at night!
How to Make Rainbow Bouncy Balls
Alright, let’s get our hands a little messy and make some bouncy magic! You’re going to be amazed at how quickly these come together.
- Prep Your Borax Solution: First things first, grab one of your cups. Pour in your ½ cup of warm water, then add the 1 tablespoon of borax powder. Give it a really good stir until all those little borax crystals have dissolved completely. This is your activator, so make sure it’s well mixed!
- Mix Your Color Base: In a separate cup, combine the 2 tablespoons of white school glue, 1 tablespoon of cornstarch, and a few drops of your chosen food coloring or gel dye. If you’re using glitter or glow-in-the-dark paint for this color, now’s the time to stir it in too! Mix it all up until it’s smooth and beautifully colored.
- The Magic Reaction Begins: Now for the fun part! Add just ½ tablespoon of your borax solution (from step 1) to your colorful glue mixture. Stir quickly! You’ll notice almost immediately that it starts to come together, forming a clumpy, gummy blob. Don’t worry, this is exactly what you want!
- Knead to Perfection: Gently scoop out that clumpy mixture and start kneading it with your hands. This is important! Keep kneading for about 2 minutes. It might feel a bit sticky at first, but with a little persistence, it will become smooth, less sticky, and super pliable. It’ll transform right before your eyes!
- Repeat for More Colors: Want more colors? Of course, you do! Just repeat steps 2-4 for each additional color you want to make. I recommend having a separate small bowl for each color to keep them distinct until you’re ready to combine them.
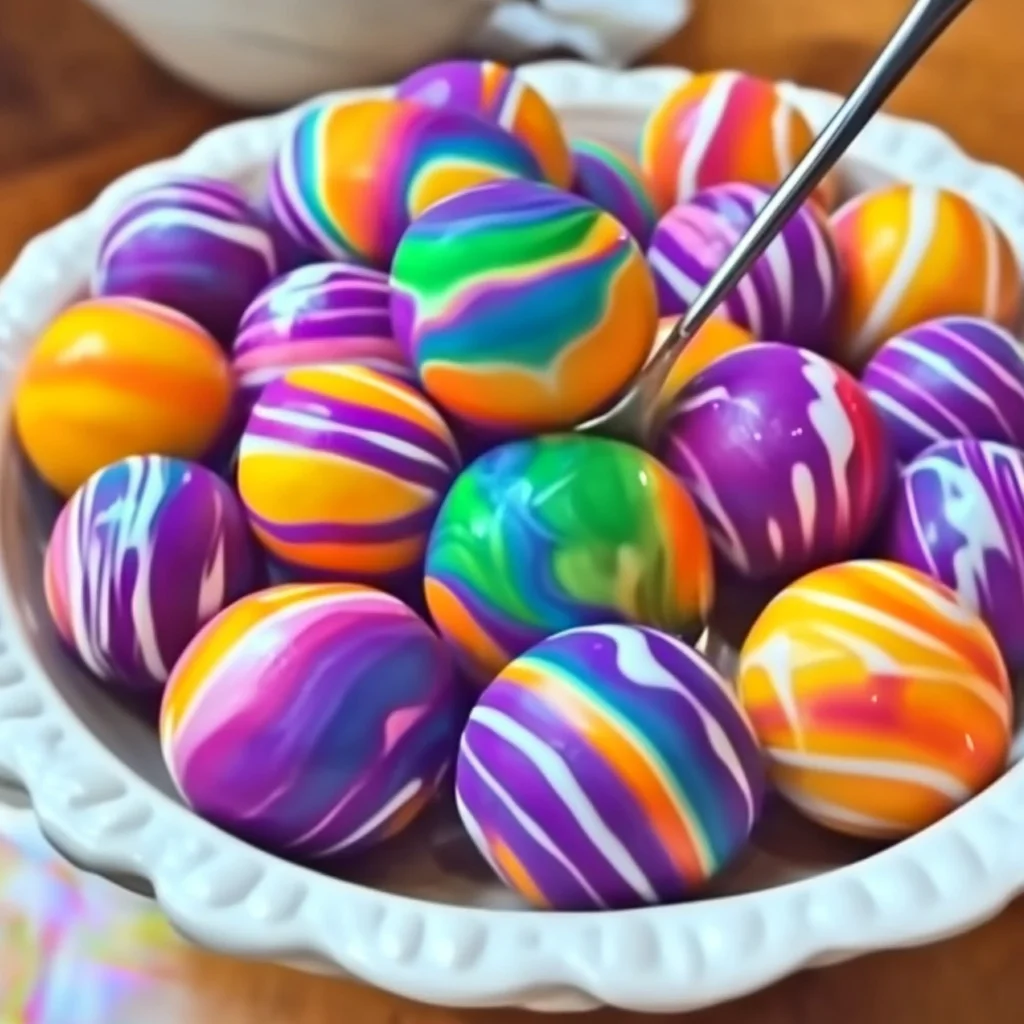
- Create Your Rainbow Masterpiece: Once you have all your beautiful colored blobs, it’s time to make your rainbow ball! Take small pieces of each color and press them together. Then, gently roll them between your palms, applying even pressure, until they form a perfect, vibrant sphere. Voila! You’ve got your very own, incredibly bouncy, rainbow ball!

Substitutions & Additions
While this recipe works best with the ingredients listed for that perfect bounce, you can absolutely get creative with your additions!
- Color Explosion: Don’t limit yourself to primary colors! Mix food colorings to create unique shades like teal, lavender, or even a deep magenta.
- Scent-sational Fun: Add a tiny drop of essential oil (like lavender or peppermint) to your glue mixture for a scented bouncy ball. Just make sure it’s skin-safe!
- Texture Play: Experiment with mixing in other small, safe craft items like tiny beads or sand (just a pinch!) into your glue mixture before adding the borax solution. This could create interesting textures, but be mindful it might affect the bounce.
- Different Sizes: You’re not stuck with just one size! Use more or less glue in step 2 to make mini bouncy balls or giant ones.
Tips for Success
Making these bouncy balls is super easy, but a few little tips can make all the difference for a perfect result!
- Measuring is Key: While it’s tempting to eyeball, precise measurements, especially for the borax solution, really help with consistency and bounce.
- Knead, Knead, Knead: If your ball feels too sticky, don’t panic! It probably just needs more kneading. Keep at it for another minute or two. The warmth of your hands helps activate the mixture further.
- Don’t Overdo the Borax: Only add the ½ tablespoon of borax solution to the glue mixture. Adding too much too quickly can make your ball brittle and less bouncy. If it’s still too sticky after kneading, dip your finger in the borax solution and rub it on the ball, then continue kneading.
- Protect Your Surface: While not terribly messy, I always recommend laying down some wax paper or an old placemat to make cleanup a breeze, especially if you’re crafting with little ones.
- Let Kids Help: This is a fantastic activity for kids! Let them pick the colors, stir, and especially, knead the dough. Just make sure to supervise closely, as borax should not be ingested.
- Keep Colors Separate Initially: If you’re aiming for a rainbow ball, keep your individual color blobs separate until you’re ready to combine them. Once they touch, they’ll start to meld! And if you’re looking for more simple yet delightful projects for little hands, I bet you’d also love whipping up some easy chewy M&M cookie bars.
How to Store Rainbow Bouncy Balls
Once your bouncy balls are complete, you’ll want to keep them fresh and springy for as long as possible!
- Airtight is Best: Store your homemade bouncy balls in an airtight container or a Ziploc bag when not in use. This prevents them from drying out and losing their elasticity.
- Keep Them Separate (Initially): If you’ve made several single-color balls, you might want to store them separately for the first day or two to ensure the colors don’t bleed into each other, especially if they’re still a little damp. Once fully set, they should be fine together.
- Shelf Life: These DIY bouncy balls typically last for a few weeks to a month before they start to lose their bounce or dry out. If they become hard or brittle, it’s probably time to make a new batch!
FAQs
Q: Are these bouncy balls safe for young children?
A: While fun, borax is not safe for ingestion. Always supervise young children closely during this activity and ensure they do not put the mixture or finished bouncy balls in their mouths.
Q: My bouncy ball is too sticky, what should I do?
A: Keep kneading! Most often, stickiness means it needs more working. If after a minute or two it’s still very sticky, you can dip your finger in the borax solution and lightly dab it onto the ball, then knead again. Be careful not to add too much!
Q: Can I use different types of glue for this recipe?
A: For this specific recipe, white school glue (like Elmer’s) works best due to its chemical composition that reacts perfectly with borax to create that bouncy texture. Other glues might yield different, less desirable results.
Q: How long will my homemade bouncy balls last?
A: When stored in an airtight container, your bouncy balls should retain their bounce and fun for a few weeks. Eventually, they will start to dry out and harden, but that just means it’s time to make a fresh, new batch!
For more fun recipes and craft ideas, be sure to follow us on Pinterest!
DIY Rainbow Bouncy Balls: The Easiest & Most Colorful Craft for Endless Fun!
Ingredients
Equipment
Method
- Step 1: Prep Your Borax Solution: In one cup, pour ½ cup of warm water, then add 1 tablespoon of borax powder. Stir really well until all the borax crystals have dissolved completely. This is your activator.
- Step 2: Mix Your Color Base: In a separate cup, combine 2 tablespoons of white school glue, 1 tablespoon of cornstarch, and a few drops of your chosen food coloring or gel dye. If using glitter or glow-in-the-dark paint, stir it in now. Mix until smooth and beautifully colored.
- Step 3: The Magic Reaction Begins: Add just ½ tablespoon of your borax solution (from Step 1) to your colorful glue mixture. Stir quickly! You'll notice it immediately starts to come together, forming a clumpy, gummy blob.
- Step 4: Knead to Perfection: Gently scoop out the clumpy mixture and start kneading it with your hands for about 2 minutes. It might feel sticky at first, but with persistence, it will become smooth, less sticky, and super pliable.
- Step 5: Repeat for More Colors: To create more colors, repeat Steps 2-4 for each additional color you want to make. It's recommended to use a separate small bowl for each color to keep them distinct.
- Step 6: Create Your Rainbow Masterpiece: Once you have all your colored blobs, take small pieces of each color and press them together. Gently roll them between your palms, applying even pressure, until they form a perfect, vibrant sphere. Your bouncy ball is ready!