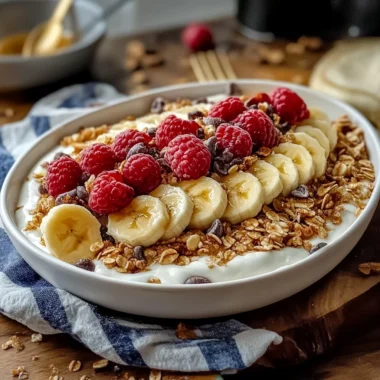
Oh friends, gather ’round! Do you remember the smell of warm banana bread baking, filling your kitchen with that comforting, sweet scent? Or maybe the simple joy of biting into a soft, chewy snickerdoodle cookie, dusted in cinnamon-sugar? Well, today we’re taking those two beloved classic comforts and swirling them together into something truly magical: Snickerdoodle Swirl Banana Bread!
This recipe is an absolute dream. It’s easy enough for a lazy Sunday afternoon, quick enough that you can whip it up when that sudden craving hits, and so incredibly moist and flavorful with that signature cinnamon-sugar swirl running right through it and sparkling on top. Seriously, get ready for your house to smell like the coziest bakery on earth!
Why You’ll Love This Recipe
- Fast: Minimal prep time means you’re baking in a flash.
- Easy: Simple steps perfect for bakers of all levels.
- Giftable: It makes a beautiful, delicious gift (if you can bear to share!).
- Crowd-pleasing: Who doesn’t love banana bread AND snickerdoodles?!
Ingredients
Let’s chat about the simple goodness you’ll need to bring this loaf to life:
For the Banana Bread:
- 2 large ripe bananas (~240g / 8 oz), mashed: The riper, the better! Look for those with lots of brown spots. They bring natural sweetness and that lovely banana flavor.
- 170g (¾ cup) unsalted butter, melted: Melted butter makes this bread super moist without needing a mixer.
- 150g (¾ cup) granulated sugar: Sweetness base for the loaf.
- 75g (⅓ cup) packed brown sugar: Adds moisture, a little caramel note, and helps keep the bread tender. Make sure it’s packed into the measuring cup!
- 2 large eggs (room temperature): Room temp eggs mix into the batter more smoothly and help create a better texture. If you forget, just pop them in a bowl of warm water for a few minutes!
- 5ml (1 tsp) vanilla extract: Essential flavor enhancer!
- 240g (2 cups) all-purpose flour: The backbone of our loaf.
- 5g (1 tsp) cream of tartar: This is the classic snickerdoodle ingredient! It reacts with the baking soda to give a bit of lift and adds that signature tangy note that makes snickerdoodles unique.
- 2.5g (½ tsp) baking soda: Our main leavening agent, helping the bread rise beautifully.
- 3g (½ tsp) salt: Balances all that sweetness and brings out the flavors.
For the Cinnamon-Sugar Coating:
- 60g (¼ cup) granulated sugar: For that sweet, sparkly crunch on top and in the swirl.
- 2 tsp ground cinnamon: The star of the snickerdoodle show! Use good quality, fresh cinnamon for the best flavor.
How to Make It
Alright, aprons on! Let’s bake this beauty. It’s really straightforward, I promise!
1. Preheat & Prep: First things first, get your oven ready. Preheat it to 175°C (350°F). Grab a standard 9×5-inch (23×13 cm) loaf pan. Give it a good grease, then line it with parchment paper, leaving some overhang on the long sides. This parchment sling is your best friend for lifting the finished loaf out later!
2. Mix Wet Ingredients: In your largest mixing bowl, mash up those ripe bananas really well. I like to leave just a few tiny chunks for texture, but you do you! Pour in your melted butter, granulated sugar, and brown sugar. Stir it all together until it looks smooth and combined. Now, crack in your eggs, one at a time, mixing thoroughly after each one. Finish by stirring in that lovely vanilla extract. Doesn’t it smell good already?
3. Add Dry Ingredients: In a separate, medium bowl, whisk together your flour, cream of tartar, baking soda, and salt. This ensures all the leavening and flavor are evenly distributed. Now, add this dry mix to your wet ingredients. Mix just until everything is combined and you don’t see streaks of dry flour anymore. Don’t keep mixing! Overmixing develops the gluten too much and can lead to a tough, dense bread. Gentle is key here.
4. Prepare Cinnamon-Sugar Coating: Grab a small bowl and measure out your granulated sugar and ground cinnamon. Give it a little stir or whisk to combine it perfectly. This is the magical dust!
5. Shape & Coat the Loaf: Spoon about half of your banana bread batter into the prepared loaf pan. Try to spread it out somewhat evenly. Now, grab your cinnamon-sugar mix and sprinkle about 1 tablespoon of it evenly over the batter in the pan. Swirling isn’t strictly necessary as you add the next layer, but you could gently swirl it with a knife if you like! Dollop the remaining batter on top of the cinnamon-sugar layer and gently spread it out to cover. Don’t worry about being perfect. Finally, sprinkle the rest of the cinnamon-sugar mixture generously all over the top surface of the batter. This will create that beautiful, crackly, sugary crust.
6. Bake to Golden Perfection: Pop the pan into your preheated oven. Bake for 55–65 minutes. Baking times can vary depending on your oven, so keep an eye on it. You’ll know it’s done when the top is golden brown, possibly with some lovely cracks, and a toothpick inserted into the very center comes out clean (no wet batter!). If the top starts getting too dark before the inside is done, you can loosely tent it with foil.
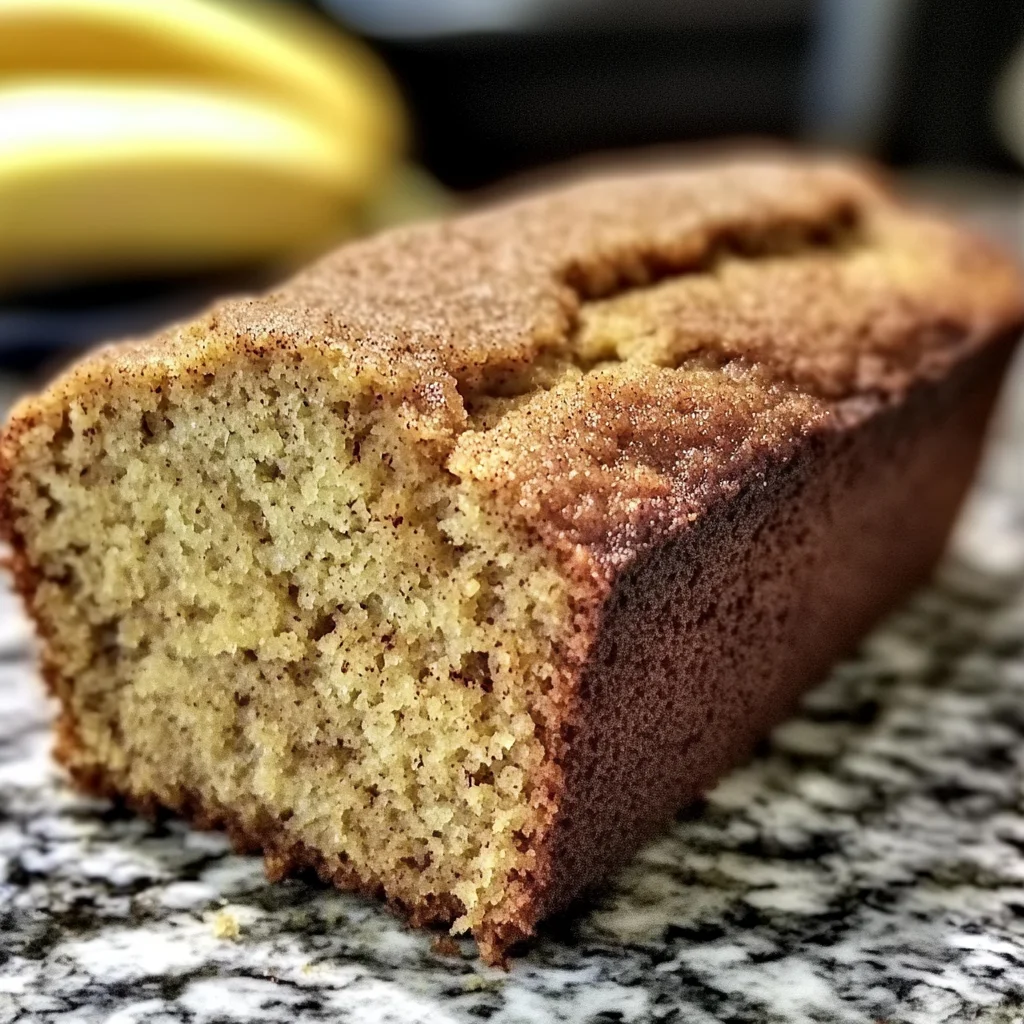
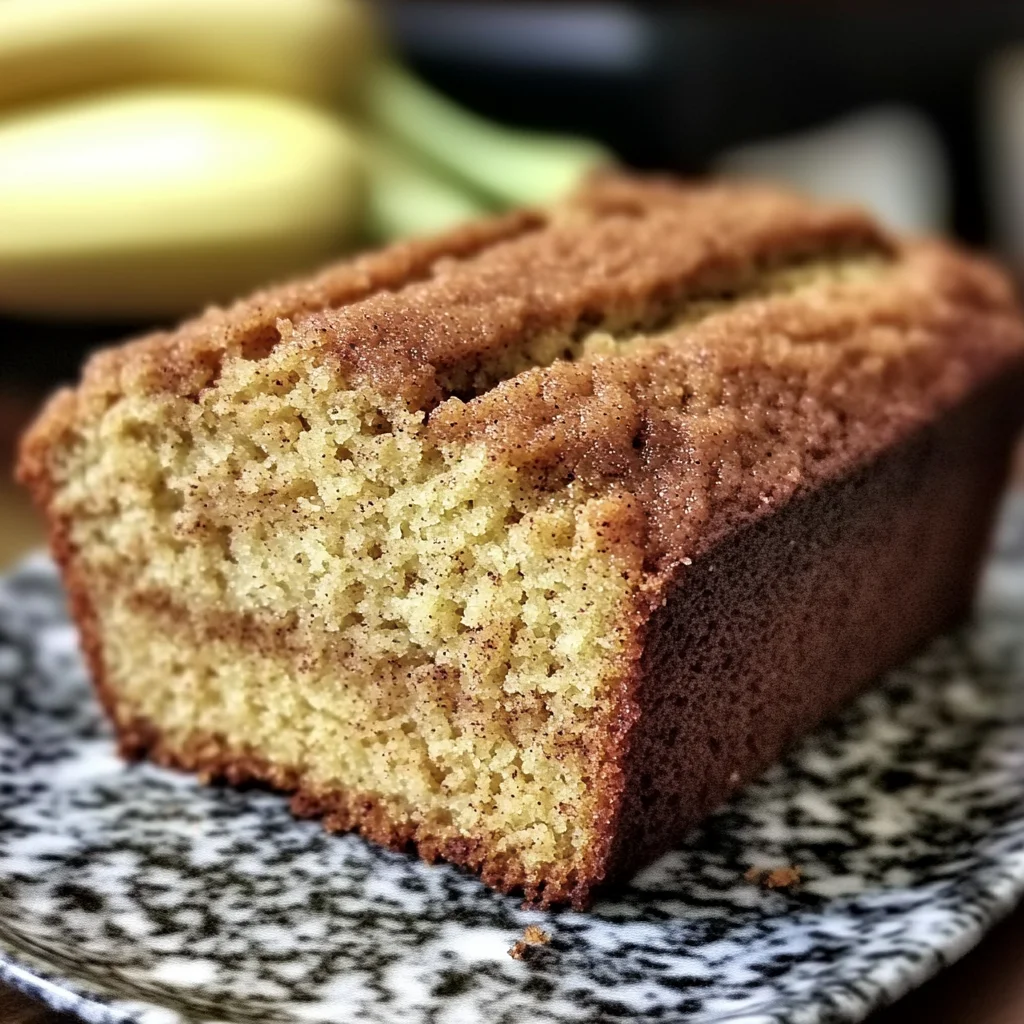
7. Cool & Serve: The hardest part – waiting! Let the banana bread cool in the pan for about 10 minutes. This allows it to set up properly. Then, using that handy parchment paper overhang, carefully lift the loaf out of the pan and transfer it to a wire rack to cool completely before you even think about slicing it. I know, I know, the smell is tempting, but cooling completely is crucial for the best texture and clean slices. Once cool, slice and enjoy that incredible snickerdoodle swirl!
Substitutions & Additions
Want to play around a bit? Here are some ideas:
- Chocolate Chips: Add ½ cup of mini chocolate chips to the batter when you add the dry ingredients for an extra layer of yum.
- Nuts: Stir in ½ cup of chopped walnuts or pecans for crunch.
- Different Spices: A pinch of nutmeg or a tiny bit of ground cloves could be added to the cinnamon-sugar mix or the batter for a different spice profile.
- Gluten-Free: I haven’t tested this exact recipe with GF flour, but a good 1:1 gluten-free baking blend designed for cakes/muffins would likely work.
Tips for Success
Just a couple of friendly nudges to help you bake the best loaf:
- Use Ripe Bananas: Seriously, this is key. Greenish bananas won’t give you the sweetness or moisture needed. Black spots are your friend!
- Don’t Overmix: Once the dry ingredients are added, stop mixing as soon as you see no more dry flour. Overmixing equals tough bread.
- Room Temperature Eggs: They incorporate better into the batter, leading to a smoother texture.
- Check for Doneness: Use that toothpick test! If it comes out with wet batter, it needs more time. A few moist crumbs are okay.
- Let it Cool: Letting it cool completely on a wire rack helps the internal structure set and prevents it from being gummy or falling apart when sliced.
- Parchment Paper Sling: That overhang makes removing the loaf so much easier and prevents sticking!
How to Store It
Assuming you have any left!
- Room Temperature: Store cooled banana bread wrapped tightly in plastic wrap or in an airtight container at room temperature for 2-3 days.
- Refrigerator: For longer storage, keep it in the fridge for up to a week.
- Freezing: Banana bread freezes beautifully! Let the loaf cool completely, wrap it tightly in plastic wrap, then in foil, or place slices in a freezer-safe bag or container. It will last for 2-3 months. Thaw at room temperature.
FAQs
Got questions? I’ve got (brief) answers!
Q: Can I use frozen bananas?
A: Yes! Thaw them first (pop them in a bowl, they’ll release liquid), drain off any excess liquid, then mash and use as directed.
Q: Why is cream of tartar used?
A: In snickerdoodles, cream of tartar reacts with baking soda to provide leavening and creates that slightly tangy flavor and chewy texture characteristic of the cookie. It works perfectly here too!
Q: My top is getting too dark before the inside is cooked, what should I do?
A: Loosely tent the top of the loaf with aluminum foil. This will shield the top from browning further while the inside finishes baking.
Q: Do I have to use parchment paper?
A: While not strictly required if your pan is well-greased, parchment paper makes lifting the delicate loaf out so much easier and guarantees no sticking. I highly recommend it!
There you have it, friends! Your kitchen is about to smell like heaven, and your taste buds are in for a treat. I can’t wait for you to try this Snickerdoodle Swirl Banana Bread. Bake a loaf, pour a cup of coffee or tea, and enjoy a little slice of cozy comfort. Happy baking!
Cozy Snickerdoodle Swirl Banana Bread
Ingredients
Equipment
Method
- Step 1: Preheat oven to 175°C (350°F). Grease a standard 9x5-inch (23x13 cm) loaf pan and line it with parchment paper, leaving overhang.
- Step 2: In a large mixing bowl, mash the ripe bananas. Stir in the melted butter, 150g (¾ cup) granulated sugar, and brown sugar until smooth. Mix in the eggs one at a time, then stir in the vanilla extract.
- Step 3: In a separate medium bowl, whisk together the all-purpose flour, cream of tartar, baking soda, and salt. Add this dry mix to the wet ingredients and mix just until combined, without overmixing.
- Step 4: In a small bowl, combine the 60g (¼ cup) granulated sugar and ground cinnamon for the coating.
- Step 5: Spoon about half of the banana bread batter into the prepared loaf pan. Sprinkle about 1 tablespoon of the cinnamon-sugar mixture evenly over the batter. Dollop the remaining batter on top and gently spread it out. Sprinkle the remaining cinnamon-sugar mixture generously over the top surface.
- Step 6: Bake for 55–65 minutes, or until the top is golden brown and a toothpick inserted into the center comes out clean. If the top browns too quickly, loosely tent with aluminum foil.
- Step 7: Let the banana bread cool in the pan for about 10 minutes. Use the parchment paper overhang to carefully lift the loaf out and transfer it to a wire rack to cool completely before slicing.
Notes
Add ½ cup of mini chocolate chips or ½ cup of chopped walnuts or pecans to the batter when you add the dry ingredients for an extra layer of yum or crunch. A pinch of nutmeg or a tiny bit of ground cloves could be added to the cinnamon-sugar mix or the batter for a different spice profile. While not tested, a good 1:1 gluten-free baking blend designed for cakes/muffins would likely work as a Gluten-Free option. Just a couple of friendly nudges to help you bake the best loaf:
Use Ripe Bananas: Seriously, this is key. Greenish bananas won't give you the sweetness or moisture needed. Black spots are your friend! Don't Overmix: Once the dry ingredients are added, stop mixing as soon as you see no more dry flour. Overmixing equals tough bread. Room Temperature Eggs: They incorporate better into the batter, leading to a smoother texture. Check for Doneness: Use that toothpick test! If it comes out with wet batter, it needs more time. A few moist crumbs are okay. Let it Cool: Letting it cool completely on a wire rack helps the internal structure set and prevents it from being gummy or falling apart when sliced. Parchment Paper Sling: That overhang makes removing the loaf so much easier and guarantees no sticking! Assuming you have any left! Store cooled banana bread wrapped tightly in plastic wrap or in an airtight container at room temperature for 2-3 days. For longer storage, keep it in the fridge for up to a week. Banana bread freezes beautifully! Let the loaf cool completely, wrap it tightly in plastic wrap, then in foil, or place slices in a freezer-safe bag or container. It will last for 2-3 months. Thaw at room temperature. Q: Can I use frozen bananas?
A: Yes! Thaw them first (pop them in a bowl, they'll release liquid), drain off any excess liquid, then mash and use as directed.
Q: Why is cream of tartar used?
A: In snickerdoodles, cream of tartar reacts with baking soda to provide leavening and creates that slightly tangy flavor and chewy texture characteristic of the cookie. It works perfectly here too!
Q: My top is getting too dark before the inside is cooked, what should I do?
A: Loosely tent the top of the loaf with aluminum foil. This will shield the top from browning further while the inside finishes baking.
Q: Do I have to use parchment paper?
A: While not strictly required if your pan is well-greased, parchment paper makes lifting the delicate loaf out so much easier and guarantees no sticking. I highly recommend it!