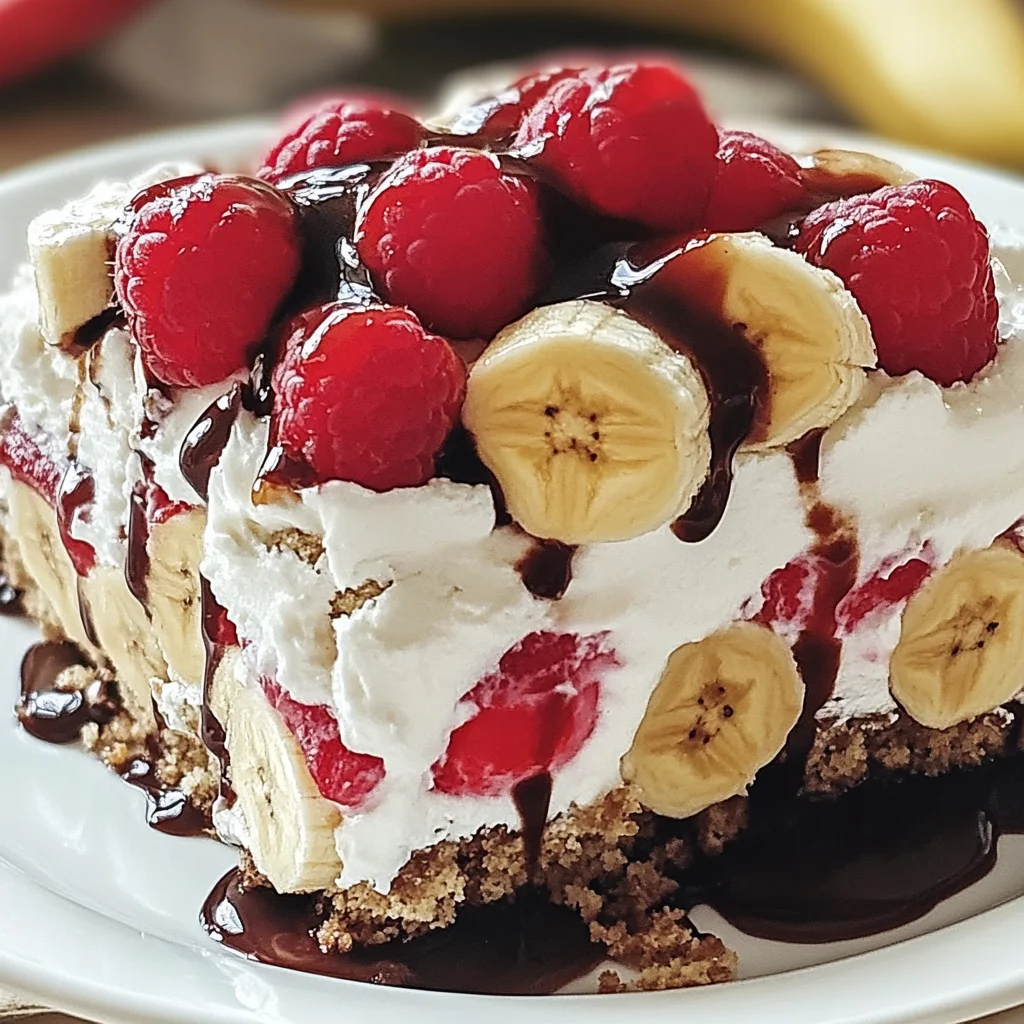
There’s something so comforting about a classic banana split, isn’t there? It brings back memories of summer days spent at the ice cream parlor, laughing with friends over scoops of deliciousness. Now, imagine capturing that nostalgic flavor in a delightful no-bake dessert that you can whip up in no time! This No-Bake Banana Split Cake is not only easy and quick to make, but it’s also a crowd-pleaser that will have everyone asking for seconds.
Why You’ll Love No-Bake Banana Split Cake
- Fast
- Easy
- Giftable
- Crowd-pleasing
Ingredients
- 1 box of graham crackers – the perfect base for our cake
- 1/2 cup unsalted butter, melted – to bind the crust together
- 1 cup powdered sugar – for that sweet creaminess
- 1 package (8 oz) cream cheese, softened – the heart of our cake
- 1 cup whipped topping – for a light and airy texture
- 2 ripe bananas, sliced – sweet and delicious layers
- 1 cup strawberries, sliced – a burst of freshness
- 1 cup pineapple tidbits, drained – adds a tropical twist
- 1/2 cup chocolate syrup – because who can resist chocolate?
- 1/2 cup chopped nuts (optional) – for an extra crunch
- Maraschino cherries for garnish – a classic touch!
How to Make No-Bake Banana Split Cake
Ready to get cooking? Let’s dive into the steps together!
- In a medium bowl, combine the melted butter and graham crackers. Mix until well combined.
- Press the graham cracker mixture into the bottom of a 9×13 inch baking dish to form the crust. Make sure it’s nice and even!
- In a separate bowl, beat together the powdered sugar and cream cheese until smooth. This is where the magic begins!
- Fold in the whipped topping until well combined. You’re creating a fluffy and irresistible filling here.
- Spread the cream cheese mixture over the graham cracker crust, smoothing it out evenly.
- Layer the sliced bananas, strawberries, and pineapple tidbits evenly over the cream cheese layer. Just look at those colors!
- Drizzle chocolate syrup over the fruit layer, letting it flow beautifully.
- If desired, sprinkle chopped nuts on top for that extra crunch.
- Refrigerate for at least 4 hours or until set. Patience is key!
- Before serving, garnish with maraschino cherries. Slice it up, and enjoy your creation!
Substitutions & Additions
Feel free to get creative with this recipe! Here are some ideas:
- Use a different type of cookie for the crust, like chocolate wafers or Oreos.
- Swap out the fruits for your favorites, such as blueberries or kiwi.
- Add a layer of peanut butter or Nutella for an extra indulgent twist.
Tips for Success
Here are some tips to ensure your No-Bake Banana Split Cake turns out perfectly:
- Make sure the cream cheese is at room temperature for easy mixing.
- Don’t skip the refrigeration step—this helps everything set nicely.
- You can prepare this cake a day in advance for even easier entertaining!
How to Store No-Bake Banana Split Cake
Store any leftovers in the refrigerator, covered, for up to 3 days. The flavors will continue to meld, making it even tastier!
FAQs
Can I use other fruits? Absolutely! Feel free to mix and match your favorite fruits.
How can I make this gluten-free? Use gluten-free graham crackers or an alternative crust.
Can I freeze this cake? I wouldn’t recommend it, as the texture may change once thawed.
Bringing back the nostalgia of a banana split has never been easier! This No-Bake Banana Split Cake is perfect for summer gatherings, birthday parties, or simply treating yourself. For more delicious recipes, check out the Ultimate Classic Carrot Cake or Easy No-Bake Caramel Pretzel Bars for treats you will love!
For even more delightful ideas, make sure to follow us on Pinterest!
No-Bake Banana Split Cake
Ingredients
Equipment
Method
- Step 1: In a medium bowl, combine the melted butter and graham crackers. Mix until well combined.
- Step 2: Press the graham cracker mixture into the bottom of a 9x13 inch baking dish to form the crust. Make sure it's nice and even!
- Step 3: In a separate bowl, beat together the powdered sugar and cream cheese until smooth. This is where the magic begins!
- Step 4: Fold in the whipped topping until well combined. You're creating a fluffy and irresistible filling here.
- Step 5: Spread the cream cheese mixture over the graham cracker crust, smoothing it out evenly.
- Step 6: Layer the sliced bananas, strawberries, and pineapple tidbits evenly over the cream cheese layer. Just look at those colors!
- Step 7: Drizzle chocolate syrup over the fruit layer, letting it flow beautifully.
- Step 8: If desired, sprinkle chopped nuts on top for that extra crunch.
- Step 9: Refrigerate for at least 4 hours or until set. Patience is key!
- Step 10: Before serving, garnish with maraschino cherries. Slice it up, and enjoy your creation!