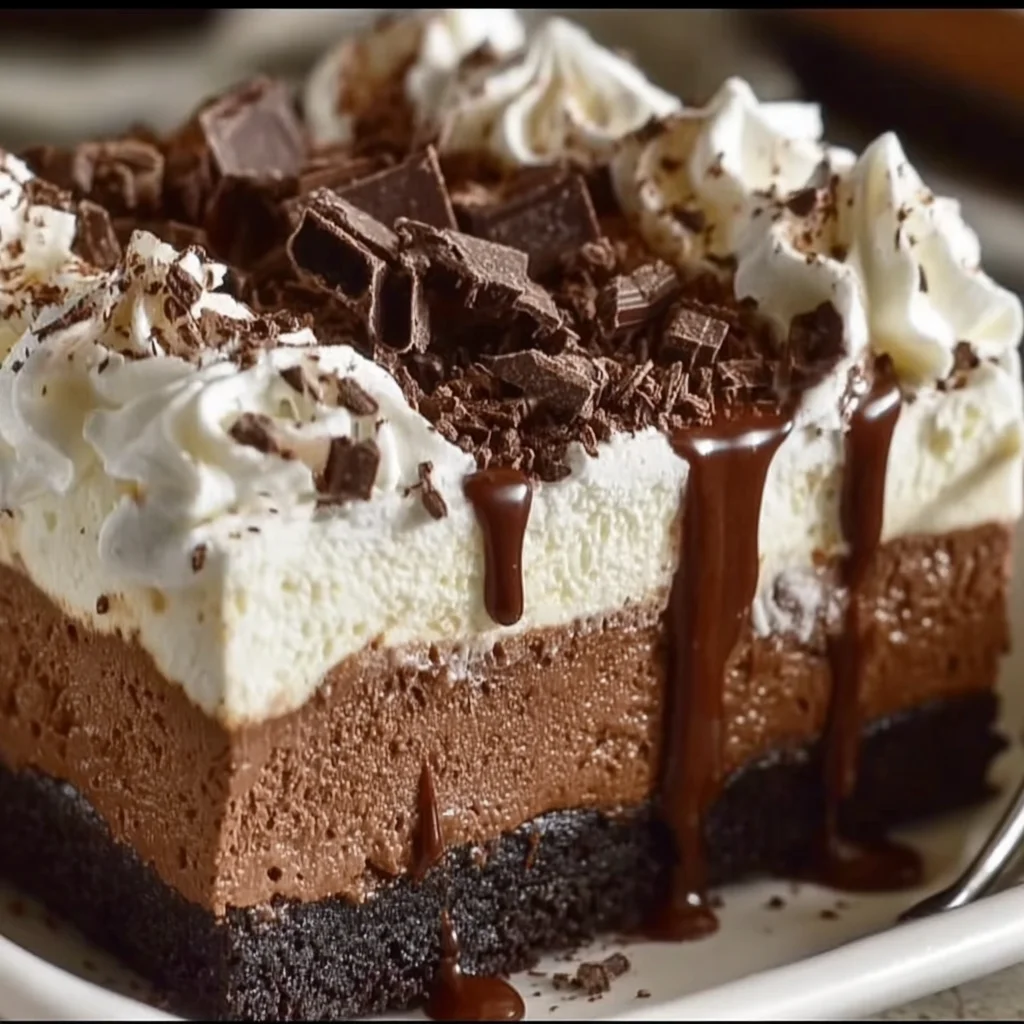
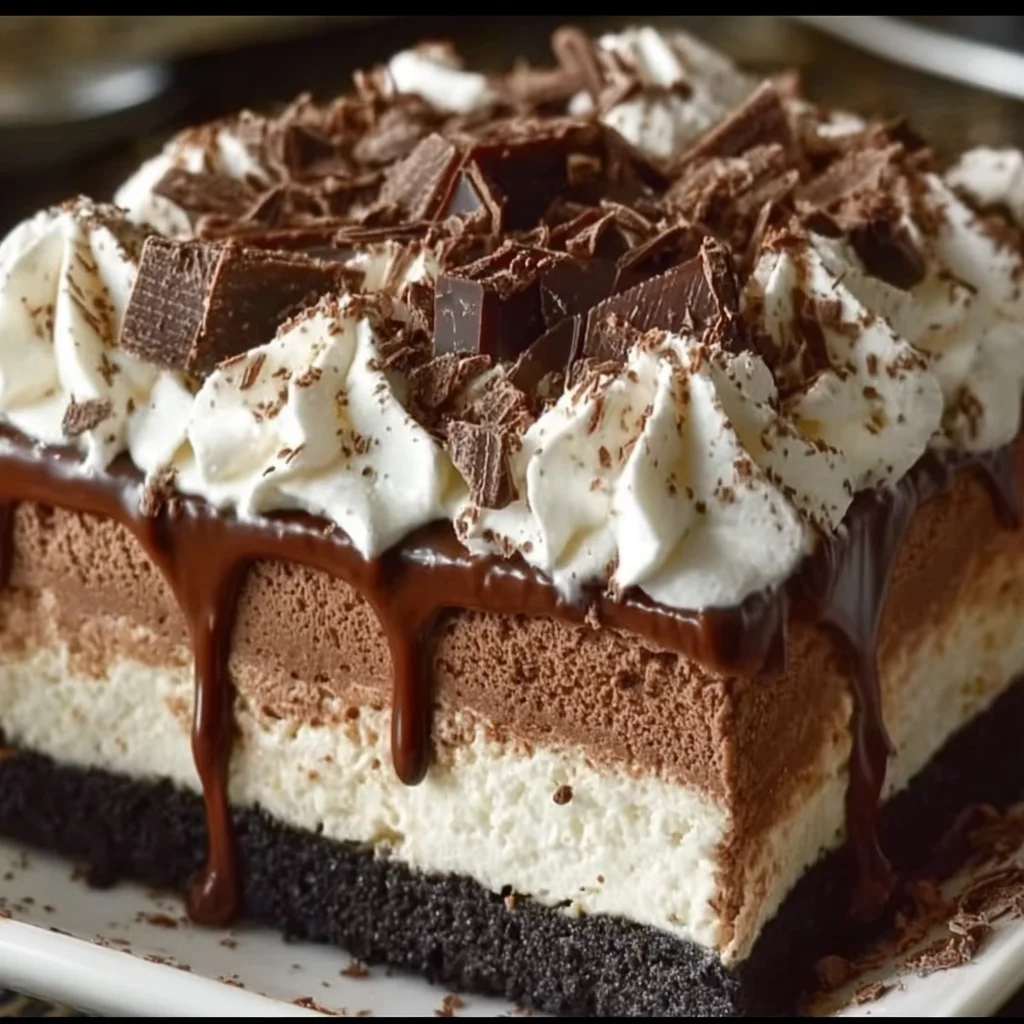
Hey baking buddies! Let’s talk about comfort food, the kind that wraps you up in a warm hug and reminds you of happy times. For me, one dessert does exactly that: Mississippi Mud Pie. Just saying the name conjures up images of rich, gooey chocolatey goodness piled high with fluffy whipped cream. It might sound fancy, but let me tell you, this recipe is surprisingly easy! It’s the perfect dessert for when you want to impress without spending hours in the kitchen, or just when you need a serious chocolate fix. Get ready to fall in love with this classic.
Why You’ll Love This Recipe
-
Fast: While there are chilling times, the active prep and bake time is pretty quick.
-
Easy: No complicated techniques here, just straightforward steps that yield amazing results.
-
Giftable: Who wouldn’t be thrilled to receive a slice (or a whole pie!) of this chocolate heaven?
-
Crowd-Pleasing: This pie is guaranteed to disappear in minutes at any gathering. It’s a universal favorite!
Ingredients
-
For the crust:
- 1 1/2 cups chocolate cookie crumbs: Think Oreos, graham cracker style chocolate cookies, or even chocolate wafers. If using Oreos, be sure to scrape out the filling first!
- 1/4 cup granulated sugar: Just a touch to help sweeten and bind the crust.
- 6 tablespoons unsalted butter, melted: The glue that holds it all together!
-
For the filling:
- 1/2 cup unsalted butter: Adds richness and fudgy texture.
- 1 cup semisweet chocolate chips: The star of the show! You can use good quality chips or chopped chocolate.
- 3/4 cup granulated sugar: Sweetness balance.
- 1/4 cup unsweetened cocoa powder: Deepens that chocolate flavor beautifully.
- 1/2 teaspoon instant espresso powder (optional): This is my secret weapon! It doesn’t make it taste like coffee, but it seriously enhances the chocolate notes. Give it a try!
- 2 large eggs: Help set the filling to that perfect fudgy consistency.
- 1/2 cup heavy cream: Adds creaminess and richness.
- 1 teaspoon vanilla extract: A classic flavor enhancer for chocolate.
- 1/4 teaspoon salt: Just a pinch to balance all that sweetness.
-
For the topping:
- 1 1/2 cups heavy whipping cream: Needs to be cold to whip up properly!
- 3 tablespoons powdered sugar: Sweetens and stabilizes the whipped cream.
- 1 teaspoon vanilla extract: Adds lovely flavor to the topping.
- Chocolate shavings, curls, or cocoa powder (for garnish): Make it look pretty!
How to Make It
Make the Crust:
This part is a breeze, I promise!
-
Preheat your oven to 350°F (175°C).
-
In a medium bowl, mix together those chocolate cookie crumbs and the granulated sugar. Give it a good stir.
-
Pour in the melted butter. Stir, stir, stir until all the crumbs are evenly moistened. It should look like wet sand.
-
Now, pour this mixture into a 9-inch pie dish. Use the bottom of a flat glass or a measuring cup to firmly press the crumbs into the bottom and up the sides of the dish. Pressing it well is key for a crust that doesn’t crumble when you slice!
-
Pop the crust into your preheated oven for 8-10 minutes, just until it looks set. Let it cool completely on a wire rack before you do anything else.
Prepare the Filling:
Let’s get that glorious chocolate going!
-
Grab a medium saucepan and place it over low heat. Add the 1/2 cup butter and the chocolate chips. Stir constantly until everything is melted and beautifully smooth. Patience is your friend here so you don’t burn the chocolate!
-
Take the saucepan off the heat. Whisk in the 3/4 cup granulated sugar, cocoa powder, and that optional espresso powder if you’re using it. Stir until it’s all combined.
-
Let the mixture cool slightly for about 5-10 minutes. You want it warm, but not hot enough to scramble eggs.
-
Now, whisk in the eggs one at a time, making sure each one is fully incorporated before adding the next. Stir in the heavy cream, vanilla extract, and salt. Your filling mixture is ready!
Bake the Filling:
Almost there!
-
Pour the lovely chocolate filling into your completely cooled pie crust.
-
Carefully place the pie back into the 350°F (175°C) oven. Bake for 25-30 minutes. You’re looking for the edges to be set, but the very center should still be slightly jiggly, kind of like a perfect brownie.
-
Take the pie out of the oven and let it cool completely on a wire rack. This is important! Once it’s cool, pop it into the refrigerator for at least 2 hours. This chilling time is crucial for the filling to firm up properly.
Whip the Topping:
Every mud pie needs a cloud of whipped cream!
-
Make sure your bowl and whisk attachment (or beaters) are chilled – this helps the cream whip faster and stiffer. Pour in the cold heavy whipping cream.
-
Beat the cream on medium-high speed until soft peaks start to form. Gradually add the powdered sugar and vanilla extract.
-
Continue beating until stiff peaks form. Be careful not to overbeat, or you’ll end up with butter!
-
Gently spread the whipped topping evenly over your completely chilled pie.
Decorate and Serve:
The finishing touches!
-
Sprinkle on some chocolate shavings, curls, or dust with cocoa powder for that extra touch of elegance.
-
When you’re ready to slice, I find that running your knife under hot water and wiping it dry between slices helps get nice, clean cuts through the dense filling and whipped cream.
-
Serve your beautiful Mississippi Mud Pie chilled. Enjoy every single bite!
Substitutions & Additions
Want to switch things up? Here are a few ideas:
-
Crust: Not a chocolate cookie fan? You could use a traditional graham cracker crust (mix 1 1/2 cups graham crumbs with 1/4 cup sugar and 6 tbsp melted butter, bake as directed) or even a store-bought chocolate crust.
-
Chocolate: Use dark chocolate chips for a more intense flavor, or a mix of milk and semisweet.
-
Mix-ins: Fold chopped pecans or walnuts into the filling before baking for a little crunch.
-
Extracts: A drop of peppermint extract in the filling or topping could turn this into a holiday treat. Almond extract is also lovely with chocolate.
-
Topping: While classic whipped cream is amazing, you could try a drizzle of caramel or hot fudge sauce over the top before serving.
Tips for Success
-
Compact the Crust: Don’t skip pressing that crust down firmly! This is key to preventing it from falling apart when you slice.
-
Cooling is Crucial: Make sure both the crust and the filling mixture cool down before adding the eggs. You don’t want scrambled eggs in your pie!
-
Don’t Overbake the Filling: The slight jiggle in the center is what gives it that perfect fudgy texture. It will set up more as it chills.
-
Chill Time Matters: The refrigeration time is not optional! It allows the filling to become sliceable. Patience is rewarded here.
-
Cold Cream for Topping: Your heavy cream, bowl, and whisk should be well chilled for the best whipped cream results.
How to Store It
This pie keeps beautifully! Cover it tightly with plastic wrap or aluminum foil. Store it in the refrigerator for up to 3-4 days. For longer storage, you can slice and wrap individual pieces tightly, then freeze them for up to 1-2 months. Thaw in the refrigerator before enjoying.
FAQs
Got questions? I’ve got answers!
-
Can I make this pie ahead of time? Absolutely! You can make the entire pie, including the topping, up to 24 hours in advance. Just keep it covered in the refrigerator.
-
Why is it called Mississippi Mud Pie? The name is said to come from its dark, dense, rich texture resembling the banks of the Mississippi River after a flood. Pretty descriptive, right?
-
My whipped cream isn’t getting stiff! What went wrong? Most likely, your cream or bowl wasn’t cold enough, or you might have added too much sugar too quickly. Ensure everything is well-chilled and beat on a medium-high speed.
-
Can I use a different size pie dish? This recipe is designed for a standard 9-inch pie dish. Using a different size might affect baking time and filling thickness.
Easy Homemade Mississippi Mud Pie
Ingredients
Equipment
Method
- Make the Crust:
- Step 1: Preheat your oven to 350°F (175°C).
- Step 2: In a medium bowl, mix together the chocolate cookie crumbs and the granulated sugar.
- Step 3: Pour in the melted butter. Stir until all the crumbs are evenly moistened and look like wet sand.
- Step 4: Pour this mixture into a 9-inch pie dish. Use the bottom of a flat glass or a measuring cup to firmly press the crumbs into the bottom and up the sides of the dish.
- Step 5: Bake the crust for 8-10 minutes, just until it looks set. Let it cool completely on a wire rack.
- Prepare the Filling:
- Step 6: Grab a medium saucepan and place it over low heat. Add the 1/2 cup butter and the chocolate chips. Stir constantly until everything is melted and smooth.
- Step 7: Take the saucepan off the heat. Whisk in the 3/4 cup granulated sugar, cocoa powder, and the optional espresso powder. Stir until combined.
- Step 8: Let the mixture cool slightly for about 5-10 minutes, until warm but not hot.
- Step 9: Whisk in the eggs one at a time, making sure each is fully incorporated. Stir in the heavy cream, vanilla extract, and salt.
- Bake the Filling:
- Step 10: Pour the chocolate filling into your completely cooled pie crust.
- Step 11: Carefully place the pie back into the 350°F (175°C) oven. Bake for 25-30 minutes, until the edges are set but the center is slightly jiggly.
- Step 12: Take the pie out of the oven and let it cool completely on a wire rack. Once cool, refrigerate for at least 2 hours to firm up.
- Whip the Topping:
- Step 13: Ensure your bowl and whisk attachment are chilled. Pour in the cold heavy whipping cream.
- Step 14: Beat the cream on medium-high speed until soft peaks start to form. Gradually add the powdered sugar and vanilla extract.
- Step 15: Continue beating until stiff peaks form. Be careful not to overbeat.
- Step 16: Gently spread the whipped topping evenly over your completely chilled pie.
- Decorate and Serve:
- Step 17: Sprinkle on chocolate shavings, curls, or dust with cocoa powder for garnish.
- Step 18: For clean slices, run your knife under hot water and wipe it dry between cuts. Serve the pie chilled.