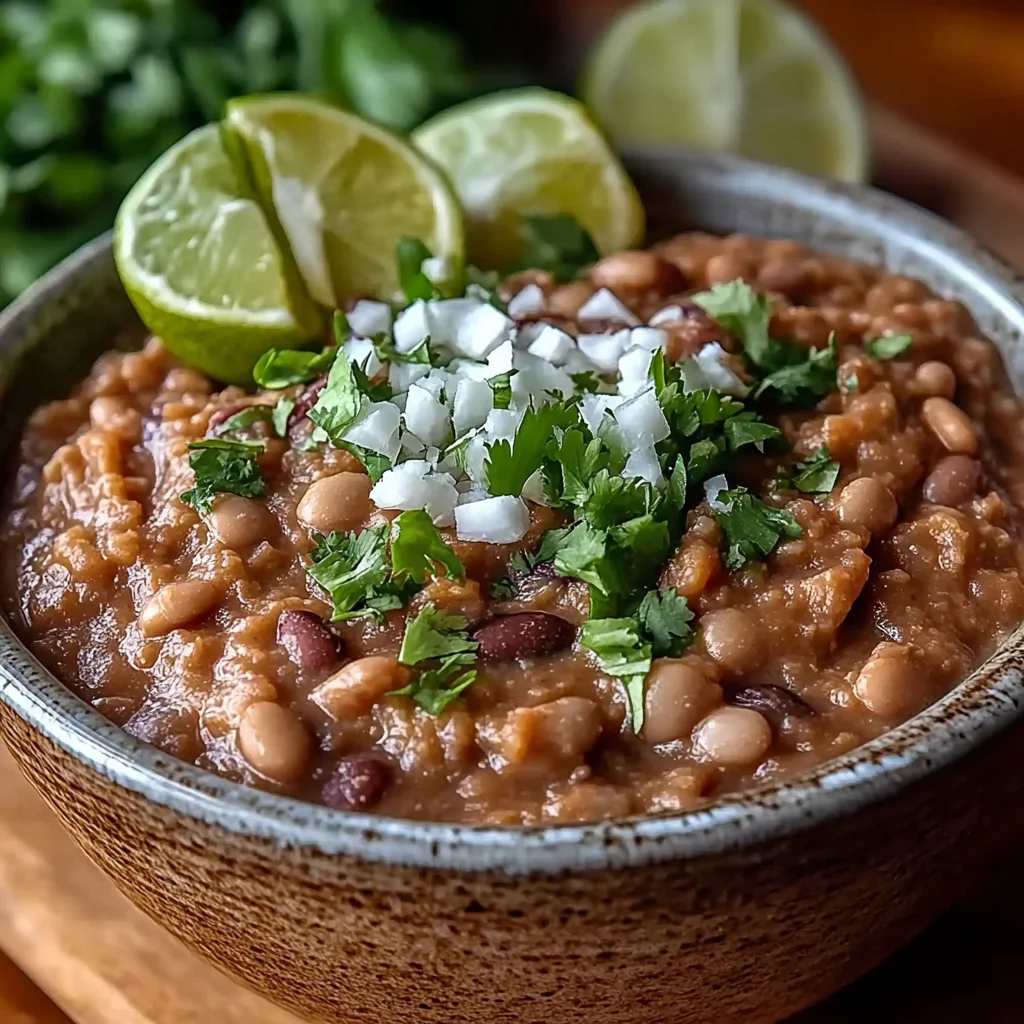
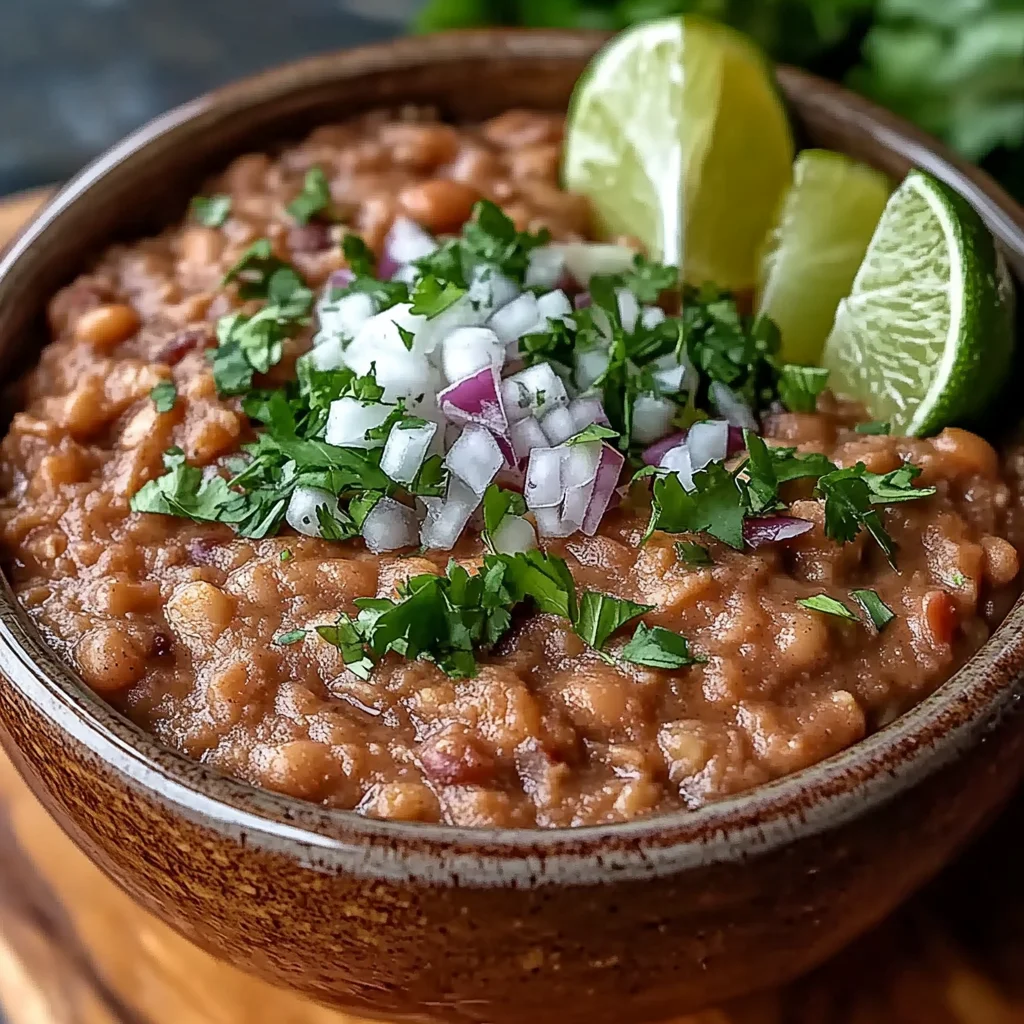
Oh, my friend, do you remember those epic taco nights, maybe at your favorite Mexican spot, where the refried beans were so incredibly creamy, so packed with savory flavor, they practically stole the show? For years, I just assumed that kind of magic was strictly restaurant-only, something too complicated for a home kitchen. Well, let me tell you, I was so wonderfully wrong!
Turns out, making homemade refried beans is not just easy, it’s ridiculously quick, and the flavor? Miles beyond anything you’ll ever get from a can. Seriously, in minutes, you can transform humble pinto beans into a warm, comforting side dish that’s ready to elevate your entire meal. Get ready to say goodbye to bland, pasty store-bought beans and hello to your new favorite go-to!
Why You’ll Love Refried Beans
- Fast: Ready in about 15-20 minutes, start to finish!
- Easy: Just a few simple steps and common pantry ingredients.
- Giftable: Okay, maybe not “giftable” in a bow, but they’re a gift to your taste buds and any meal they join!
- Crowd-Pleasing: Everyone loves a good refried bean, and these are truly exceptional.
- Versatile: A foundational building block for so many delicious meals.
Ingredients
- 1 tablespoon olive oil: The starting point for sautéing our aromatics. Any neutral oil will work here too!
- ¼ cup finely chopped onion: Adds a sweet, savory depth. Don’t skip it!
- 2 cloves finely minced garlic: The heart of so many delicious dishes, and it really shines here.
- 2 cans (15-ounces each) pinto beans, rinsed and drained: The star of our show! Rinsing helps get rid of excess sodium and that “canned” taste.
- ½ cup water: Our liquid base for simmering and mashing. You might need a touch more later.
- 2 teaspoons white vinegar: This is my little secret! It adds a touch of brightness that cuts through the richness and really makes the flavors pop.
- ¼ teaspoon salt: Always essential for seasoning, but remember you can adjust to your taste!
How to Make Refried Beans
Ready to get cooking? Grab your favorite skillet, and let’s make some bean magic!
1. Sauté Aromatics: First things first, get your skillet nice and warm over medium heat. Drizzle in that tablespoon of olive oil. Once it’s shimmering, toss in your finely chopped onion. You’re going to let that onion cook for about 5 minutes, stirring occasionally, until it gets beautifully soft and translucent. We’re not looking for browning here, just tenderness. Then, add your minced garlic to the party. Stir constantly for just 1 additional minute. Trust me, you’ll know it’s ready when your kitchen starts smelling absolutely heavenly!
2. Simmer Beans: Now, it’s time for the main event! Carefully add your rinsed and drained pinto beans to the skillet. Pour in the ½ cup of water, those two teaspoons of white vinegar (don’t forget my secret ingredient!), and the ¼ teaspoon of salt. Give everything a really good stir to combine all those wonderful flavors. Bring the mixture to a gentle simmer, then reduce the heat to low, pop a lid on your skillet, and let it cook for 10 minutes. Make sure to give it a stir every now and then to prevent sticking and ensure everything is heating through evenly.
3. Mash and Serve: Once those 10 minutes are up, remove the lid from your skillet. Now for the fun part! Grab a potato masher, or even just the back of a sturdy spoon, and start mashing those beans to your desired consistency. Some folks like them super smooth, like a creamy purée, while others (like me!) prefer a few chunky bits for texture. If you find your beans are a bit too dry as you’re mashing, no worries! Just add a tablespoon of water at a time, stirring and mashing, until you hit that perfect, luscious consistency. Taste and adjust your salt if needed.
And just like that, you’ve got a batch of warm, homemade refried beans ready for anything! They’re the perfect accompaniment to your easy slow cooker taco chicken rice for a complete weeknight feast. Or perhaps you’re looking to assemble an epic homemade crunchwrap supreme – these beans are your secret weapon! They also make a fantastic base for cheesy ground beef quesadillas.
Substitutions & Additions
One of the best things about homemade recipes is making them your own! Here are some ideas to play with:
- Different Beans: While pinto beans are classic, feel free to experiment! Black beans make a fantastic alternative, yielding a darker, slightly earthier refried bean. You could even use kidney beans in a pinch.
- Flavorful Fats: For an even richer, more authentic flavor, swap out the olive oil for bacon grease or lard. Just a tablespoon or two will give it that classic Tex-Mex taste.
- Spice It Up: Want more kick? Add a pinch of chili powder or a dash of cayenne pepper along with the salt. For fresh heat, mince a small jalapeño (remove seeds for less heat) and sauté it with the onion.
- Herbs & Spices: A teaspoon of ground cumin or a half teaspoon of dried oregano added with the beans will deepen the savory notes.
- Cheesy Goodness: Stir in a handful of shredded cheddar, Monterey Jack, or a Mexican blend cheese right at the end when you’re mashing. The residual heat will melt it into pure deliciousness.
- Freshness Factor: A squeeze of fresh lime juice and a sprinkle of fresh chopped cilantro stirred in just before serving can brighten everything up beautifully.
Tips for Success
- Don’t Over-Mash (Unless You Want To!): Decide on your preferred texture. If you like a smoother bean, keep mashing! If you prefer some texture, leave a few beans partially mashed. There’s no wrong way to do it.
- Adjust Liquid Gradually: The amount of water you need can vary slightly depending on how well your beans were drained. Always add more water a tablespoon at a time if your beans seem too thick or dry after mashing. You can always add more, but you can’t take it away!
- Taste, Taste, Taste: This is your most important tool in the kitchen! Always taste your beans before serving and adjust the salt. You might want a little more or less depending on your preference and the beans you used.
- Use a Good Skillet: A non-stick skillet works wonderfully here to prevent any sticking, especially as the beans start to thicken.
- Prep Ahead: These beans are fantastic for meal prep! Make a big batch at the beginning of the week and enjoy them on various meals.
How to Store Refried Beans
Your delicious homemade refried beans are super easy to store, making them perfect for leftovers or meal prep!
Once cooled, transfer any leftover refried beans to an airtight container. They’ll keep beautifully in the refrigerator for up to 3-4 days. When reheating, you might need to add a splash of water or broth to loosen them up and bring back that creamy consistency. Just stir it in over low heat until they’re warm and smooth again.
For longer storage, you can freeze refried beans! Place them in a freezer-safe container or a heavy-duty freezer bag, removing as much air as possible. They’ll stay good in the freezer for up to 3 months. Thaw them in the refrigerator overnight before reheating on the stovetop or in the microwave, again adding a bit of liquid if needed.
FAQs
Q: Can I use dried beans instead of canned?
A: Absolutely! If using dried pinto beans, you’ll need to cook them first according to package directions (usually soaking overnight, then simmering until tender). Once cooked, measure out about 3 cups of cooked pinto beans to use in this recipe. You might also need to adjust the water content in the recipe slightly.
Q: Are these truly “refried”?
A: That’s a great question! The term “refried beans” is a bit of a misnomer in English. The Spanish term “frijoles refritos” actually means “well-fried beans,” implying they are cooked thoroughly, not necessarily fried twice. In this recipe, we’re cooking them once to perfection!
Q: What are some ways to serve refried beans?
A: Oh, the possibilities are endless! They’re fantastic as a side dish for tacos, burritos, enchiladas, or fajitas. They make an amazing dip topped with cheese and salsa, a flavorful spread for tostadas, or even a delicious filling for quesadillas or burritos. You can also dollop them onto nachos or serve them alongside scrambled eggs for a hearty breakfast.
For more delicious and easy recipes, be sure to follow us on Pinterest!

Creamy Homemade Refried Beans
Ingredients
Equipment
Method
- Step 1: Heat olive oil in a skillet over medium heat. Add finely chopped onion and cook for 5 minutes, stirring occasionally, until soft and translucent. Add minced garlic and stir constantly for 1 additional minute until fragrant.
- Step 2: Add rinsed and drained pinto beans, ½ cup water, white vinegar, and salt to the skillet. Stir to combine. Bring the mixture to a gentle simmer, then reduce the heat to low, cover, and cook for 10 minutes, stirring occasionally to prevent sticking.
- Step 3: Remove the lid and mash the beans to your desired consistency using a potato masher or the back of a sturdy spoon. If the beans are too dry, add water one tablespoon at a time, stirring and mashing, until they reach a luscious consistency. Taste and adjust salt as needed. Serve warm.