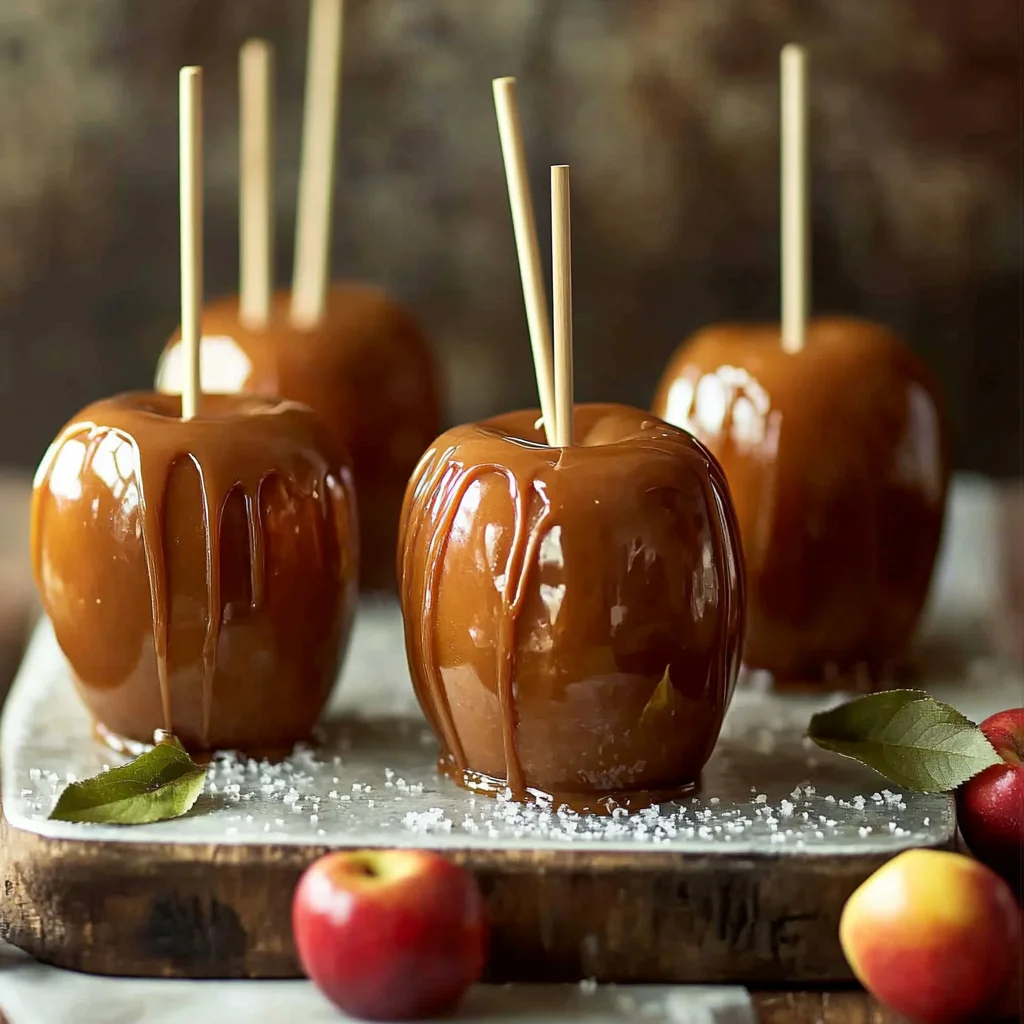
There’s just something magical about sinking your teeth into a perfectly sweet, chewy caramel apple, isn’t there? For me, it instantly transports me back to crisp autumn days at the local fair, the smell of cinnamon and sugar wafting through the air, and the joyous anticipation of a treat that’s both fun to eat and wonderfully indulgent. While those fairground memories are priceless, I’m here to tell you a little secret: making these classic beauties at home is not only incredibly easy, but the taste of fresh, homemade caramel simply can’t be beat! Forget those store-bought versions that can be too hard or lack flavor – this recipe is about to become your new fall tradition. It’s quick, it’s simple, and it creates the most wonderfully gooey, golden caramel apples you’ve ever tasted.
Why You’ll Love Caramel Apples
- Fast: With just a few simple steps, you’ll have these ready in no time.
- Easy: No complicated techniques, just good old-fashioned stirring and dipping.
- Giftable: Wrap them up with a pretty bow for a delightful hostess gift or a sweet treat for neighbors.
- Crowd-pleasing: Kids and adults alike will absolutely adore these classic confections.
Ingredients

Gathering your ingredients is the first step to caramel apple bliss. Here’s what you’ll need for these irresistible treats:
- 6 small apples: Granny Smith are my personal favorite for their tartness, which perfectly balances the sweet caramel, but Honeycrisp or Fuji work beautifully too for a sweeter apple. Just make sure they’re firm!
- 1 (14 oz) can sweetened condensed milk: This is the secret to a rich, creamy caramel that isn’t too stiff.
- 1 cup light brown sugar, packed: Adds that deep, molasses-y sweetness that defines classic caramel.
- ½ cup unsalted butter: For unparalleled richness and a smooth texture.
- ½ cup light corn syrup: Don’t skip this! It’s essential for preventing your caramel from crystallizing and becoming grainy, ensuring a perfectly smooth, glossy finish.
- 1 teaspoon vanilla extract: A must-have flavor enhancer that brings all the sweet notes together.
- Pinch sea salt: A tiny bit of salt goes a long way to cut through the sweetness and really make that caramel flavor pop. It’s truly transformative!
- Optional: Chopped nuts, mini chocolate chips, sprinkles: Get creative with your favorite toppings!
How to Make Caramel Apples
Alright, friends, let’s get down to the delicious business of making these homemade caramel apples. You’ll be amazed at how straightforward it is!
- Prepare Apples: First things first, you need squeaky clean and bone-dry apples. Wash and thoroughly dry each apple. This step is super important, as any moisture will prevent the caramel from sticking properly. Once dry, firmly insert a sturdy stick or skewer into the stem end of each apple. I like to use wooden skewers or even lollipop sticks. Place your prepared apples on a baking sheet lined with parchment paper. This will be their happy cooling spot!
- Cook Caramel: Now for the star of the show! In a medium saucepan, combine the sweetened condensed milk, light brown sugar, unsalted butter, and light corn syrup. Place this mixture over medium heat. Here’s where your arm muscles come in: you’ll need to stir continuously for about 10-12 minutes. Don’t wander off! Keep stirring until the mixture thickens and turns a beautiful golden brown. It should coat the back of a spoon and be visibly richer in color. Patience is key here for that perfect caramel consistency.
- Finish Caramel: Once your caramel has reached that lovely thick, golden stage, immediately remove the saucepan from the heat. Stir in the vanilla extract and that little pinch of sea salt. Give it a good whisk to ensure everything is perfectly combined. The vanilla adds that warm, comforting aroma, and the salt balances the sweetness, making the caramel truly irresistible.
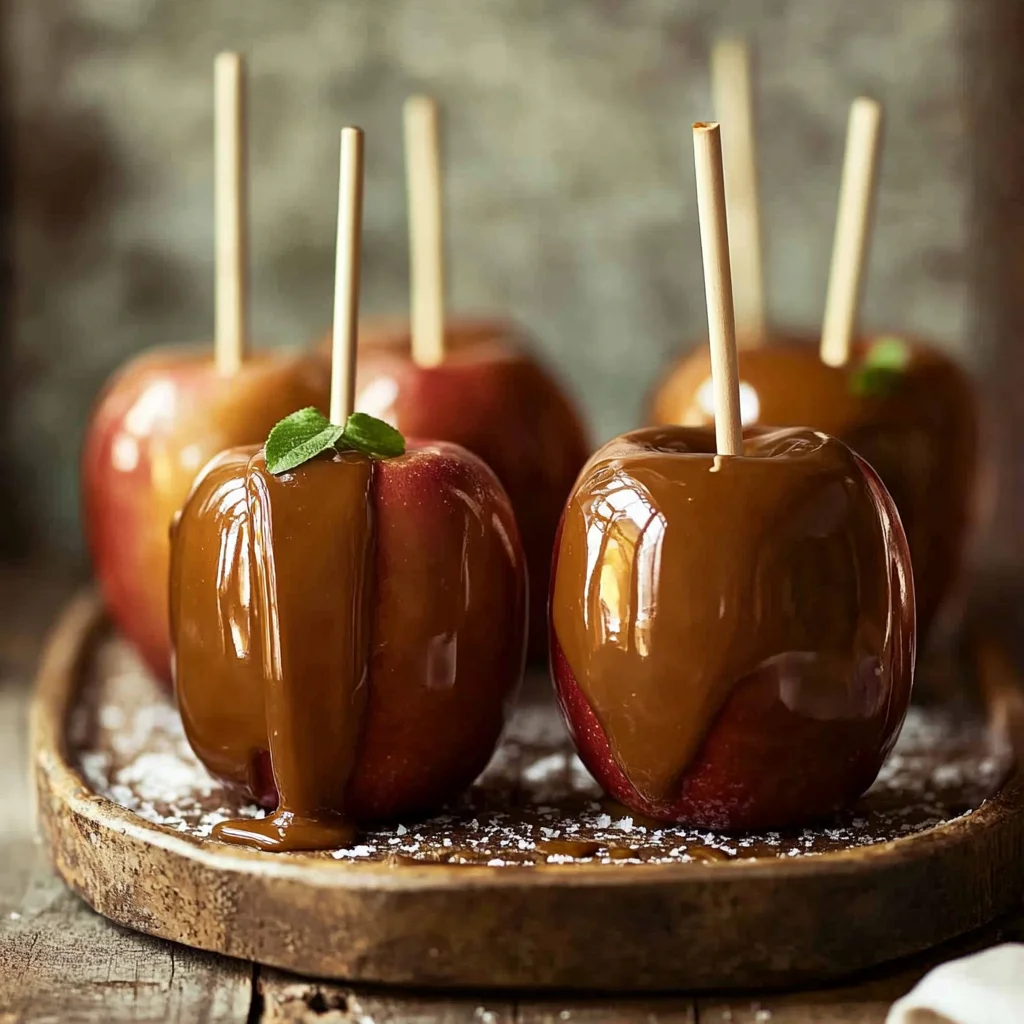
- Dip Apples: This is the fun part, but you need to work quickly, as the caramel will start to set as it cools. Take one prepared apple by its stick and dip it into the hot caramel. Gently tilt and twist the saucepan as you dip to ensure the apple is completely coated. Lift the apple slowly, allowing any excess caramel to drip back into the pan. You want a nice, even coating.
- Add Toppings (Optional): If you’re using toppings, now’s the time! While the caramel is still warm and sticky, immediately roll the caramel-coated apples in your desired toppings. Chopped peanuts, mini chocolate chips, colorful sprinkles, or even crushed Oreos are fantastic choices. This is where you can let your creativity shine!
- Cool: Once topped, place your finished caramel apples back onto the parchment-lined baking sheet. Let them cool completely at room temperature until the caramel is firm and set. This can take anywhere from 30 minutes to an hour, depending on your kitchen’s temperature.
Substitutions & Additions
One of the best things about homemade treats is the ability to customize! Here are some ideas to make these caramel apples uniquely yours:
- Apples: While Granny Smith provides that fantastic tart counterpoint, feel free to experiment with other firm apples like Honeycrisp, Gala, Fuji, or even a mix!
- Toppings Galore: The sky’s the limit here! Besides the classics, try crushed pretzels for a salty crunch, white chocolate drizzle, toasted coconut flakes, mini M&M’s, or even a sprinkle of chili powder for a sweet-spicy kick! If you’re a fan of rich caramel flavors, you might also love making some Easy No-Bake Caramel Pretzel Bars or perhaps a decadent No-Bake Toffee Caramel Cheesecake.
- Spice it Up: A tiny pinch of cinnamon or apple pie spice stirred into the caramel along with the vanilla can add another layer of warm flavor.
- Chocolate Drizzle: After the caramel has set, melt some chocolate chips (milk, dark, or white) and drizzle them over your apples for an extra touch of decadence.
Tips for Success
Making caramel apples is fun, but a few simple tips can ensure yours turn out perfectly every time:
- Bone Dry Apples are Non-Negotiable: I cannot stress this enough! Any water will cause the caramel to slide right off. Wash them well, then dry them even better. You can even wipe them down with a tiny bit of vinegar to remove any waxy coating, then dry them again thoroughly.
- Patience with the Caramel: Don’t try to rush the cooking process by cranking up the heat. Medium heat and continuous stirring prevent scorching and ensure the sugar melts evenly for a smooth caramel.
- Have Toppings Ready: Caramel sets quickly! Make sure your toppings are chopped and laid out before you start dipping so you can roll the apples immediately.
- Don’t Overcook the Caramel: If it gets too dark or thick, it will be hard and brittle when cooled. Keep an eye on that golden-brown color!
- Butter Your Parchment: A light swipe of butter or a quick spray of cooking oil on your parchment paper can make it even easier to remove the set caramel apples without sticking.
- Consider Other Apple Treats: If you’re loving all things apple and caramel, you might also enjoy learning how to make Slow Cooker Salted Caramel Apple Butter, it’s amazing on toast or even by the spoonful!
How to Store Caramel Apples
Once your beautiful caramel apples have set, you’ll want to store them properly to keep them fresh and delicious.
The best way to store caramel apples is individually wrapped in wax paper or cellophane bags. Keep them in the refrigerator. Stored this way, they will stay fresh and delicious for up to 1-2 weeks. Just bring them out about 15-30 minutes before serving to let the caramel soften slightly for the best texture.
FAQs
Got questions? I’ve got answers!
What kind of apples are best for caramel apples?
Granny Smith apples are my top pick! Their tartness is the perfect complement to the rich, sweet caramel. However, any firm, crisp apple like Honeycrisp, Fuji, Gala, or Pink Lady will work wonderfully.
Why is my caramel sliding off the apples?
The most common culprit is moisture on the apples. Ensure they are completely, totally dry before dipping. Another reason could be that your caramel wasn’t cooked quite enough, making it too thin, or it was too hot, preventing it from adhering.
Can I make the caramel ahead of time?
Yes, you can! You can prepare the caramel, let it cool completely, and store it in an airtight container in the refrigerator for up to a week. When you’re ready to use it, gently reheat it in a saucepan over low heat, stirring frequently, until it’s smooth and dippable again. Add a tablespoon of milk or cream if it seems too thick.
How long do homemade caramel apples last?
When stored properly in the refrigerator, homemade caramel apples will typically last for 1 to 2 weeks. The apples themselves will start to soften after that, affecting the texture.
Don’t forget to follow me on Pinterest for more delicious recipes and kitchen inspiration!
Sweet & Sticky Perfection: Homemade Caramel Apples
Ingredients
Equipment
Method
- Step 1: Prepare Apples: Wash and thoroughly dry each apple. This step is super important, as any moisture will prevent the caramel from sticking properly. Once dry, firmly insert a sturdy stick or skewer into the stem end of each apple. Place your prepared apples on a baking sheet lined with parchment paper. This will be their happy cooling spot!
- Step 2: Cook Caramel: In a medium saucepan, combine the sweetened condensed milk, light brown sugar, unsalted butter, and light corn syrup. Place this mixture over medium heat. Stir continuously for about 10-12 minutes until the mixture thickens and turns a beautiful golden brown. It should coat the back of a spoon and be visibly richer in color.
- Step 3: Finish Caramel: Once your caramel has reached that lovely thick, golden stage, immediately remove the saucepan from the heat. Stir in the vanilla extract and that little pinch of sea salt. Give it a good whisk to ensure everything is perfectly combined.
- Step 4: Dip Apples: Take one prepared apple by its stick and dip it into the hot caramel. Gently tilt and twist the saucepan as you dip to ensure the apple is completely coated. Lift the apple slowly, allowing any excess caramel to drip back into the pan. You want a nice, even coating.
- Step 5: Add Toppings (Optional): If you're using toppings, now's the time! While the caramel is still warm and sticky, immediately roll the caramel-coated apples in your desired toppings. Chopped peanuts, mini chocolate chips, colorful sprinkles, or even crushed Oreos are fantastic choices.
- Step 6: Cool: Once topped, place your finished caramel apples back onto the parchment-lined baking sheet. Let them cool completely at room temperature until the caramel is firm and set. This can take anywhere from 30 minutes to an hour, depending on your kitchen's temperature.