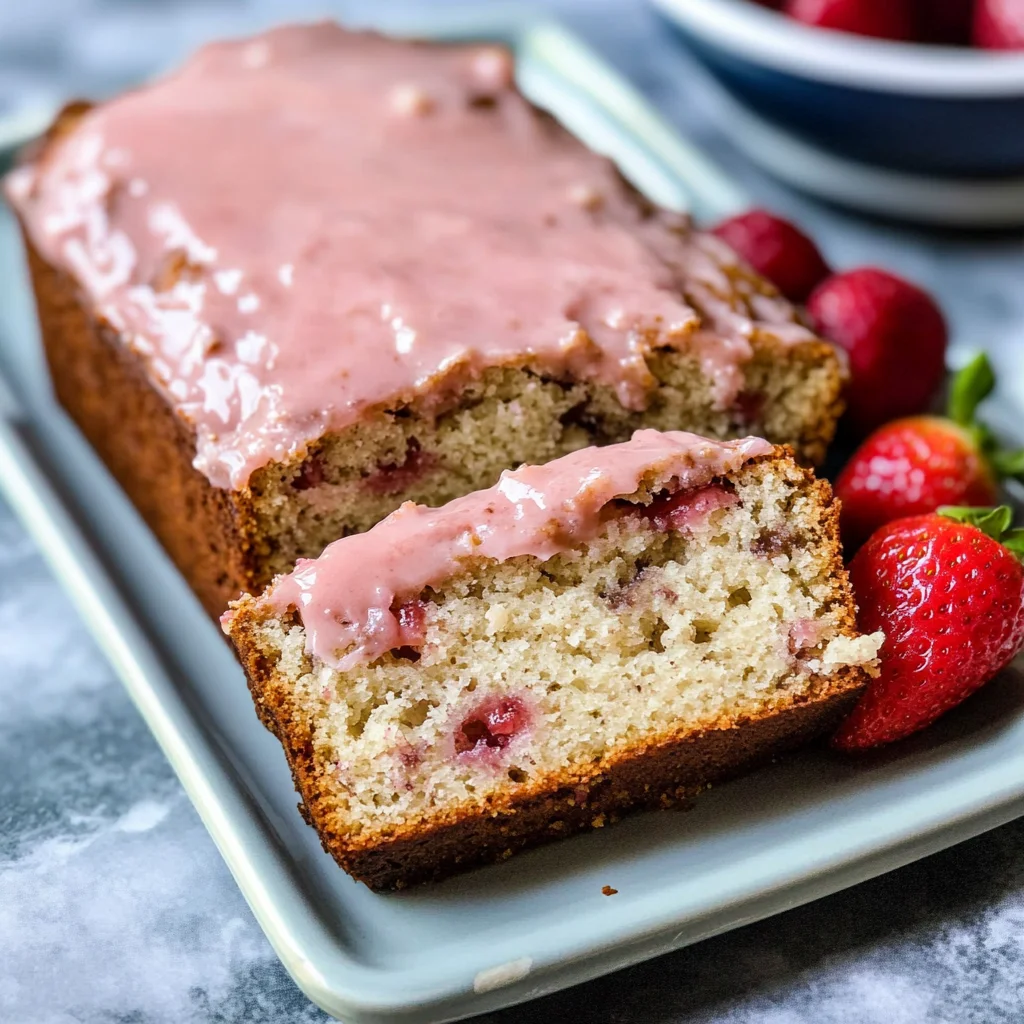
Oh, friend, there are some smells that just instantly transport you back to childhood, aren’t there? For me, it’s often the sweet, comforting aroma of freshly baked banana bread wafting from the kitchen. It’s like a warm hug in food form! But today, we’re taking that classic, beloved comfort and giving it a sunny, berry-filled twist that will make your taste buds sing: Strawberry Banana Bread.
This isn’t just any banana bread; it’s an unbelievably easy, wonderfully moist loaf bursting with sweet strawberries and that familiar banana goodness, all topped with a dreamy strawberry glaze. Seriously, if you’ve got some ripe bananas sitting on your counter, this recipe is your sign to turn them into pure magic. It’s quick enough for a spontaneous baking session but special enough for a brunch spread or a thoughtful gift. Trust me, you’re going to want to add this one to your regular baking rotation!
Why You’ll Love Strawberry Banana Bread
- Fast: From start to oven in under 15 minutes!
- Easy: Uses simple ingredients and a handy pancake mix shortcut.
- Giftable: Perfect for sharing with friends, neighbors, or as a host gift.
- Crowd-pleasing: Everyone from kids to adults adores this fruity twist on a classic.
Ingredients

Gathering your ingredients for this delightful bread is super simple. Here’s what you’ll need, along with a few friendly notes:
- 1 medium overripe banana: The riper, the better! We’re talking brown spots galore. These are the secret to that deep banana flavor and natural sweetness.
- 2 large eggs: Room temperature eggs mix better into your batter for a smoother texture.
- ¼ cup (59ml) water: Helps bring everything together.
- 2 teaspoons vanilla extract, divided: Pure vanilla is key here for that warm, inviting bakery taste.
- ½ cup (119ml) vegetable oil: Keeps the bread incredibly moist. You can also use melted unsalted butter if you prefer!
- ⅓ cup (67g) granulated sugar: Just enough sweetness to complement the fruit without being overly sugary.
- 2 cups (244g) Krusteaz Pancake Mix: This is our secret shortcut for a perfectly textured bread without measuring out flour, baking powder, and salt. So clever!
- 1 cup (149g) chopped strawberries: Fresh is best, but if you’re in a pinch, frozen (thawed and patted dry) can work too. The burst of color and flavor is everything!
- ¾ cup (86g) powdered sugar: For that sweet, dreamy glaze.
- ⅛ teaspoon strawberry extract: This really amplifies the strawberry flavor in the glaze. If you don’t have it, don’t worry, it’ll still be delicious!
- 2-3 tablespoons heavy whipping cream: Makes the glaze rich and smooth. Milk or half-and-half can also be used.
- 1-2 drops red food coloring (optional): For a pretty pink glaze that matches the strawberries!
How to Make Strawberry Banana Bread
Alright, let’s get those hands a little messy and make some magic happen! This process is so straightforward, you’ll be a pro in no time.
- Get Your Oven Ready: First things first, preheat your oven to 350°F (175°C). Then, grab a 9×5-inch loaf pan. You can give it a good spray with nonstick baking spray, or go old school and grease and flour it. This helps ensure your beautiful loaf pops right out.
- Mash Your Banana: In a big bowl, toss in your overripe banana. Grab a fork or a potato masher and get to mashing! You want it mostly smooth, but a few small lumps are totally fine and add character.
- Mix the Wet Ingredients: Into that mashed banana bowl, add your eggs, ¼ cup water, 1 teaspoon of vanilla extract, and the vegetable oil. Give it a good stir until everything is well combined.
- Combine Dry Ingredients: Now, add the granulated sugar and the pancake mix. Stir gently until just combined. Don’t overmix! Overmixing can lead to a tough loaf, and we want tender, moist goodness.
- Fold in the Strawberries: This is where the star of the show comes in! Gently fold in your chopped strawberries. You want them distributed evenly throughout the batter.
- Into the Pan: Pour your lovely batter into your prepared loaf pan. Give the pan a gentle tap or two on the counter to settle the batter.
- Bake It Up: Slide that pan into your preheated oven and bake for 40-50 minutes. You’ll know it’s ready when a toothpick inserted into the center comes out clean. Every oven is a little different, so keep an eye on it!
- Cool Down: Once baked, let the bread cool in the pan for about 15-20 minutes. This helps it firm up before you try to move it. After that, carefully remove it from the pan and let it cool completely on a wire rack before you even think about frosting it. Patience is a virtue, especially when it comes to delicious glazes!
- Whip Up the Glaze: While your bread is cooling, let’s make that irresistible glaze! In a small bowl, whisk together the powdered sugar with the remaining ½ teaspoon of vanilla extract, the strawberry extract (if you’re using it), and 2 tablespoons of heavy cream. Start with 2 tablespoons and add a little more cream, a tiny bit at a time, until you reach your desired consistency. If you want that gorgeous pink hue, now’s the time to add 1-2 drops of red food coloring.
- Frost and Enjoy!: Once your bread is completely cool (this is important, otherwise your glaze will melt!), drizzle or spread that beautiful strawberry glaze all over the top. Slice, serve, and savor!
Substitutions & Additions
One of the best things about baking at home is making a recipe your own! Here are some ideas to shake things up:
- Other Berries: Blueberries or raspberries would be fantastic in place of or in addition to the strawberries.
- Chocolate Chips: A ½ cup of white or semi-sweet chocolate chips folded into the batter would be a decadent addition.
- Nuts: For a little crunch, try adding ½ cup of chopped walnuts or pecans.
- Spices: A pinch of cinnamon or nutmeg could add a cozy warmth to the bread.
- Different Glazes: Not a fan of strawberry? A simple vanilla glaze, a cream cheese frosting, or even just a sprinkle of powdered sugar would be lovely. If you’re looking for another fun banana bread twist, you might love my Snickerdoodle Swirl Banana Bread – it’s a game-changer!
Tips for Success
I’ve baked my fair share of quick breads, and I’ve picked up a few tricks along the way to ensure your loaf turns out perfect every time:
- Don’t Overmix: This is probably the most important tip! Overmixing your batter develops the gluten, which can make your banana bread tough and chewy instead of tender and moist. Mix just until the ingredients are combined. A few streaks of flour are okay!
- Use Truly Overripe Bananas: The brown or blacker the banana peel, the sweeter and more flavorful your bread will be. Green or yellow bananas just won’t give you the same results.
- Cool Completely Before Glazing: I know, I know, it’s hard to wait! But if you glaze a warm loaf, the glaze will simply melt right off. Be patient, let it cool entirely, and you’ll have a beautiful, set glaze.
- Test for Doneness: That toothpick test is your best friend. If it comes out with wet batter, it needs more time. A few moist crumbs are fine, but no wet batter!
- Prepare Your Pan: Don’t skip greasing and flouring (or using nonstick spray) your loaf pan. It’s a small step that prevents your gorgeous bread from sticking.
How to Store Strawberry Banana Bread
Got leftovers? (If you do, you’re stronger than I am!) Here’s how to keep your delicious Strawberry Banana Bread fresh:
- Room Temperature: Once the bread is completely cool and the glaze is set, store it in an airtight container at room temperature for up to 3 days. This helps keep it moist and prevents the glaze from getting sticky.
- Freezing: If you want to save some for later, this bread freezes beautifully! For best results, freeze the bread unfrosted. Wrap the cooled loaf tightly in plastic wrap, then again in aluminum foil. It can be stored in the freezer for up to 3 months. When you’re ready to enjoy, thaw it overnight in the refrigerator or at room temperature, then prepare the glaze fresh! If you’re looking for more amazing sweet treats that freeze well, be sure to check out all my recipes!
FAQs
Got questions? I’ve got answers!
Can I use fresh bananas that aren’t overripe?
While you technically can use less ripe bananas, your bread won’t be as sweet or as moist. Overripe bananas are essential for the best flavor and texture in banana bread.
What if my glaze is too thin or too thick?
If your glaze is too thin, add a tiny bit more powdered sugar, about a tablespoon at a time, until it thickens up. If it’s too thick, add a very small amount (like ½ teaspoon) of heavy cream until it reaches your desired consistency.
Can I add other fruits?
Absolutely! This recipe is versatile. Blueberries, raspberries, or even chopped apples would be delicious. Just make sure to chop them small and pat them dry if they’re very juicy.
Is Krusteaz Pancake Mix essential, or can I use another brand?
Krusteaz is generally formulated for a good quick bread consistency, but other complete pancake mixes should work similarly. Just be aware that results might vary slightly depending on the specific mix’s ingredients.
I truly hope you enjoy making and devouring this Strawberry Banana Bread as much as I do. It’s truly a ray of sunshine in loaf form! Happy baking, friends!
For more delicious recipes and kitchen inspiration, be sure to follow along on Pinterest!

Sweet Strawberry Banana Bread
Ingredients
Equipment
Method
- Step 1: First things first, preheat your oven to 350°F (175°C). Then, grab a 9x5-inch loaf pan. You can give it a good spray with nonstick baking spray, or go old school and grease and flour it. This helps ensure your beautiful loaf pops right out.
- Step 2: In a big bowl, toss in your overripe banana. Grab a fork or a potato masher and get to mashing! You want it mostly smooth, but a few small lumps are totally fine and add character.
- Step 3: Into that mashed banana bowl, add your eggs, ¼ cup water, 1 teaspoon of vanilla extract, and the vegetable oil. Give it a good stir until everything is well combined.
- Step 4: Now, add the granulated sugar and the pancake mix. Stir gently until just combined. Don't overmix! Overmixing can lead to a tough loaf, and we want tender, moist goodness.
- Step 5: This is where the star of the show comes in! Gently fold in your chopped strawberries. You want them distributed evenly throughout the batter.
- Step 6: Pour your lovely batter into your prepared loaf pan. Give the pan a gentle tap or two on the counter to settle the batter.
- Step 7: Slide that pan into your preheated oven and bake for 40-50 minutes. You’ll know it’s ready when a toothpick inserted into the center comes out clean. Every oven is a little different, so keep an eye on it!
- Step 8: Once baked, let the bread cool in the pan for about 15-20 minutes. This helps it firm up before you try to move it. After that, carefully remove it from the pan and let it cool completely on a wire rack before you even think about frosting it. Patience is a virtue, especially when it comes to delicious glazes!
- Step 9: While your bread is cooling, let's make that irresistible glaze! In a small bowl, whisk together the powdered sugar with the remaining ½ teaspoon of vanilla extract, the strawberry extract (if you're using it), and 2 tablespoons of heavy cream. Start with 2 tablespoons and add a little more cream, a tiny bit at a time, until you reach your desired consistency. If you want that gorgeous pink hue, now's the time to add 1-2 drops of red food coloring.
- Step 10: Once your bread is completely cool (this is important, otherwise your glaze will melt!), drizzle or spread that beautiful strawberry glaze all over the top. Slice, serve, and savor!