Oh, my dears, there’s just something truly special about a homemade breakfast, isn’t there? It’s not just about the food; it’s about the warmth, the aroma filling the kitchen, and those precious moments gathered around the table. Growing up, weekend mornings were for pancakes or waffles, and the smell of them cooking always meant something delightful was brewing. This recipe for Red Velvet Marble Waffles brings all that nostalgic joy right into your home, but with a vibrant, show-stopping twist!
You might think red velvet is just for cakes, but let me tell you, when those rich cocoa notes and that iconic crimson swirl meet a crispy, fluffy waffle, it’s pure magic. And guess what? It’s far easier than it looks, quick enough for a leisurely weekend, and memorable enough to make any morning feel like a celebration. Get ready to impress your family and friends with these beauties!
Why You’ll Love Red Velvet Marble Waffles: A Delightful Breakfast Treat
- Fast: With two simple batters, you’ll be cooking in no time.
- Easy: No complicated techniques, just mixing and swirling!
- Giftable: Packaged nicely, these make a unique and thoughtful food gift.
- Crowd-pleasing: Who can resist the charm of red velvet and a beautiful marble pattern?
Ingredients

Gathering your ingredients is the first step to breakfast bliss. You’ll notice we’re making two distinct batters, which is what gives us that fantastic marbled effect!
- For the Classic Waffle Batter:
- 1 1/2 cups all-purpose flour: The backbone of our fluffy waffles.
- 1 tablespoon sugar: Just a touch for sweetness and browning.
- 1 teaspoon baking powder: Our primary leavening agent for that airy texture.
- 1/2 teaspoon baking soda: Helps with lift and tenderness, especially with buttermilk.
- 1/4 teaspoon salt: Balances the flavors.
- 1 cup buttermilk: Key for tender, moist waffles; reacts with baking soda.
- 2 large eggs: For structure and richness.
- 1/4 cup melted butter: Adds incredible flavor and a tender crumb.
- 1 teaspoon vanilla extract: A classic flavor enhancer.
- For the Red Velvet Batter:
- 1 cup all-purpose flour: The base for our red velvet portion.
- 2 tablespoons cocoa powder: This is where that signature red velvet flavor comes from – not too much, just enough!
- 1/4 cup sugar: A bit more sweetness for our special batter.
- 1 teaspoon baking powder: More lift!
- 1/2 teaspoon baking soda: Again, working with the buttermilk.
- 1/4 teaspoon salt: Flavor balance.
- 3/4 cup buttermilk: For that tender texture.
- 1 large egg: Binds it all together.
- 1/4 cup melted butter: Adds richness.
- 1 teaspoon vanilla extract: Essential for depth of flavor.
- 1 tablespoon red food coloring: The star of the show for that iconic red hue!
How to Make Red Velvet Marble Waffles: A Delightful Breakfast Treat
Let’s get cooking! Don’t be intimidated by making two batters; it’s super straightforward, and the payoff is absolutely worth it.
- Prepare the Classic Waffle Batter: Grab a good-sized mixing bowl. Into it, whisk together your dry ingredients for the classic batter: flour, sugar, baking powder, baking soda, and salt. Give them a good whisk to make sure everything is evenly distributed. In a separate bowl, whisk together the wet ingredients: buttermilk, eggs, melted butter, and vanilla extract. Now, here’s the magic trick for tender waffles: pour the wet ingredients into the dry ingredients and mix until they are just combined. A few lumps are totally fine! Overmixing can lead to tough waffles, and we definitely don’t want that.
- Prepare the Red Velvet Batter: You’ll follow a very similar process here. In a separate mixing bowl, whisk together the dry ingredients: flour, cocoa powder (this is your secret weapon for that subtle chocolate note!), sugar, baking powder, baking soda, and salt. In another bowl, whisk together the buttermilk, egg, melted butter, vanilla extract, and that vibrant red food coloring. Seriously, watching that color swirl in is part of the fun! Just like before, pour the wet into the dry and mix until just combined. If you’ve ever tried making easy red velvet marble cupcakes, you’ll know how satisfying it is to see that beautiful color come to life.
- Preheat the Waffle Iron: This step is crucial for crispy, perfectly cooked waffles. Get your waffle iron preheating according to its manufacturer’s instructions. You want it nice and hot before you add any batter.
- Create the Marbled Effect: Once your waffle iron is hot, lightly grease it. Now for the artistic part! Pour a small amount of your classic waffle batter onto the waffle iron. Don’t spread it out too much. Immediately follow with a small amount of the red velvet batter right next to or on top of the classic batter. Then, take a toothpick or a knife and gently swirl the batters together. Don’t overmix or you’ll lose the distinct colors, just a few gentle swirls to create those beautiful ribbons.
- Cook the Waffles: Close the waffle iron and cook according to the manufacturer’s instructions. This usually takes a few minutes, until the waffles are golden brown, crisp on the outside, and cooked through in the middle. They should release easily from the iron when done.
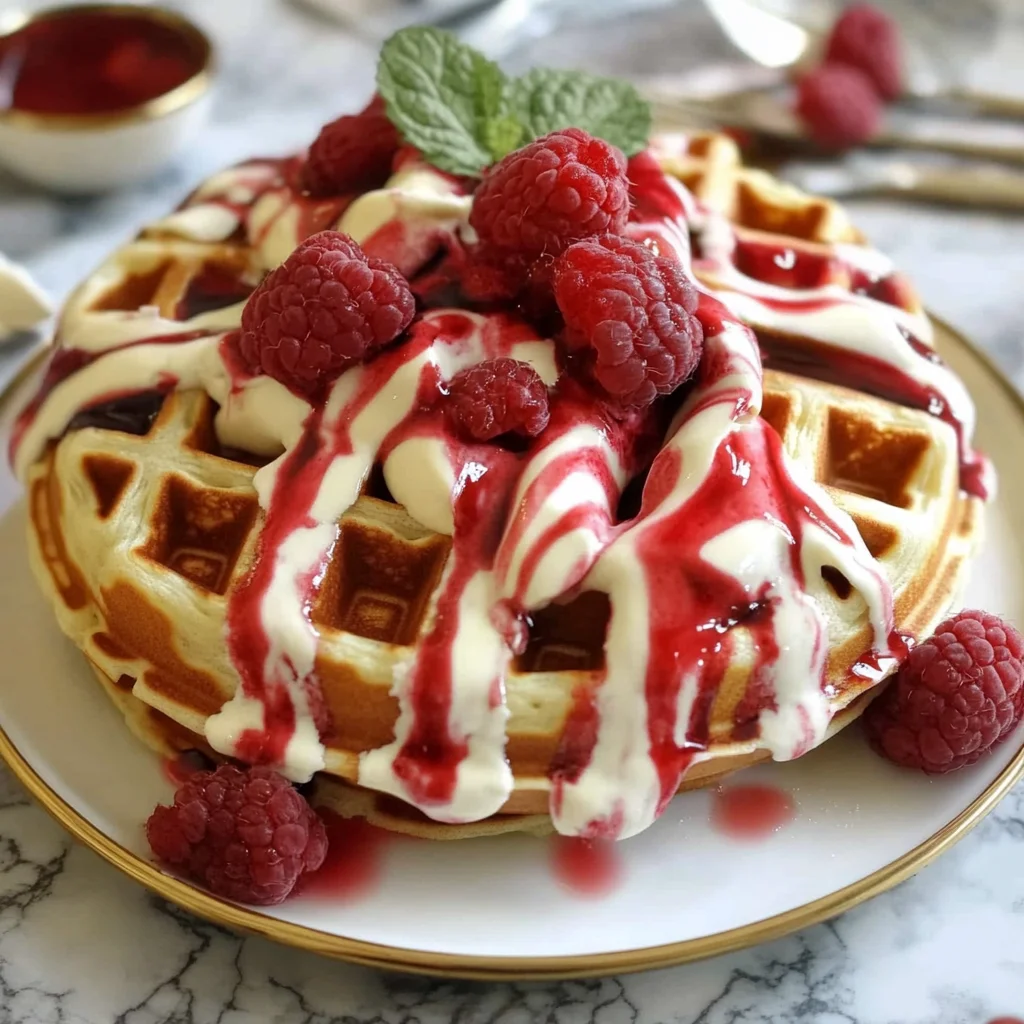
- Serve: The best part! Serve your gorgeous waffles warm. They’re incredible with a dollop of whipped cream, a sprinkle of fresh berries, or a drizzle of maple syrup. For another delightful breakfast treat, you might also love making fluffy lemon ricotta pancakes, but these red velvet beauties truly stand out!
Substitutions & Additions
One of the best things about cooking is making a recipe truly your own! Here are a few ideas to spark your creativity:
- Chocolate Chips: Stir in a handful of white chocolate or milk chocolate chips into either batter for an extra layer of sweetness.
- Cream Cheese Glaze: For that true red velvet experience, whip up a simple cream cheese glaze to drizzle over the top.
- Berries: Fresh raspberries or strawberries are fantastic both in the batter (fold them in gently!) or as a topping.
- Extracts: A tiny drop of almond extract in the red velvet batter can give it a lovely subtle complexity.
- Dairy-Free: You can swap buttermilk for a dairy-free alternative (like almond milk with a splash of vinegar) and use plant-based butter.
- Toppings Galore: Beyond whipped cream and syrup, think about chocolate syrup, a dusting of powdered sugar, or even a scoop of vanilla ice cream for a dessert waffle! If you’re looking for another fun, sweet treat, consider whipping up some strawberry cheesecake donut holes!
Tips for Success
- Don’t Overmix: I’ll say it again because it’s that important! Overmixing develops gluten, leading to tough waffles. Mix until just combined.
- Rest Your Batter: If you have 10-15 minutes, let your batters rest after mixing. This allows the flour to fully hydrate and the leavening agents to start working, leading to a lighter, fluffier waffle.
- Hot Waffle Iron: A properly preheated iron is essential for that perfect crispy exterior. If your first waffle isn’t perfect, don’t worry, it’s often a test run!
- Grease Lightly: A little cooking spray or butter between each waffle prevents sticking and helps with browning.
- Keep Warm: To keep waffles warm and crisp while you cook the rest, place them directly on a wire rack set over a baking sheet in a 200°F (95°C) oven.
How to Store Red Velvet Marble Waffles: A Delightful Breakfast Treat
If you’re lucky enough to have leftovers, here’s how to keep them fresh:
- Cool Completely: Always let your waffles cool completely on a wire rack before storing. This prevents them from getting soggy.
- Refrigeration: Place cooled waffles in an airtight container or a Ziploc bag. They will keep in the refrigerator for up to 3-4 days.
- Freezing: For longer storage, flash freeze waffles by placing them in a single layer on a baking sheet until solid (about 1-2 hours). Then, transfer them to a freezer-safe bag or container. They will last for up to 2-3 months.
- Reheating: The best way to reheat frozen waffles is in a toaster, toaster oven, or even your waffle iron (on a low setting). This brings back that lovely crispiness!
FAQs
Got questions? I’ve got answers!
- Can I make this recipe without food coloring?
Absolutely! The food coloring is purely for aesthetics. Your waffles will still have that delicious subtle cocoa flavor and be wonderfully marbled with two shades of brown/tan. - What kind of food coloring should I use?
Gel food coloring provides a more vibrant color with less liquid, so it’s my preference. However, liquid food coloring will also work; you might just need a tiny bit more to achieve the desired hue. - Can I use regular milk instead of buttermilk?
You can, but the texture and flavor might be slightly different. Buttermilk reacts with the baking soda to create a more tender, fluffy waffle. If you don’t have buttermilk, you can make your own by adding 1 tablespoon of lemon juice or white vinegar to a measuring cup, then filling the rest with regular milk until it reaches 1 cup. Let it sit for 5 minutes before using.
For more delicious recipes and kitchen inspiration, be sure to follow us on Pinterest!

Red Velvet Marble Waffles
Ingredients
Equipment
Method
- Step 1: Prepare the Classic Waffle Batter: In a large mixing bowl, whisk together the dry ingredients for the classic batter: flour, sugar, baking powder, baking soda, and salt. In a separate bowl, whisk together the wet ingredients: buttermilk, eggs, melted butter, and vanilla extract. Pour the wet ingredients into the dry ingredients and mix until just combined, being careful not to overmix (a few lumps are fine).
- Step 2: Prepare the Red Velvet Batter: In a separate mixing bowl, whisk together the dry ingredients for the red velvet batter: flour, cocoa powder, sugar, baking powder, baking soda, and salt. In another bowl, whisk together the wet ingredients: buttermilk, egg, melted butter, vanilla extract, and red food coloring. Pour the wet into the dry and mix until just combined, also being careful not to overmix.
- Step 3: Preheat the Waffle Iron: Get your waffle iron preheating according to its manufacturer’s instructions. You want it nice and hot before you add any batter.
- Step 4: Create the Marbled Effect: Once your waffle iron is hot, lightly grease it. Pour a small amount of your classic waffle batter onto the waffle iron, then immediately follow with a small amount of the red velvet batter right next to or on top of the classic batter. Take a toothpick or a knife and gently swirl the batters together, ensuring not to overmix to maintain distinct colors.
- Step 5: Cook the Waffles: Close the waffle iron and cook according to the manufacturer’s instructions. This usually takes a few minutes, until the waffles are golden brown, crisp on the outside, and cooked through in the middle. They should release easily from the iron when done.
- Step 6: Serve: Serve your gorgeous waffles warm. They're incredible with a dollop of whipped cream, a sprinkle of fresh berries, or a drizzle of maple syrup.