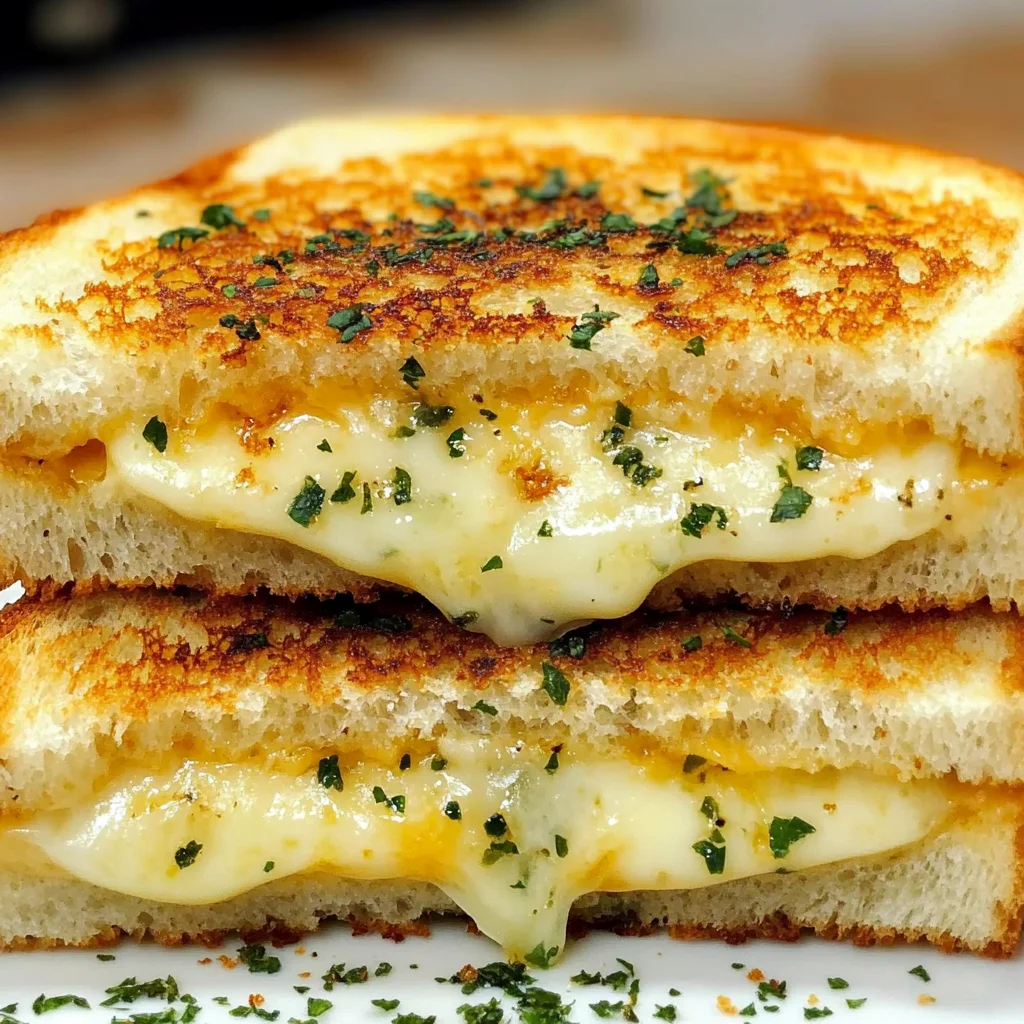
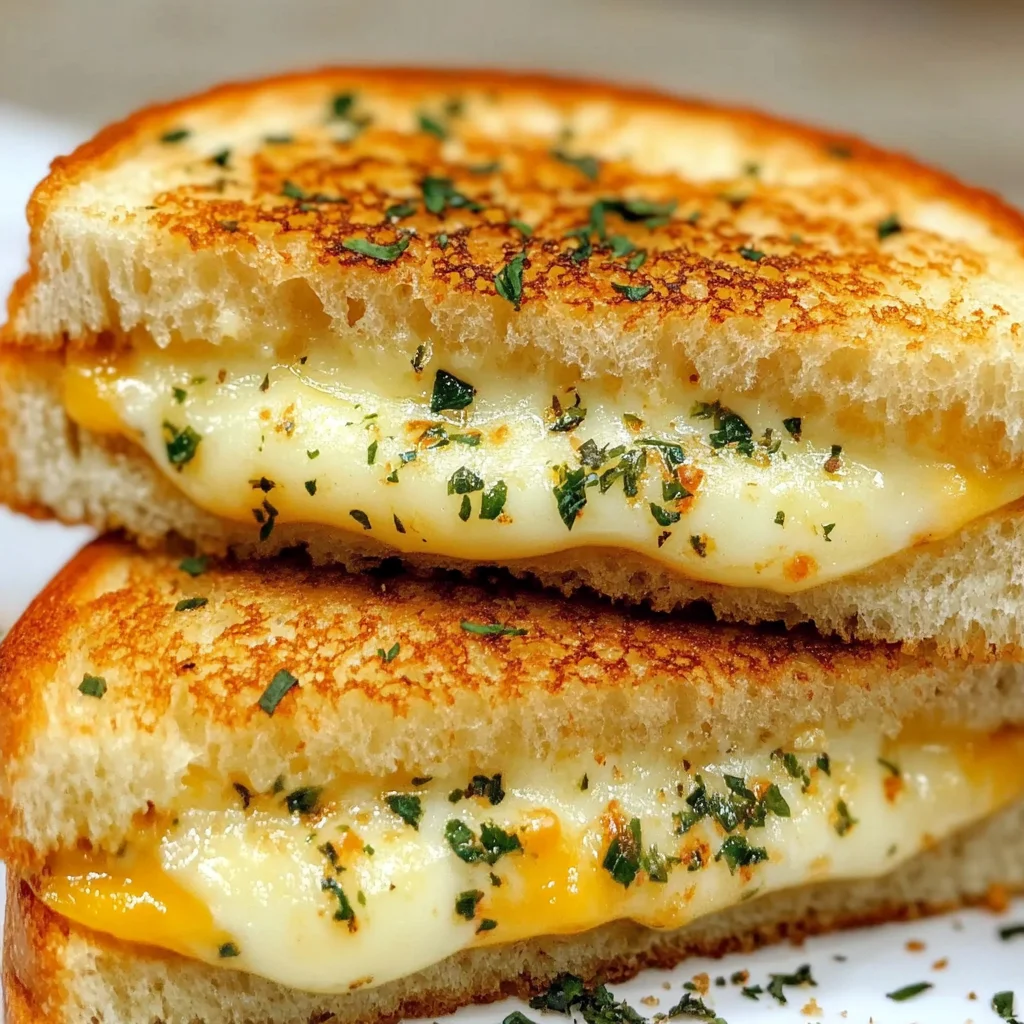
Remember those days? Coming home from school, maybe a little chilly, and the smell of a grilled cheese sandwich hitting you? It was pure magic, right? That simple, melty, buttery perfection. Well, get ready to level up that classic comfort! I’m bringing you something truly special today: Garlic Bread Grilled Cheese.
It takes everything you love about a classic grilled cheese and infuses it with the irresistible flavor of garlic bread. Think golden, crispy bread, gooey melted cheese, and that amazing aroma of garlic and butter mingling together. And the best part? It’s just as easy and quick as the original. This isn’t just a sandwich; it’s a warm hug on a plate, ready in minutes. Trust me, you’re going to want to make this tonight.
Why You’ll Love This Recipe
- Fast – Seriously, you’ll be eating in under 15 minutes.
- Easy – Only a handful of simple ingredients and steps!
- Giftable – Okay, maybe not the sandwich itself, but the idea of it is a gift! Plus, it makes people happy.
- Crowd-pleasing – Who doesn’t love grilled cheese? Who doesn’t love garlic bread? It’s a winning combo!
Ingredients
Gather ’round, friends! Here’s what you’ll need to make this deliciousness happen. Simple stuff, I promise!
- 2 tablespoons unsalted butter, softened: Make sure it’s nice and soft so it mixes easily. I always recommend unsalted so you can control the saltiness yourself.
- 1/2 tablespoon garlic powder: This little hero brings all that classic garlic bread flavor without any chopping!
- 1/2 teaspoon dried parsley: Adds a touch of color and that essential herby note you expect from garlic bread.
- 4 slices of bread: Choose a sturdy bread that holds up well to grilling – your favorite sandwich bread is perfect!
- 1 cup shredded mozzarella and cheddar cheese blend: The classic melty duo! You can totally swap this up with your favorite cheeses, but this blend is a guaranteed crowd-pleaser.
How to Make It
Alright, let’s get cooking! This is where the magic happens, and it couldn’t be simpler. Follow along, and you’ll have a warm, melty sandwich in no time.
- First things first, let’s make that glorious garlic butter! Grab a small bowl and add your softened butter, garlic powder, and dried parsley. Give it a good stir until everything is beautifully combined and you have a fragrant, pale green butter mixture. It should look like garlic bread butter!
- Now, take your four slices of bread. Spread that delicious garlic butter evenly all the way to the edges on one side of each slice. Be generous! This is where all that amazing flavor and crispy crust come from.
- Time to assemble the sandwiches! Place two slices of bread in your cold skillet, buttered-side down. Now, pile that wonderful cheese blend evenly over those two slices. Don’t be shy! Finally, top with the remaining two bread slices, with the buttered-side facing up. You’ve got two beautiful, ready-to-grill sandwiches!
- Turn your stovetop to low heat. This is crucial! Cooking on low heat is the secret to getting a perfectly golden, crispy outside and fully melted cheese inside without burning the bread. Place your assembled sandwiches in the skillet.
- Let them cook gently for about 4 to 5 minutes. Peak underneath one with a spatula – you’re looking for a lovely golden brown color and a nice crispy texture.
- Now, carefully flip those beauties over using your spatula. Cook the other side for another 4 to 5 minutes, or until that side is also golden brown and, more importantly, the cheese is completely melted and gooey. You should see it just starting to ooze!
- Once they’re perfect – golden, crispy, and cheesy – remove them from the skillet.
- Slice in half (the classic diagonal cut is a must for maximum cheese pull!) and serve immediately. These are best enjoyed hot and fresh!
Substitutions & Additions
While this recipe is perfection as is, feel free to play around and make it your own! Think of these as tasty suggestions from my kitchen to yours.
- Cheese, Please! Swap the cheddar/mozzarella blend for sharp cheddar, provolone, Gruyere, pepper jack for a kick, or even a smoky Gouda. A mix of cheeses is always fun!
- Herb It Up: Add a pinch of dried oregano or Italian seasoning to the garlic butter mix for an extra layer of flavor. Fresh chives or finely chopped fresh parsley can be added to the butter or sprinkled over the cheese.
- Spice It Up: A tiny pinch of red pepper flakes in the butter adds a subtle warmth.
- Make it Meaty: Add a slice or two of ham, turkey, or even some cooked bacon crumbles over the cheese before topping with the second slice of bread.
- Veggie Boost: A thin slice of tomato or some caramelized onions can be a delicious addition, just be mindful they can add moisture.
Tips for Success
Making the perfect grilled cheese (garlic bread style or not!) is simple, but a few pointers can make all the difference. Avoid common pitfalls and get that perfect result every time!
- Low and Slow is Key: I know I mentioned it in the instructions, but it bears repeating! Cooking on low heat is the most important tip. High heat burns the bread before the cheese has a chance to melt. Patience is a virtue here.
- Softened Butter: Make sure your butter is genuinely soft, not melted. If it’s too hard, it’s difficult to spread evenly. If it’s melted, it can soak into the bread too much.
- Edge to Edge: Spread that garlic butter all the way to the edges of the bread for maximum crispiness and flavor in every bite.
- Don’t Overcrowd: Cook only as many sandwiches as comfortably fit in your skillet without touching. This ensures even cooking and browning.
- Prep Ahead (Kind Of): You can definitely mix the garlic butter ahead of time and keep it covered in the fridge. Just let it soften slightly at room temperature before spreading. Assembling the sandwiches right before cooking is best.
How to Store It
Okay, let’s be honest. Grilled cheese is always best eaten fresh off the skillet. The crispy bread and melty cheese are at their peak!
However, if you happen to have leftovers (which is unlikely with this recipe!), you can store them. Let the sandwich cool completely, then wrap it tightly in plastic wrap or aluminum foil and store it in the refrigerator for 1-2 days. Reheating can be a little tricky – the microwave will make it soft (not ideal!), but you can try reheating it gently in a skillet over low heat, covered, until warmed through and the cheese is re-melted. It won’t be quite as crispy as fresh, but still tasty!
FAQs
Got questions? I’ve got answers! Here are a few common ones that might pop up.
Q: Can I use salted butter instead of unsalted?
A: Yes, absolutely! Just be aware that your grilled cheese might be a little saltier. You likely won’t need to add any extra salt.
Q: What kind of bread is best for grilled cheese?
A: A sturdy, medium-thick slice of bread works best. Sourdough, Texas toast, or a good quality white or whole wheat sandwich bread are all great options. Avoid anything too thin or too soft that might fall apart.
Q: Why does my grilled cheese burn before the cheese melts?
A: This is almost always because your heat is too high! Remember: Low and slow is the way to go. Keep the heat low, and give the cheese time to melt as the bread slowly toasts.
Q: Can I add fresh garlic instead of garlic powder?
A: You can, but fresh garlic can sometimes burn quickly in the pan, leading to a bitter flavor. Garlic powder is recommended for consistency and ease in this recipe to get that classic garlic bread flavor infused throughout the butter and bread without burning issues.

Easy Garlic Bread Grilled Cheese
Ingredients
Equipment
Method
- Step 1: Make the garlic butter. In a small bowl, combine the softened unsalted butter, garlic powder, and dried parsley. Stir until beautifully combined and fragrant.
- Step 2: Spread the garlic butter evenly on one side of each of the four slices of bread, spreading all the way to the edges.
- Step 3: Assemble the sandwiches. Place two slices of bread in your cold skillet, buttered-side down. Pile the shredded cheese blend evenly over these two slices. Top with the remaining two bread slices, buttered-side facing up.
- Step 4: Turn your stovetop to low heat. Place the assembled sandwiches in the skillet.
- Step 5: Cook gently for about 4 to 5 minutes per side. Peek underneath one with a spatula; you're looking for a lovely golden brown color and a nice crispy texture.
- Step 6: Carefully flip the sandwiches over using your spatula. Cook the other side for another 4 to 5 minutes, or until that side is also golden brown and the cheese is completely melted and gooey.
- Step 7: Once perfect (golden, crispy, cheesy), remove them from the skillet.
- Step 8: Slice in half (diagonal cut recommended) and serve immediately. Best enjoyed hot and fresh!