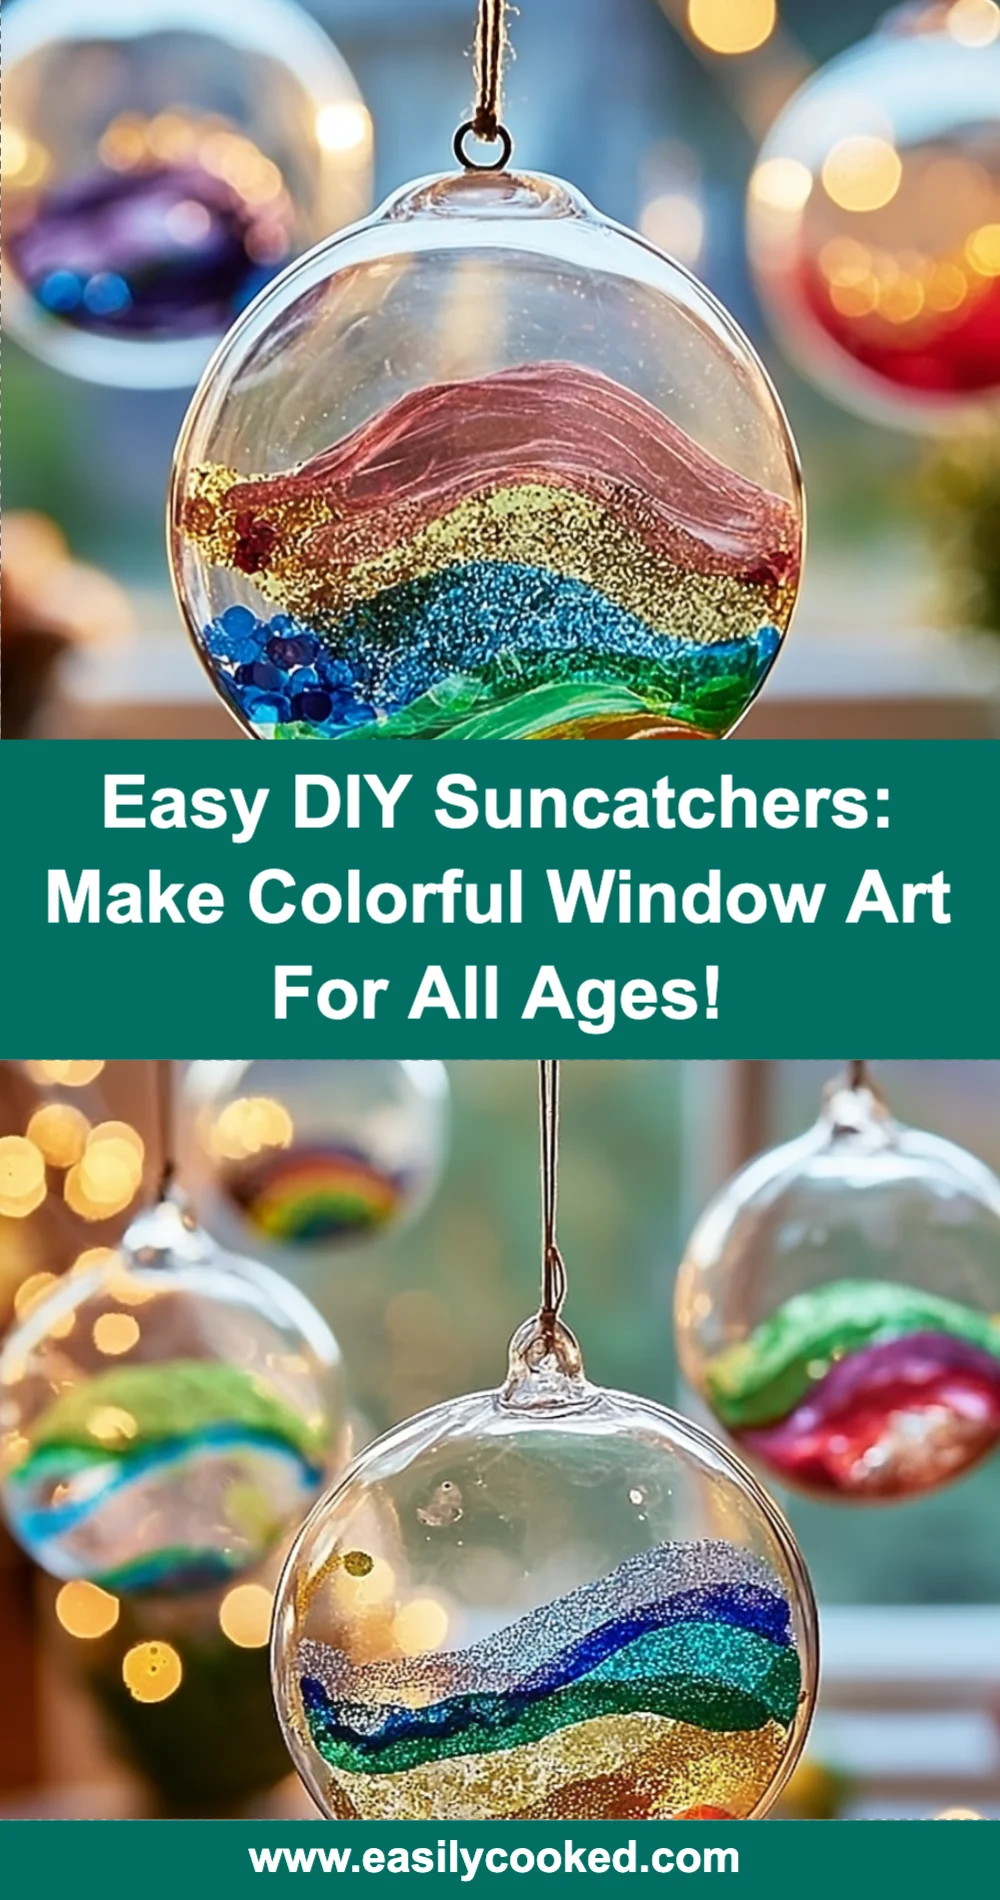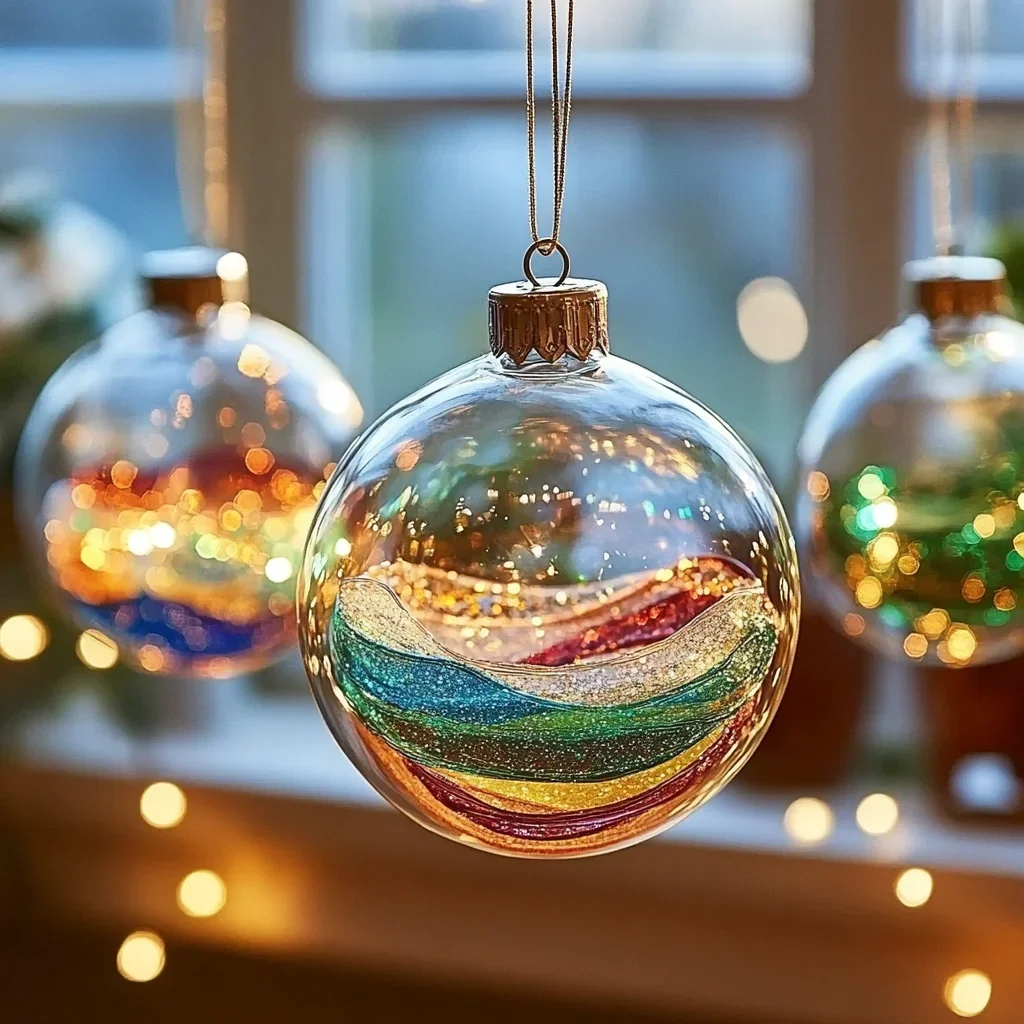
Remember those sunny afternoons spent crafting as a kid? Taking a simple idea and turning it into something bright and beautiful always filled me with joy. Today, I’m excited to share an easy and delightful project that you can do with your kids or simply enjoy on your own: Easy DIY Suncatchers! These colorful creations not only brighten up any window but also serve as a wonderful way to express your creativity. Plus, they are quick to make and perfect for all ages!
Why You’ll Love Easy DIY Suncatchers: Make Colorful Window Art for All Ages!
- Fast
- Easy
- Giftable
- Crowd-pleasing
Ingredients
Here’s what you’ll need to whip up these vibrant suncatchers:
- Clear plastic sheets or transparency film: This will be the canvas for your colorful designs.
- Permanent markers or colored Sharpies: Grab your favorite colors to bring your suncatchers to life.
- Scissors: For cutting the plastic sheets into fun shapes.
- Black construction paper (optional): Use this to create a striking border or background for your art.
- Adhesive (tape or glue): To attach the plastic to the construction paper, if using.
- String or fishing line (optional for hanging): Perfect for displaying your creations in the sunlight.
How to Make Easy DIY Suncatchers: Make Colorful Window Art for All Ages!
Now, let’s get crafting! Follow these simple steps to create your stunning suncatchers:
- Start by cutting the clear plastic sheets into your desired shapes or sizes. Think hearts, stars, or even abstract shapes!
- Grab your permanent markers or colored Sharpies and let your creativity flow. Draw designs or patterns on one side of the plastic sheets. Don’t be afraid to mix colors and create something unique!
- If you want to add a special touch, cut shapes from black construction paper to create a border or background for your suncatchers. This step adds depth and contrast to your designs.
- Using tape or glue, adhere the plastic sheets to the black construction paper if you are using it. This step is optional, but it really makes your suncatchers pop!
- If you plan to hang your suncatcher, punch a hole at the top and attach string or fishing line.
- Finally, place your beautiful suncatchers in a sunny window and watch as they transform your space with colorful light!
Substitutions & Additions
Feel free to get creative with your suncatchers! Here are some fun ideas:
- Use glitter or stickers to embellish your designs for extra sparkle.
- Try using different types of colored paper instead of black for a different look.
- If you want to make seasonal suncatchers, consider themes like autumn leaves or winter snowflakes.
Tips for Success
To ensure your suncatchers turn out beautifully, keep these tips in mind:
- Make sure to let the ink dry completely before handling the plastic sheets to prevent smudging.
- If you’re crafting with kids, supervise the use of scissors and markers to keep it safe!
- Prep a few sheets in advance so you can have a crafting party with friends or family.
How to Store Easy DIY Suncatchers: Make Colorful Window Art for All Ages!
If you want to save your suncatchers for future use, store them flat in a cool, dry place. Keep them away from direct sunlight to prevent fading. They can last for many seasons to come!
FAQs
Can I use regular markers instead of permanent ones?
Regular markers may wash off or fade over time, so I recommend using permanent markers for the best results.
What if I don’t have black construction paper?
No worries! You can use any color paper, or even skip this step altogether and just use the plastic sheets.
How long do these suncatchers last?
With proper care, your suncatchers can last for months, adding cheer to your home.
Creating Easy DIY Suncatchers is such a fun way to brighten your day and your space. For more delicious recipes, check out Earl Grey Cookies or Pumpkin Banana Loaf for treats you will love!
Don’t forget to follow our Pinterest for more inspiring ideas!
Easy DIY Suncatchers
Ingredients
Equipment
Method
- Step 1: Start by cutting the clear plastic sheets into your desired shapes or sizes. Think hearts, stars, or even abstract shapes!
- Step 2: Grab your permanent markers or colored Sharpies and let your creativity flow. Draw designs or patterns on one side of the plastic sheets. Don’t be afraid to mix colors and create something unique!
- Step 3: If you want to add a special touch, cut shapes from black construction paper to create a border or background for your suncatchers.
- Step 4: Using tape or glue, adhere the plastic sheets to the black construction paper if you are using it.
- Step 5: If you plan to hang your suncatcher, punch a hole at the top and attach string or fishing line.
- Step 6: Finally, place your beautiful suncatchers in a sunny window and watch as they transform your space with colorful light!
Notes