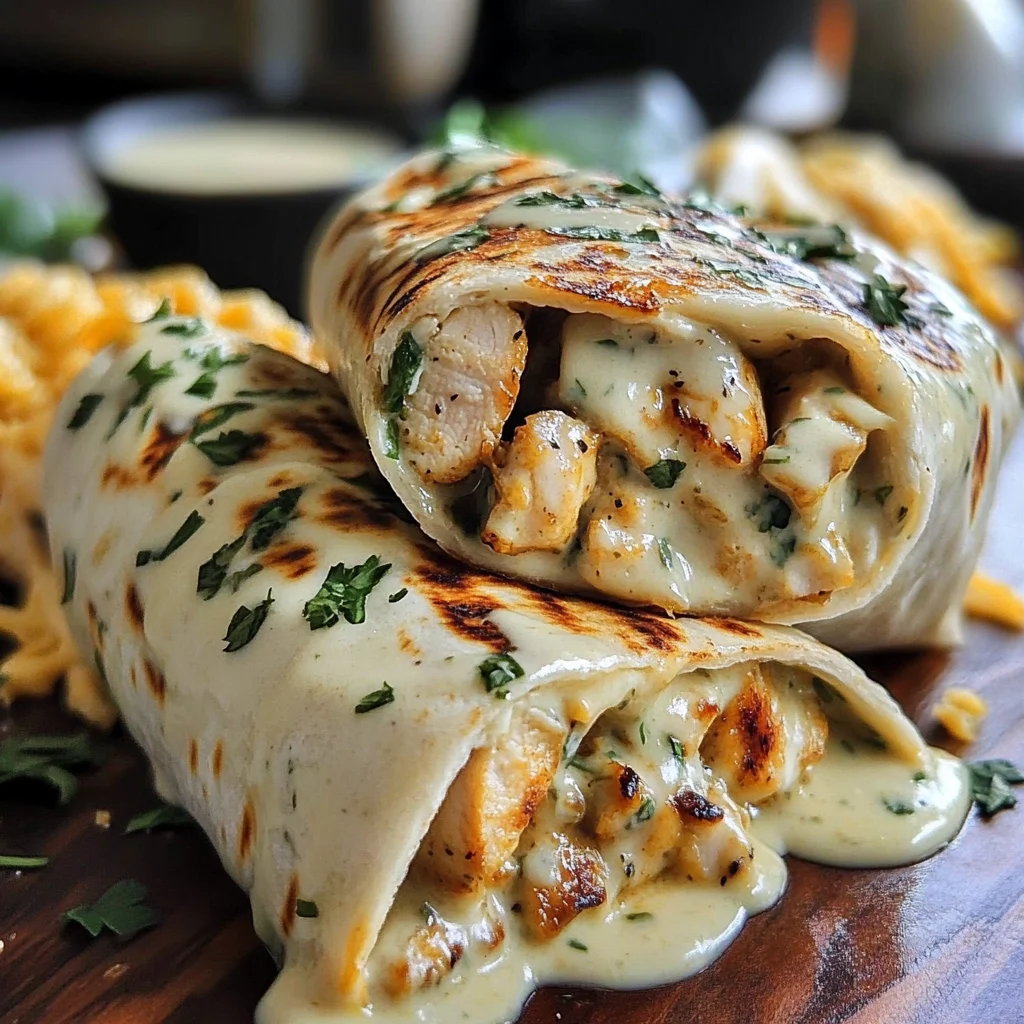
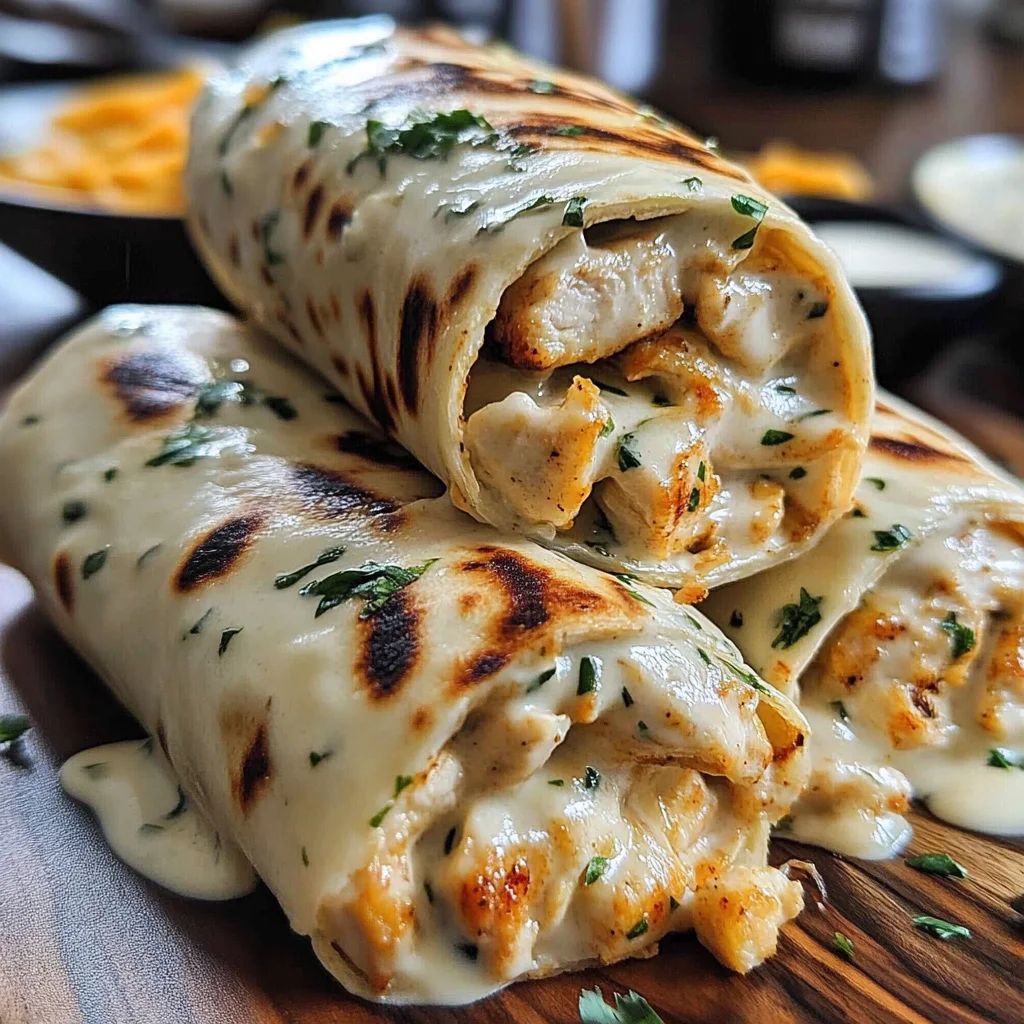
Remember those nights when you just needed something quick, comforting, and absolutely delicious, but the thought of spending hours in the kitchen felt impossible? Me too! That’s exactly why I fell head over heels for these Cheesy Chicken Garlic Wraps. They’re the kind of simple, satisfying meal that brings a little bit of cozy magic to even the busiest day. Imagine warm, slightly crispy tortillas stuffed with tender, garlicky chicken and melty, gooey cheese – pure comfort in your hands! This recipe is so straightforward, you’ll have dinner on the table in no time, and trust me, everyone will be asking for seconds (or thirds!).
Why You’ll Love This Recipe
- Fast: Ready in under 30 minutes, perfect for busy evenings!
- Easy: Simple ingredients and straightforward steps mean anyone can make these.
- Giftable: Okay, maybe not “giftable” in the traditional sense, but they’re definitely crowd-pleasing for parties or potlucks!
- Crowd-pleasing: Who can resist cheesy, garlicky goodness wrapped up?
Ingredients
Gathering your ingredients is the first step to this deliciousness! Here’s what you’ll need:
- 2 large chicken breasts, diced: I like to cut mine into bite-sized pieces so they cook quickly and are easy to wrap.
- 4 large flour tortillas: Choose good quality ones that are soft and pliable – they hold up best for wrapping and grilling.
- 1 tablespoon olive oil: Just a little bit to help our chicken get beautifully golden.
- 2 teaspoons garlic powder: Adds that essential savory garlic flavor throughout the chicken.
- 1 teaspoon onion powder: Complements the garlic and adds another layer of deliciousness.
- 1 teaspoon paprika: Gives a lovely color and a touch of mild, sweet flavor.
- Salt, to taste: Don’t be shy! Seasoning is key to flavorful chicken.
- Pepper, to taste: A little bit of black pepper adds a nice subtle kick.
- 1 cup shredded cheddar cheese: For that classic cheesy pull!
- 1/2 cup shredded mozzarella cheese: Adds extra stretch and creaminess to the cheese mix.
- 1/2 cup creamy garlic sauce: This is the magic ingredient! Use your favorite store-bought version or a simple homemade one like a garlic aioli or ranch.
- Fresh parsley, chopped (optional, for garnish): A little sprinkle of green adds freshness and makes them look extra inviting.
How to Make It
Let’s get cooking! You won’t believe how quickly these come together.
- Prep the chicken: In a medium bowl, toss your diced chicken with the olive oil, garlic powder, onion powder, paprika, salt, and pepper. Give it a good stir to make sure every piece is coated in those yummy seasonings. This step infuses the chicken with flavor right from the start!
- Cook the chicken: Heat your trusty non-stick skillet over medium heat. Add the seasoned chicken and cook for about 6-8 minutes, stirring now and then. You’re looking for the chicken to be golden brown on the outside and cooked all the way through (no pink inside!). Once it’s done, take it off the heat and let it cool just slightly while you get your wraps ready.
- Assemble the wraps: Lay your tortillas out flat on your counter. Spread a generous layer of that creamy garlic sauce over the entire surface of each tortilla. Next, evenly divide the cooked chicken among the tortillas, placing it towards the center or slightly to one side. Pile on the shredded cheddar and mozzarella cheese right over the chicken. Get ready for the cheesy goodness!
- Fold and grill: Now it’s time to fold! Fold the sides of the tortilla in slightly, then fold the bottom edge up and over the filling, rolling tightly to form a wrap or burrito shape. Wipe out your skillet if needed (or just use the same one!) and place the folded wraps seam-side down. Grill for about 2-3 minutes per side. You want the tortillas to be golden brown and crispy, and that cheese needs to be wonderfully melted and gooey inside.
- Serve it up: Remove the wraps from the skillet. I like to cut each one in half right away – it shows off that amazing cheesy filling! If you like, sprinkle some fresh chopped parsley over the top for a pop of color and freshness. Serve immediately and watch them disappear!
Substitutions & Additions
Want to switch things up? This recipe is super flexible! Here are a few ideas:
- Different Protein: Not a chicken fan? Try thinly sliced steak, cooked shrimp, ground turkey, or even plant-based chicken alternatives or black beans for a vegetarian twist.
- Cheese Please: Swap cheddar and mozzarella for Monterey Jack, Colby Jack, or a spicy pepper Jack for a kick!
- Sauce Swap: No creamy garlic sauce? Try ranch dressing, Caesar dressing, a simple garlic aioli, or even just some sour cream mixed with garlic powder.
- Veggie Boost: Sauté some onions and bell peppers with the chicken, or add spinach, corn, or black beans to the filling before wrapping.
- Make it Spicy: Add a pinch of cayenne pepper to the chicken seasoning or drizzle hot sauce inside the wrap.
Tips for Success
Want to make sure your wraps turn out perfectly every time? Keep these tips in mind:
- Don’t Overcrowd the Pan: When cooking the chicken, cook in batches if necessary to avoid steaming instead of searing. This ensures you get that nice golden brown color.
- Don’t Overfill: While it’s tempting to stuff them full, don’t add too much filling or they’ll be hard to roll and prone to breaking open.
- Tight Roll is Key: Practice rolling your wraps tightly. Folding in the sides first and then rolling from the bottom up helps keep everything tucked inside.
- Grill Seam-Side Down First: Starting with the seam side down helps “seal” the wrap as it grills, preventing it from unrolling.
- Prep Ahead: You can cook the chicken ahead of time and store it in the fridge for a day or two. This makes assembling the wraps even faster!
How to Store It
If you happen to have any leftovers (a rare occurrence in my house!), here’s how to keep them fresh:
Let the wraps cool completely. Store them in an airtight container in the refrigerator for up to 2-3 days. To reheat, I recommend using a skillet or a toaster oven to help the tortilla crisp up again, rather than the microwave which can make them a little soft.
FAQs
Got questions? I’ve got answers!
Can I use pre-cooked chicken?
Absolutely! If you have leftover roasted chicken or rotisserie chicken, simply shred or dice it and toss it with the seasonings and a little oil before adding it to the wraps. Skip step 2 of cooking the chicken.
What kind of creamy garlic sauce works best?
Any creamy garlic sauce you love will work! Think garlic aioli, garlic ranch dressing, or a dedicated creamy garlic sauce from the grocery store’s condiment aisle.
Can I bake these instead of pan-grilling?
Yes, you can! Assemble the wraps as directed. Place them seam-side down on a baking sheet lined with parchment paper. Bake in a preheated oven at 400°F (200°C) for about 10-15 minutes, flipping halfway through, until golden and the cheese is melted.
Can I make these low-carb?
Yes, you can swap the flour tortillas for low-carb tortillas or large lettuce wraps (like butter or romaine lettuce leaves) for a lighter option. You might need to eat lettuce wraps more like tacos or use a fork, as they won’t hold up to pan-grilling like tortillas.

Easy Cheesy Chicken Garlic Wraps
Ingredients
Equipment
Method
- Step 1: Prep the chicken: In a medium bowl, toss diced chicken with olive oil, garlic powder, onion powder, paprika, salt, and pepper. Stir to coat.
- Step 2: Cook the chicken: Heat a non-stick skillet over medium heat. Add seasoned chicken and cook for about 6-8 minutes, stirring, until golden brown and cooked through. Remove from heat and cool slightly.
- Step 3: Assemble the wraps: Lay tortillas flat. Spread a generous layer of creamy garlic sauce over each. Evenly divide cooked chicken, placing it towards the center or slightly to one side. Pile on shredded cheddar and mozzarella cheese over the chicken.
- Step 4: Fold and grill: Fold the sides of the tortilla in slightly, then fold the bottom edge up and over the filling, rolling tightly to form a wrap. Place seam-side down in the skillet (wipe clean if needed). Grill for about 2-3 minutes per side until golden brown, crispy, and cheese is melted.
- Step 5: Serve it up: Remove wraps from the skillet. Cut each in half. Garnish with fresh chopped parsley if desired. Serve immediately.