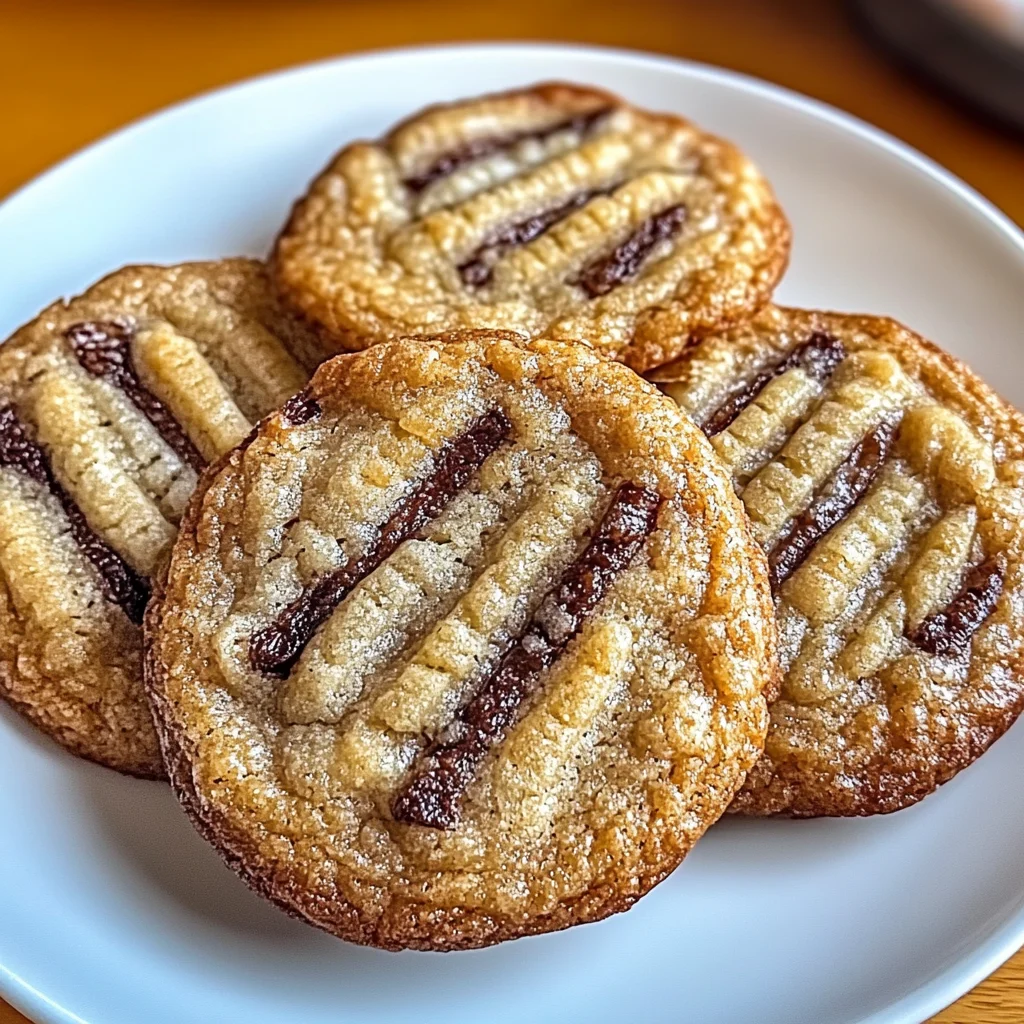
Okay, friends, let’s talk about that lone, sad, super-ripe banana sitting on your counter. You know the one. It’s a little too far gone for just eating plain, but it’s pure gold for baking! While classic banana bread is always a winner, sometimes you want something a little quicker, a little more snackable, something you can share (or hoard, no judgment here!). That’s where these incredible Banana Bread Cookies come in.
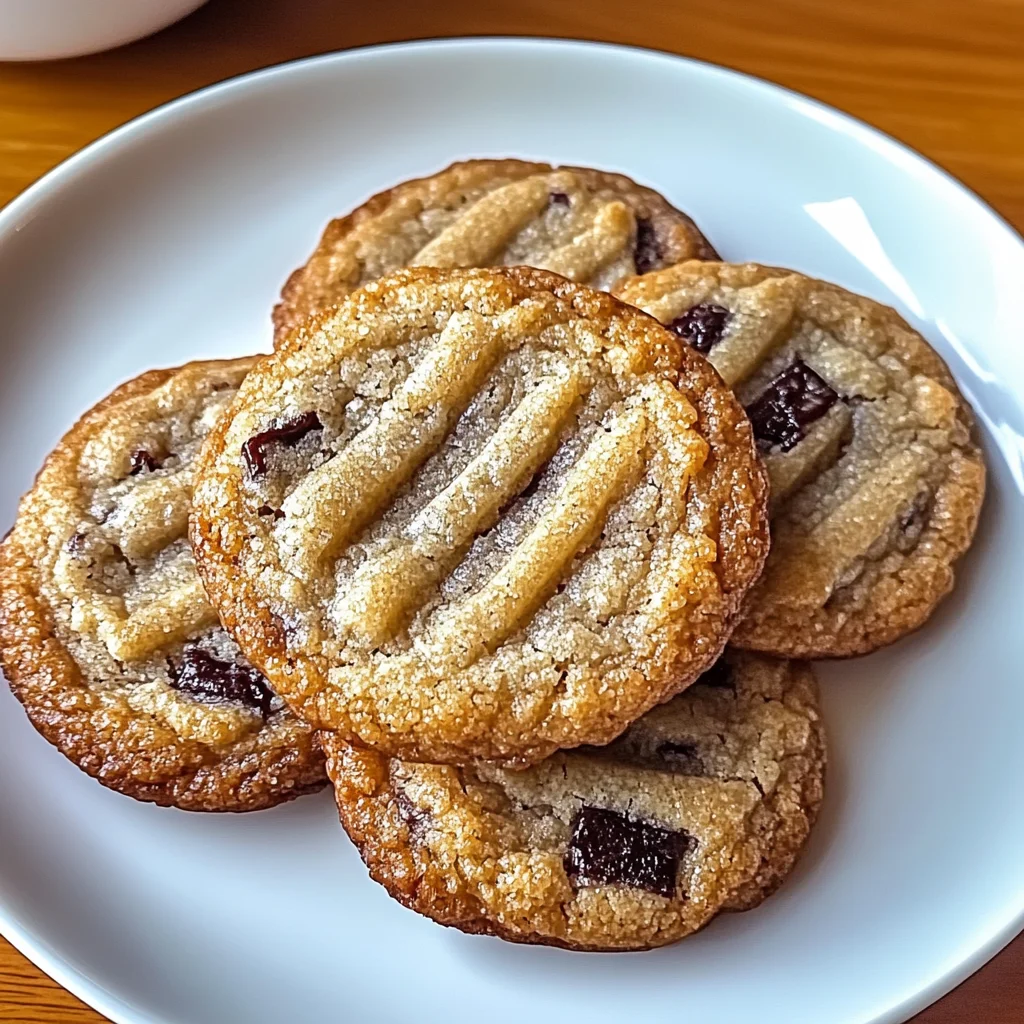
Imagine all the cozy, comforting flavors of your favorite banana bread, but in a soft, chewy cookie package. They’re ridiculously easy to whip up, requiring minimal effort and transforming those brown bananas into pure deliciousness in under 30 minutes. Seriously, these might just become your new favorite way to use up spotty bananas. They’re the perfect bite of comfort!
Why You’ll Love This Recipe
- Fast: From mixing bowl to warm cookie in under 30 minutes. Perfect for sudden cravings!
- Easy: No fancy equipment needed, just simple mixing and baking. Even beginner bakers can nail these.
- Giftable: Bag them up with a pretty ribbon! They make a wonderful homemade gift that everyone will adore.
- Crowd-pleasing: Who doesn’t love banana bread? Who doesn’t love cookies? Put them together and you’ve got a guaranteed hit!
- Uses Ripe Bananas: Finally, a delicious destiny for those spotty guys on the counter!
Ingredients
Here’s what you’ll need to make these little bites of heaven. Most of these are probably already in your pantry!
- 1 Ripe Banana: The star of the show! The riper, the better – we’re talking brown spots galore. That’s where all the natural sweetness and banana flavor lives.
- ½ cup Granulated Sugar: Just enough sweetness to complement the banana without being overwhelming.
- ¼ cup Melted Butter: Gives these cookies their wonderful tender texture and richness.
- 1 Large Egg: Helps bind everything together and adds structure.
- 1 teaspoon Vanilla Extract: Always essential for adding warmth and depth to baked goods. Don’t skip this!
- 1 cup All-Purpose Flour: Our base. Standard white flour works perfectly here.
- ½ teaspoon Baking Soda: Our leavening agent. It helps the cookies puff up just a bit.
- ¼ teaspoon Salt: Crucial for balancing the sweetness and enhancing all the other flavors.
- ½ teaspoon Ground Cinnamon (optional): Cinnamon and banana are a match made in heaven, but if you’re not a fan, you can totally leave it out.
- ¼ cup Chopped Walnuts or Chocolate Chips (optional): This is where you can customize! Walnuts add a nice crunch, and chocolate chips… well, they’re chocolate chips. Enough said.
How to Make It
Okay, ready? Let’s get baking! It’s super simple, I promise.
Step 1: Get Ready!
First things first, preheat your oven to 350°F (175°C). Grab a baking sheet (or two!) and line it with parchment paper. This makes cleanup a breeze and helps the cookies bake evenly and prevents sticking.
Step 2: Mash That Banana!
In a medium bowl, grab that ripe banana and mash it up really well with a fork. You want it nice and smooth, with maybe just a few tiny lumps if you like. Now, stir in the granulated sugar, melted butter, the egg, and the vanilla extract. Give it a good whisk until everything is smoothly combined. It should look like a slightly lumpy batter at this point.
Step 3: Whisk the Dry Stuff
In a separate, smaller bowl, whisk together the all-purpose flour, baking soda, salt, and that optional cinnamon. Give it a good mix so the baking soda and salt are evenly distributed. This helps ensure consistent cookies!
Step 4: Combine Gently
Now, gradually add the dry ingredients into the wet ingredients. Mix everything together with a spoon or spatula just until you don’t see any dry streaks of flour left. Be careful not to overmix! Overmixing can lead to tough cookies, and we want nice, tender ones. If you’re adding walnuts or chocolate chips, gently fold them in now until they are just distributed throughout the dough.
Step 5: Scoop ‘Em Out!
Drop rounded tablespoons of the cookie dough onto your prepared baking sheet. Leave about 2 inches of space between each cookie to give them room to spread a little. A cookie scoop works perfectly here to get nice, even-sized cookies, but two spoons work just fine too!
Step 6: Bake!
Pop that baking sheet into your preheated oven. Bake for about 10-12 minutes. You’ll know they’re done when the edges look lightly golden brown and the tops look set (not wet or shiny). They might still look a little soft in the center, and that’s perfect for a chewy cookie!
Step 7: Cool Down
This is the hardest part – waiting! Let the cookies cool on the baking sheet for about 5 minutes. They are delicate when hot and need a moment to firm up. After 5 minutes, carefully transfer them to a wire rack to cool completely. Or, if you can’t wait (I usually can’t!), enjoy one warm!
Substitutions & Additions
This recipe is pretty forgiving and fun to play with! Here are a few ideas:
- Different Nuts: Instead of walnuts, try chopped pecans for a different nutty flavor.
- More Chocolate! White chocolate chips or even butterscotch chips would be delicious swaps or additions.
- Spices: Add a pinch of nutmeg or a tiny pinch of ground cloves along with the cinnamon for extra warmth.
- Oats: For a slightly chewier, heartier cookie, swap out a quarter cup of the all-purpose flour for old-fashioned rolled oats.
- Glaze: Once cooled, you could drizzle these with a simple powdered sugar glaze (powdered sugar mixed with a tiny bit of milk or water) for extra sweetness.
- Dried Fruit: A few raisins or dried cranberries could add a nice chewiness and tangy flavor.
Tips for Success
A few little pointers to make sure your cookies turn out perfect every time:
- Use RIPE Bananas: I know I already said it, but it’s key! Under-ripe bananas won’t mash easily and won’t give you that concentrated banana flavor and sweetness.
- Measure Flour Correctly: Spoon the flour into your measuring cup and level it off with a straight edge. Don’t scoop directly from the bag, as this compacts the flour and you’ll end up with too much, leading to dry cookies.
- Don’t Overmix: Once the dry ingredients are added, mix just until combined. Overmixing develops the gluten in the flour, which makes cookies tough.
- Don’t Overbake: These are meant to be soft and chewy! Pull them out when the edges are set and lightly golden. They will continue to set up as they cool on the baking sheet.
- Use a Cookie Scoop: For uniform cookies that bake evenly, a cookie scoop is your best friend!
- Prep Ahead: You can make the cookie dough and keep it covered in the refrigerator for up to 24 hours before baking. You might need to let it sit at room temperature for 10-15 minutes before scooping if it’s too firm.
How to Store It
These cookies are best enjoyed fresh, but they store well too!
- Room Temperature: Store completely cooled cookies in an airtight container at room temperature for up to 3-4 days.
- Refrigerator: You can store them in the fridge in an airtight container for up to a week.
- Freezer (Baked Cookies): Place cooled cookies in a single layer on a baking sheet to freeze for about an hour, then transfer them to a freezer-safe container or bag. They’ll keep for up to 2-3 months. Thaw at room temperature.
- Freezer (Dough): You can scoop the dough balls onto a parchment-lined baking sheet, freeze them until solid, then transfer the frozen dough balls to a freezer bag. Bake from frozen, adding a minute or two to the baking time.
FAQs
Here are a few common questions you might have:
Q: Can I use less sugar?
A: You can try reducing the granulated sugar slightly, maybe down to ¼ cup, but keep in mind that sugar doesn’t just add sweetness; it also affects the texture and spread of the cookies. Reducing it too much might make them less chewy.
Q: Can I use whole wheat flour?
A: You can swap out some or all of the all-purpose flour for whole wheat or white whole wheat flour, but they might be a bit denser and not spread quite as much. I recommend starting by swapping only half the flour.
Q: What if I don’t have baking soda?
A: Baking soda is pretty important for the texture here as it reacts with the banana and other ingredients to give them lift. Baking powder won’t work quite the same way. It’s best to use baking soda for this recipe.
Q: My bananas aren’t very ripe, can I still use them?
A: While you can, your cookies won’t have as much natural sweetness or intense banana flavor. The riper the banana, the more flavor you get! If they aren’t very spotty, maybe wait a day or two, or plan on adding a tiny bit more sugar if you’re in a hurry.

Easy & Chewy Banana Bread Cookies
Ingredients
Equipment
Method
- Step 1: Get Ready! Preheat oven to 350°F (175°C). Line a baking sheet with parchment paper.
- Step 2: Mash That Banana! In a medium bowl, mash the ripe banana well with a fork. Stir in the granulated sugar, melted butter, egg, and vanilla extract. Whisk until smoothly combined.
- Step 3: Whisk the Dry Stuff In a separate, smaller bowl, whisk together the all-purpose flour, baking soda, salt, and optional cinnamon.
- Step 4: Combine Gently Gradually add the dry ingredients into the wet ingredients. Mix with a spoon or spatula just until no dry streaks of flour remain. Do not overmix. If using, gently fold in the optional walnuts or chocolate chips.
- Step 5: Scoop 'Em Out! Drop rounded tablespoons of dough onto the prepared baking sheet, leaving about 2 inches of space between cookies.
- Step 6: Bake! Bake for about 10-12 minutes, or until edges are lightly golden and tops are set.
- Step 7: Cool Down Let cookies cool on the baking sheet for about 5 minutes, then carefully transfer to a wire rack to cool completely.