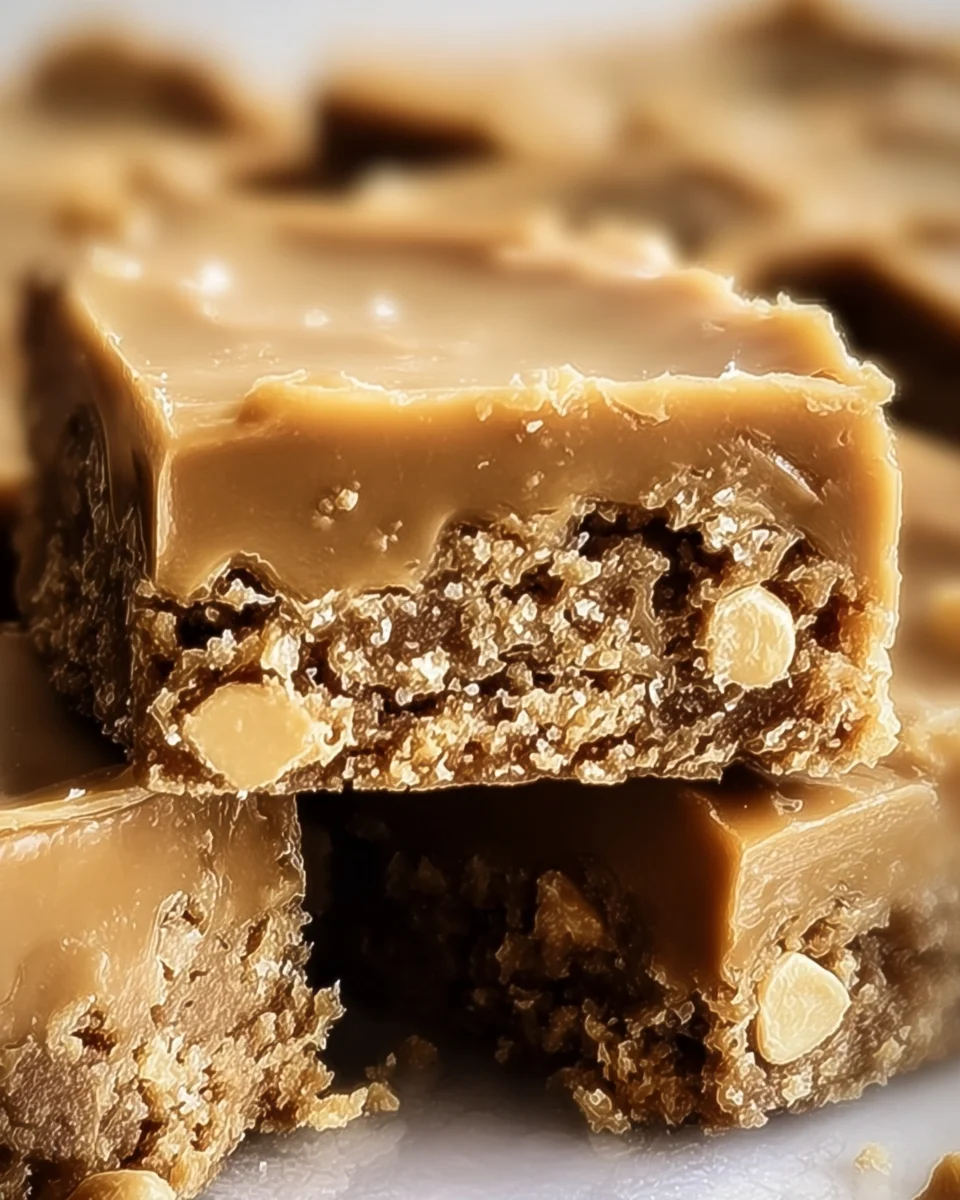
There’s something truly special about a homemade treat that brings back memories of school days and lunchtime snacks. Peanut Butter Lunch Lady Cookie Bars are a nostalgic delight that combines creamy peanut butter and gooey chocolate chips into a simple, crowd-pleasing dessert. What’s even better? They’re super easy to whip up and perfect for sharing with friends or family!
Why You’ll Love Peanut Butter Lunch Lady Cookie Bars
- Fast
- Easy
- Giftable
- Crowd-pleasing
Ingredients
- 1 cup creamy peanut butter: This is the star ingredient that gives these bars their rich flavor.
- 1 cup granulated sugar: Adds sweetness and helps create that lovely texture.
- 1 cup packed brown sugar: Gives moisture and a deeper flavor to the bars.
- 1 cup unsalted butter, softened: Ensures the bars are rich and buttery.
- 4 large eggs: Binds everything together and adds fluffiness.
- 2 teaspoons vanilla extract: A must for that warm, aromatic flavor.
- 3 cups all-purpose flour: Provides structure to the bars.
- 1 teaspoon baking soda: Helps the bars rise a bit.
- 1/2 teaspoon salt: Enhances the sweetness and balances the flavors.
- 2 cups chocolate chips: Because who can resist chocolate?
How to Make Peanut Butter Lunch Lady Cookie Bars
Let’s get baking! Follow these simple steps, and you’ll have a batch of these delightful bars in no time.
- Preheat your oven to 350°F (175°C) and grease a 9×13 inch baking pan.
- In a large mixing bowl, combine the peanut butter, granulated sugar, brown sugar, and softened butter. Beat until smooth and creamy.
- Add the eggs and vanilla extract to the mixture, and continue to mix until thoroughly combined.
- In a separate bowl, whisk together the flour, baking soda, and salt.
- Gradually add the dry ingredients to the wet ingredients, mixing until just combined.
- Fold in the chocolate chips.
- Spread the batter evenly into the prepared baking pan.
- Bake for 25-30 minutes, or until the edges are golden brown and a toothpick inserted in the center comes out clean.
- Allow to cool in the pan before cutting into squares. Serve and enjoy!
Substitutions & Additions
If you want to mix things up a bit, here are some fun ideas:
- Try using crunchy peanut butter for added texture.
- Swap half the chocolate chips for butterscotch chips for a different flavor profile.
- Add a handful of chopped nuts for an extra crunch.
- Mix in some dried fruits like cranberries or raisins for a fruity twist.
Tips for Success
Here are a few tips to ensure your Peanut Butter Lunch Lady Cookie Bars turn out perfectly:
- Make sure your butter is softened, not melted, for the best texture.
- Don’t overmix the batter once you add the dry ingredients; it can make the bars tough.
- If you want to prep ahead, you can mix the dry ingredients in advance and store them until you’re ready to bake.
How to Store Peanut Butter Lunch Lady Cookie Bars
These bars are best stored in an airtight container at room temperature. They should stay fresh for about a week, but I doubt they’ll last that long! You can also freeze them for up to three months. Just make sure to wrap them well.
FAQs
- Can I use natural peanut butter? Yes, but the texture may be a bit different since natural peanut butter can be oilier.
- Can I make these bars gluten-free? Absolutely! Just substitute the all-purpose flour with a gluten-free baking blend.
- How do I know when they are done baking? The edges should be golden brown, and a toothpick inserted in the center should come out clean.
These Peanut Butter Lunch Lady Cookie Bars are a delightful treat that will surely bring smiles to your kitchen. For more delicious recipes, check out Pumpkin Banana Loaf or Easy Peanut Butter Cup Dump Cake for treats you will love!
If you enjoyed this recipe, be sure to follow me on Pinterest for more sweet inspirations!
Peanut Butter Lunch Lady Cookie Bars
Ingredients
Equipment
Method
- Step 1: Preheat your oven to 350°F (175°C) and grease a 9x13 inch baking pan.
- Step 2: In a large mixing bowl, combine the peanut butter, granulated sugar, brown sugar, and softened butter. Beat until smooth and creamy.
- Step 3: Add the eggs and vanilla extract to the mixture, and continue to mix until thoroughly combined.
- Step 4: In a separate bowl, whisk together the flour, baking soda, and salt.
- Step 5: Gradually add the dry ingredients to the wet ingredients, mixing until just combined.
- Step 6: Fold in the chocolate chips.
- Step 7: Spread the batter evenly into the prepared baking pan.
- Step 8: Bake for 25-30 minutes, or until the edges are golden brown and a toothpick inserted in the center comes out clean.
- Step 9: Allow to cool in the pan before cutting into squares. Serve and enjoy!