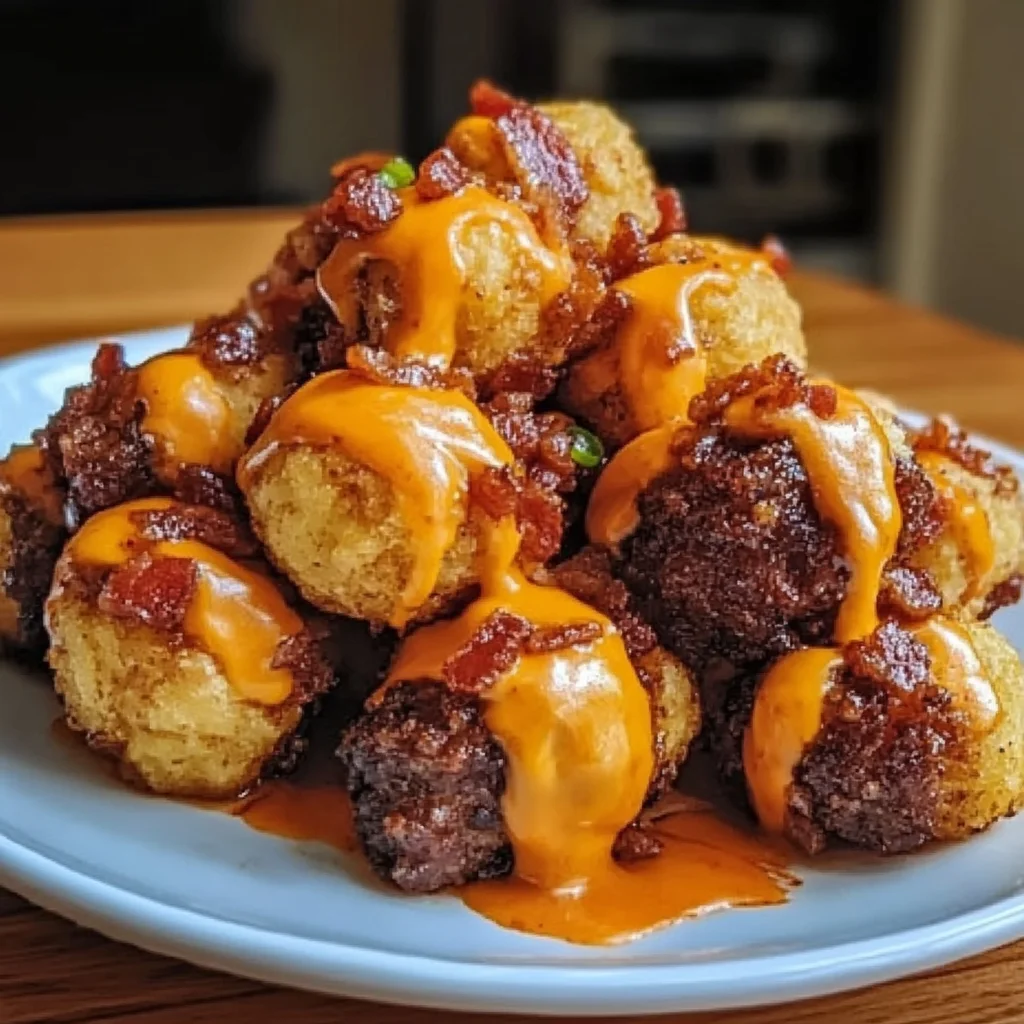
Remember those carefree days when a juicy cheeseburger and a pile of crispy tater tots were all you needed to make a perfect meal? Well, my friend, get ready to combine those two iconic comfort foods into one mind-blowing, bite-sized explosion of flavor! These Crispy BBQ Bacon Cheeseburger Tater Tot Bombs are pure genius. They’re everything you love about a classic burger, wrapped up in a crunchy tater tot shell, and elevated with smoky BBQ sauce and savory bacon. Trust me, once you try these, there’s no going back. They’re incredibly easy, surprisingly quick, and guaranteed to be the star of any gathering.
Why You’ll Love Crispy BBQ Bacon Cheeseburger Tater Tot Bombs
- Fast
- Easy
- Giftable
- Crowd-pleasing
Ingredients
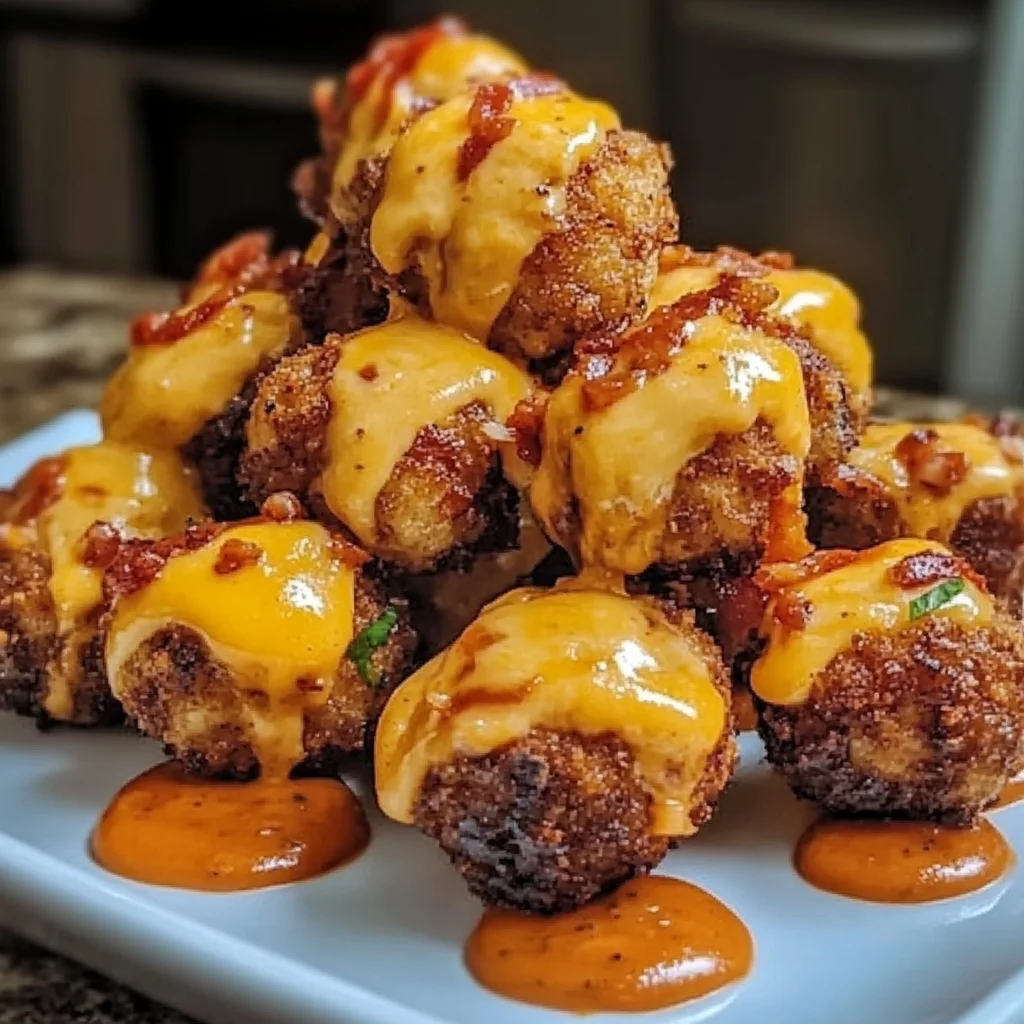
Gathering your ingredients for these delicious bombs is super simple. You likely have most of these staples in your pantry and fridge already!
- 1 bag (32 oz) frozen tater tots: The crunchy foundation of our bombs! Don’t skimp on the crispiness.
- 1 lb ground beef: I usually go for 80/20 lean ground beef for a good balance of flavor and less grease.
- 1 tsp garlic powder: Adds that essential savory kick to our burger filling.
- 1 tsp onion powder: Enhances the meaty flavor and gives a subtle aromatic touch.
- ½ tsp smoked paprika: This is my secret weapon for a deeper, more complex BBQ flavor. Don’t skip it!
- ½ tsp salt: Basic seasoning, adjust to your taste.
- ½ tsp black pepper: Adds a little zing.
- 1 cup shredded cheddar cheese: What’s a cheeseburger without plenty of cheesy goodness? Sharp cheddar works wonders here.
- 8 slices cooked bacon, crumbled: Crispy, salty bacon is non-negotiable! You can cook this up ahead of time to save a step.
- ½ cup BBQ sauce: Use your favorite! A sweet and tangy sauce works best, but feel free to experiment with a smoky or spicy variety.
- ¼ cup sliced pickles: For garnish and that essential tangy crunch.
- Cooking spray: Helps get those tater tot bombs extra golden and crispy.
How to Make Crispy BBQ Bacon Cheeseburger Tater Tot Bombs
Alright, let’s get down to business and make these irresistible bites. You’re going to be amazed at how straightforward this process is!
1. Preheat Oven: First things first, preheat your oven to a nice and hot 425°F (220°C). We want those tater tots to get super crispy from the get-go!
2. Prepare Tater Tots: Spread your frozen tater tots in a single layer on a baking sheet. You want them to have enough space so they can crisp up evenly. Pop them into the preheated oven for about 25 minutes, or until they’re beautifully golden and crispy. This initial bake is crucial for the structure of your bombs, so make sure they’re firm enough to handle!
3. Cook Ground Beef: While your tots are baking, grab a skillet and place it over medium heat. Add your ground beef along with the garlic powder, onion powder, smoked paprika, salt, and pepper. Cook the beef, breaking it up with a spoon, until it’s fully browned and no pink remains. Once it’s cooked through, make sure to drain any excess fat. We want flavor, not greasiness!
4. Combine Filling: In a large mixing bowl, combine that delicious cooked ground beef with the shredded cheddar cheese, crumbled bacon, and your chosen BBQ sauce. Give it a good stir until everything is perfectly mixed and coated. This is the heart of our cheeseburger bomb, so make sure all those flavors are mingling!
5. Form Bombs: Now for the fun part! Take a handful (about 6-8) of your hot, crispy baked tater tots. Gently flatten them together in the palm of your hand, forming a sort of disc or cup. Then, spoon about a tablespoon of your beef mixture into the center of the flattened tots. Carefully, but firmly, shape the tater tots around the beef mixture, creating a compact, round ball. Don’t worry if it’s not perfectly spherical, just make sure the filling is completely enclosed. If you love cheeseburger bombs, you’ll find this shaping process familiar and fun!
6. Bake Bombs: Arrange your newly formed tater tot bombs on a baking sheet lined with parchment paper. Leave a little space between each one. Before they go back in the oven, lightly spray the tops of the bombs with cooking spray. This little trick helps them achieve that extra golden, crispy exterior. Bake for another 15-20 minutes, or until they are gloriously golden brown and the cheese inside is melty and gooey.
7. Serve: The moment you’ve been waiting for! Carefully remove the bombs from the oven. Garnish them with extra sliced pickles and a drizzle of additional BBQ sauce if your heart desires. Serve them warm and watch them disappear!
Substitutions & Additions
The beauty of these Tater Tot Bombs is how adaptable they are! Feel free to play around with the flavors and make them your own.
- Cheese Swap: Not a cheddar fan? Try Monterey Jack, Colby Jack, or even a spicy Pepper Jack for a little kick!
- Meat Alternatives: Ground turkey or chicken can easily stand in for ground beef. Just be sure to adjust your cooking time and seasonings slightly. For a vegetarian option, seasoned black bean burger crumbled would be fantastic!
- Sauce It Up: Instead of BBQ sauce, experiment with a creamy ranch, sriracha mayo, or even a smoky chipotle sauce in the filling.
- Extra Crunch: Add some finely diced red onion or crispy fried onions into the beef mixture for more texture.
- Spice Level: If you love heat, a pinch of red pepper flakes in the beef mixture or a dash of hot sauce with the BBQ sauce will do the trick.
- Loaded Goodness: Imagine these topped with a dollop of sour cream or a sprinkle of fresh chives, just like a loaded baked potato! You could even add them to a loaded BBQ tater tot casserole for a truly epic meal.
Tips for Success
Getting these crispy, cheesy bombs just right is easy if you keep a few things in mind!
- Crispy Tots are Key: Don’t underbake your initial tater tots. They need to be firm and crispy to hold their shape when you form the bombs. If they’re too soft, they’ll be hard to work with.
- Don’t Overstuff: Resist the urge to add too much filling. A spoonful is plenty. Overfilling can make them difficult to seal and prone to breaking apart.
- Compact Those Bombs: When you’re forming the balls, gently but firmly press the tater tots around the filling. This helps them stay together during the second bake.
- Cooking Spray is Your Friend: The light spritz of cooking spray before the second bake really helps them get that beautiful golden, crispy crust.
- Prep Ahead: You can cook the ground beef mixture and crumble the bacon a day or two in advance. Store them separately in the fridge. When you’re ready to make the bombs, just cook the tots, combine the filling, and assemble! These are truly one of my favorite easy cheesy BBQ bacon bombs to whip up for any occasion.
- Air Fryer Option: Yes, you can air fry these! After forming the bombs, lightly spray them with oil and air fry at 375°F (190°C) for 10-15 minutes, shaking the basket halfway through, until golden and crispy.
How to Store Crispy BBQ Bacon Cheeseburger Tater Tot Bombs
If you happen to have any leftovers (a rare occurrence with these, I warn you!), here’s how to keep them fresh:
- In the Refrigerator: Store cooled Tater Tot Bombs in an airtight container in the refrigerator for up to 3-4 days.
- Freezing: You can absolutely freeze these! Once completely cooled, arrange them in a single layer on a baking sheet and freeze until solid. Then transfer them to a freezer-safe bag or container. They’ll keep well for 1-2 months.
- Reheating: For best results, reheat frozen bombs directly from the freezer in an oven or air fryer at 375°F (190°C) until heated through and re-crisped, about 15-25 minutes depending on whether they were thawed or frozen. Microwaving is an option for quick heating, but they won’t be as crispy.
FAQs
Q: Can I use pre-cooked bacon?
A: Absolutely! Pre-cooked bacon strips or bacon bits work perfectly and save you a step. Just make sure they’re crumbled well.
Q: My tater tot bombs are falling apart. What went wrong?
A: This usually means the tater tots weren’t baked long enough to be crispy and firm in the first step, or the bombs weren’t pressed together tightly enough when forming. Make sure those tots are golden and really crisp before you try to mold them!
Q: What’s the best way to serve these?
A: They’re fantastic on their own, but I love serving them with extra BBQ sauce for dipping, a side of ranch dressing, or even a little bit of sour cream and chives for a “loaded” experience. Don’t forget those sliced pickles for garnish!
Q: Can I make these spicier?
A: Definitely! Add a pinch of red pepper flakes to your ground beef, use a spicy BBQ sauce, or even mix in some finely diced jalapeños with your beef mixture for an extra kick.
For more delicious recipes and kitchen inspiration, be sure to follow us on Pinterest!

Crispy BBQ Bacon Cheeseburger Tater Tot Bombs
Ingredients
Equipment
Method
- Step 1: Preheat Oven: First things first, preheat your oven to a nice and hot 425°F (220°C). We want those tater tots to get super crispy from the get-go!
- Step 2: Prepare Tater Tots: Spread your frozen tater tots in a single layer on a baking sheet. You want them to have enough space so they can crisp up evenly. Pop them into the preheated oven for about 25 minutes, or until they're beautifully golden and crispy. This initial bake is crucial for the structure of your bombs, so make sure they’re firm enough to handle!
- Step 3: Cook Ground Beef: While your tots are baking, grab a skillet and place it over medium heat. Add your ground beef along with the garlic powder, onion powder, smoked paprika, salt, and pepper. Cook the beef, breaking it up with a spoon, until it's fully browned and no pink remains. Once it’s cooked through, make sure to drain any excess fat. We want flavor, not greasiness!
- Step 4: Combine Filling: In a large mixing bowl, combine that delicious cooked ground beef with the shredded cheddar cheese, crumbled bacon, and your chosen BBQ sauce. Give it a good stir until everything is perfectly mixed and coated. This is the heart of our cheeseburger bomb, so make sure all those flavors are mingling!
- Step 5: Form Bombs: Now for the fun part! Take a handful (about 6-8) of your hot, crispy baked tater tots. Gently flatten them together in the palm of your hand, forming a sort of disc or cup. Then, spoon about a tablespoon of your beef mixture into the center of the flattened tots. Carefully, but firmly, shape the tater tots around the beef mixture, creating a compact, round ball. Don't worry if it's not perfectly spherical, just make sure the filling is completely enclosed. If you love cheeseburger bombs, you'll find this shaping process familiar and fun!
- Step 6: Bake Bombs: Arrange your newly formed tater tot bombs on a baking sheet lined with parchment paper. Leave a little space between each one. Before they go back in the oven, lightly spray the tops of the bombs with cooking spray. This little trick helps them achieve that extra golden, crispy exterior. Bake for another 15-20 minutes, or until they are gloriously golden brown and the cheese inside is melty and gooey.
- Step 7: Serve: The moment you've been waiting for! Carefully remove the bombs from the oven. Garnish them with extra sliced pickles and a drizzle of additional BBQ sauce if your heart desires. Serve them warm and watch them disappear!