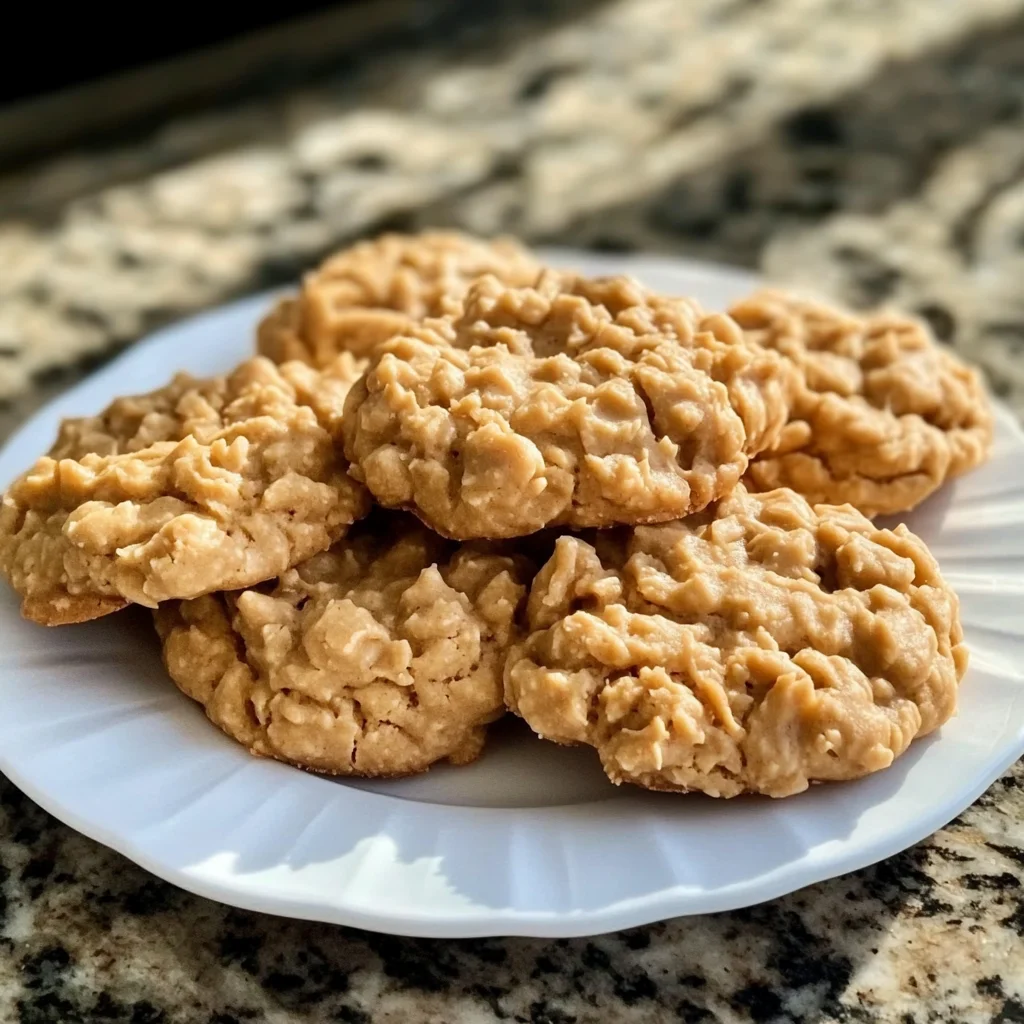
There’s something truly comforting about those simple recipes that take you right back to childhood—those moments when you’d help your mom or grandma in the kitchen, waiting eagerly for a sweet treat to set without turning on the oven. Peanut Butter No-Bake Cookies are exactly that kind of nostalgic delight. They’re the perfect combination of chewy oats, rich peanut butter, and just the right amount of sweetness, all coming together in a snap. If you’re looking for a quick go-to cookie recipe that doesn’t require baking, these no-bake cookies will become your new favorite in no time.
What’s even better? You can whip these up in about 20 minutes, and they’re a hit with kids and adults alike. Whether you’re making an after-school snack, a last-minute dessert, or a cozy treat to enjoy with a cup of coffee, these cookies deliver that warm, homemade feeling without the fuss. Plus, they’re perfect for gifting during the holidays or for packing into lunch boxes as a little surprise. I love how effortlessly these come together, and I’m excited to share all the tips and tricks to make them just right!
Why You’ll Love Peanut Butter No-Bake Cookies
- Fast: You’ll have these cookies ready in about 20 minutes—no oven required!
- Easy: Just a handful of pantry staples and simple steps make this recipe a breeze.
- Giftable: These cookies hold up well in tins or boxes, making them perfect for sharing.
- Crowd-pleasing: The classic combo of peanut butter and oats appeals to all ages.
Ingredients
Before you start, let’s take a look at what you’ll need. This recipe relies on simple ingredients you probably already have in your kitchen:
- 3 cups quick-cook oats: These give your cookies that chewy texture and hearty bite. Quick oats absorb the mixture just right without being too mushy.
- ¼ tsp salt: A pinch of salt enhances the sweetness and balances the flavors beautifully.
- ½ cup butter: Butter adds richness and helps the mixture set perfectly. Unsalted butter is best so you can control the salt level.
- 2 cups sugar: This provides the sweetness and helps create that glossy, sticky coating.
- ½ cup milk: Milk helps dissolve the sugar and blend everything smoothly.
- 1 cup peanut butter: Creamy peanut butter works best for a smooth texture, though chunky adds a nice crunch if you prefer.
- 2 tsp vanilla extract: This little touch of vanilla deepens the flavor and makes these cookies taste extra special.
One thing I always recommend is using fresh vanilla extract—not the imitation kind—because it really lifts the flavor profile. And if you want to experiment, you can even try adding a splash of almond extract for a twist.
How to Make Peanut Butter No-Bake Cookies
Ready to get started? This recipe is straightforward, but timing is key to getting the perfect texture. Here’s how I like to make these cookies step-by-step:
- Combine oats and salt: In a large mixing bowl, stir together the quick oats and salt. Set this aside; this will be your dry base ready to soak up the peanut butter mixture.
- Make the sugar mixture: In a medium saucepan over medium-high heat, whisk together the butter, sugar, and milk. Keep stirring until the butter melts completely and the sugar dissolves. This step ensures your cookies won’t have gritty sugar bits.
- Boil for exactly 1 minute: Bring your mixture to a full rolling boil and start timing immediately. Boiling exactly one minute is crucial — too little time and the cookies won’t set properly; too long and they risk becoming too hard.
- Stir in peanut butter and vanilla: Remove the saucepan from heat, then quickly add the peanut butter and vanilla extract. Stir vigorously until the mixture is smooth and glossy. This step is where the magic happens; the peanut butter melts into the sugar syrup creating that luscious, creamy texture.
- Combine with oats: Pour the peanut butter mixture over the oats in your bowl. Stir quickly to coat every bit of oats evenly. The mixture will still be warm, so speed is your friend here to prevent clumps.
- Drop onto wax paper: Using a cookie scoop or spoon, drop spoonfuls of the mixture onto a baking sheet lined with wax paper. These will shape into cookies as they cool.
- Let them set: Allow the cookies to cool and firm up at room temperature for about 30 minutes. If you’re in a hurry, you can pop them in the fridge for 10-15 minutes, but I find room temp works best for the ideal chewy texture.
Pro tip: If you want to get creative, you can gently press the cookies down a bit with the back of your spoon or scoop to shape them more evenly. And if you ever find your cookies aren’t quite setting right, a quick revisit of the boiling time usually fixes it.
Substitutions & Additions
This recipe is wonderfully flexible, so don’t be afraid to make it your own! Here are some swaps and add-ins I love to play with:
- Oats: If you want a heartier bite, try using old-fashioned rolled oats instead of quick oats. Just know the texture will be chewier and a bit more rustic.
- Peanut Butter: Swap peanut butter for almond butter or sunflower seed butter if you’re avoiding peanuts. Just make sure the alternative is creamy for the best consistency.
- Milk: Use almond milk or oat milk for a dairy-free version. It works just as well and still gives that smooth texture.
- Add-ins: Stir in some mini chocolate chips, shredded coconut, or chopped nuts for extra texture and flavor. A sprinkle of cinnamon or a dash of cayenne pepper can add a surprising twist too!
- Sweeteners: You can try replacing half the sugar with maple syrup or honey for a more natural sweetness, but reduce the milk slightly to keep the mixture from getting too runny.
If you love no-bake treats, you might also enjoy my recipe for Easy No-Bake Caramel Pretzel Bars, which bring a salty-sweet crunch that’s perfect alongside these peanut butter cookies.
Tips for Success
Making no-bake cookies might seem simple, but a few little tips can make all the difference between perfect chewy treats and sticky, gooey messes. Here are the most important things I’ve learned along the way:
- Measure accurately: Baking is chemistry, even with no-bake recipes. Use a proper measuring cup for sugar and liquids to keep the balance right.
- Don’t skip the boil: The one-minute rolling boil is crucial. It activates the sugar to set properly when cooling.
- Work quickly: Once you add the peanut butter mixture to the oats, stir and drop the cookies immediately before the mixture starts to harden.
- Use wax paper: This keeps cookies from sticking to your trays and makes cleanup easier. I use it every time.
- Keep an eye on the temperature: If your kitchen is very warm, the cookies might take longer to set. You can speed this up by chilling the trays briefly in the fridge.
- Prep ahead: You can make the cookies a day ahead and store them in an airtight container. They actually taste better after the flavors have melded overnight!
For even more easy, no-fuss dessert inspiration, check out my No-Bake Oreo Bars recipe, which is similarly quick and perfect for busy days.
How to Store Peanut Butter No-Bake Cookies
Storage is super simple with these little gems. Because they don’t contain eggs or perishable dairy (beyond butter and milk), they keep well for several days. Here’s how to store them best:
- Room temperature: Store cookies in an airtight container at room temperature for up to 5 days. Make sure they’re fully set before stacking to avoid sticking together.
- Refrigerator: For longer freshness (up to 2 weeks), keep them in the fridge. This slightly firms up the cookies, which some people prefer.
- Freezing: You can freeze these cookies for up to 3 months. Freeze them in a single layer on a baking sheet first, then transfer to a freezer-safe container or bag. Thaw at room temperature before serving.
If you’re packing these for lunch or gifting, I love wrapping them in parchment paper and placing them in a cute tin or box. They make a thoughtful homemade gift, especially paired with a cozy drink like hot cocoa or a spiced latte.
FAQs
Can I use natural peanut butter for these cookies?
You can, but natural peanut butter has more oil and less stabilizers, which can affect the texture. If you use natural, make sure to stir it well and expect the cookies to be a bit softer and oilier.
How do I know when the sugar mixture has boiled long enough?
Once your mixture reaches a full rolling boil—meaning the bubbles won’t stop when stirred—start timing for exactly one minute. Using a candy thermometer? The mixture should reach about 235°F (soft-ball stage).
Can I make these cookies gluten-free?
Absolutely! Just be sure to use certified gluten-free oats to avoid any cross-contamination. Everything else in the recipe is naturally gluten-free.
Why did my cookies turn out too hard or crumbly?
This usually means the sugar mixture boiled for too long or the temperature was too high. Next time, be sure to time your boil carefully and stir constantly to prevent burning.
These Peanut Butter No-Bake Cookies are such a fun, easy way to satisfy your sweet tooth without heating up the kitchen. They remind me of those simpler times when a quick cookie fix was just a saucepan away. If you enjoy this recipe, you might also love the creamy, cozy vibes of Pumpkin Banana Loaf—perfect for fall mornings or anytime you want a sweet, wholesome treat to start your day.
Happy no-baking, friends! For even more delicious ideas and kitchen inspiration, don’t forget to follow my Pinterest page where I share new recipes, tips, and seasonal favorites every week.
Peanut Butter No-Bake Cookies
Ingredients
Equipment
Method
- Step 1: In a large mixing bowl, stir together the quick oats and salt. Set aside.
- Step 2: In a medium saucepan over medium-high heat, whisk together butter, sugar, and milk. Stir constantly until butter melts completely and sugar dissolves.
- Step 3: Bring mixture to a full rolling boil and boil for exactly 1 minute. Start timing as soon as boiling begins.
- Step 4: Remove saucepan from heat. Quickly stir in peanut butter and vanilla extract until smooth and glossy.
- Step 5: Pour the peanut butter mixture over the oats and stir quickly to coat evenly.
- Step 6: Using a cookie scoop or spoon, drop spoonfuls onto a baking sheet lined with wax paper.
- Step 7: Allow cookies to cool and set at room temperature for about 30 minutes, or chill in the fridge for 10–15 minutes if in a hurry.