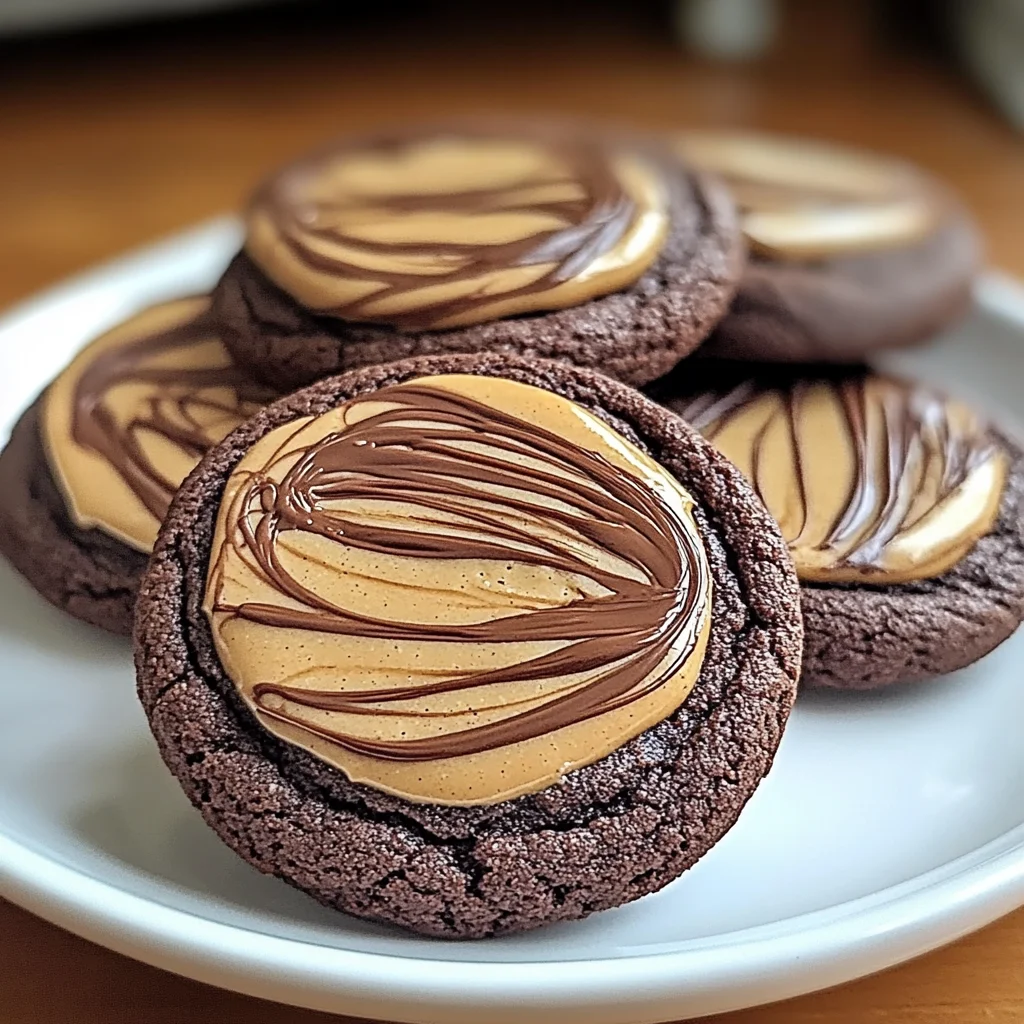
Oh, hello there! Come on in, the kitchen is warm. Do you ever just crave that perfect combination of rich chocolate and creamy peanut butter? It’s a classic for a reason, right? For me, it brings back happy memories – maybe of trading treats with friends, or that first bite of a peanut butter cup. Well, get ready, because these Peanut Butter Swirl Brownie Cookies take that beloved duo and wrap it up in a perfectly chewy, fudgy cookie package. They’re like your favorite brownie and your favorite peanut butter cookie had a delicious, swirled baby, and you get to eat them all. And the best part? They are SO easy to whip up, and they bake in literally minutes. Seriously, minutes! You’ll be pulling warm, swirly goodness out of the oven before you know it.
Why You’ll Love This Recipe
- Fast (Seriously quick bake time!)
- Easy (Simple steps, no fancy equipment needed!)
- Giftable (Everyone loves getting these!)
- Crowd-pleasing (PB & Chocolate is a winning combo!)
Ingredients
Here’s what you’ll need to make these delightful cookies. Most of these are probably hanging out in your pantry right now!
- 2 large eggs: Make sure these are at room temperature! This helps them whip up properly with the sugar, giving your cookies that lovely texture. My little trick? Pop them in a bowl of warm water for 10 minutes while you get everything else ready.
- ¾ cup (175g) granulated sugar: Just your standard sugar to bring the sweetness and structure.
- 1 cup (190g) semi-sweet chocolate chips: Go for good quality chips! If you need these to be dairy-free, totally swap them out – they work great.
- ⅓ cup (75g) plant-based butter or regular butter: Either works perfectly here! Just make sure it’s melted with the chocolate.
- 1 tsp vanilla extract: A must-have for rounding out all those delicious flavors.
- ½ tsp instant coffee granules or espresso powder (optional): Don’t skip this if you can! It doesn’t make the cookies taste like coffee, but it seriously enhances the chocolate flavor. It’s my secret weapon for extra-chocolatey baked goods.
- ½ tsp fine sea salt: Salt is crucial in baking to balance the sweetness and bring out the other flavors.
- ½ tsp baking powder: Gives these cookies a little lift and chewiness.
- ¼ cup (25g) Dutch-processed cocoa powder: Dutch-process gives a smooth, rich, deep chocolate flavor and a darker color. Natural cocoa works too, but the flavor will be slightly different.
- ¾ cup + 2 tablespoons (115g) all-purpose flour: The right amount of flour to hold everything together without making them dry. Remember to measure carefully!
- ~¼ cup (60g) natural, runny peanut butter: This is key for that perfect swirl! You want the kind that’s just peanuts (and maybe salt), where the oil separates. Stir it well before using. Avoid the thicker, no-stir varieties here if you can, as they won’t swirl as nicely.
How to Make It
Ready to get baking? Follow these simple steps and you’ll be enjoying warm cookies in no time!
First things first, let’s get those eggs ready. If they aren’t already at room temperature, put them in a bowl of warm (not hot!) water for about 10 minutes. While they’re warming up, grab your stand mixer (or a hand mixer and a large bowl). Add the room temperature eggs and the granulated sugar. Beat them together on medium-high speed. You want to keep going until the mixture gets pale, thick, and fluffy. This usually takes about 3 to 4 minutes. This step incorporates air, which is important for the cookie’s texture!
Next, time for the chocolatey goodness. Put your chocolate chips and butter (plant-based or regular) in a microwave-safe bowl. Heat them in 30-second bursts, stirring well after each one, until everything is completely melted and smooth. Be patient and don’t overheat the chocolate! If you’re using the coffee granules or espresso powder, stir that into the warm chocolate mixture now. Let this beautiful melted chocolate cool slightly for 2-3 minutes while you continue with the egg mixture.
Back to your mixer bowl! Add the vanilla extract to the whipped egg and sugar mixture and give it just a quick mix to combine. Now, slowly pour that slightly cooled melted chocolate mixture into the egg mixture. Gently fold it in with a spatula until it’s fully incorporated and you have a lovely, glossy chocolate batter. Don’t rush this part; you want to keep that air you whipped into the eggs.
Now it’s time for the dry ingredients. Stir in the salt and baking powder. Then, sift the cocoa powder and flour directly over the batter. Sifting helps prevent lumps! Gently fold the dry ingredients into the wet mixture using a spatula until you see no more dry streaks. Be super careful not to overmix here! Overmixing can make cookies tough, and we want these to be wonderfully chewy.
Okay, this is a crucial step: let the batter rest! Cover the bowl and let the dough sit at room temperature for about 30 minutes. This resting time helps the flour hydrate, the flavors meld, and the dough firm up slightly, making it easier to scoop and giving the cookies a better texture.
While the dough is resting, line your baking sheets with parchment paper. This is a lifesaver for easy cleanup and prevents sticking. Preheat your oven to 350°F (175°C).
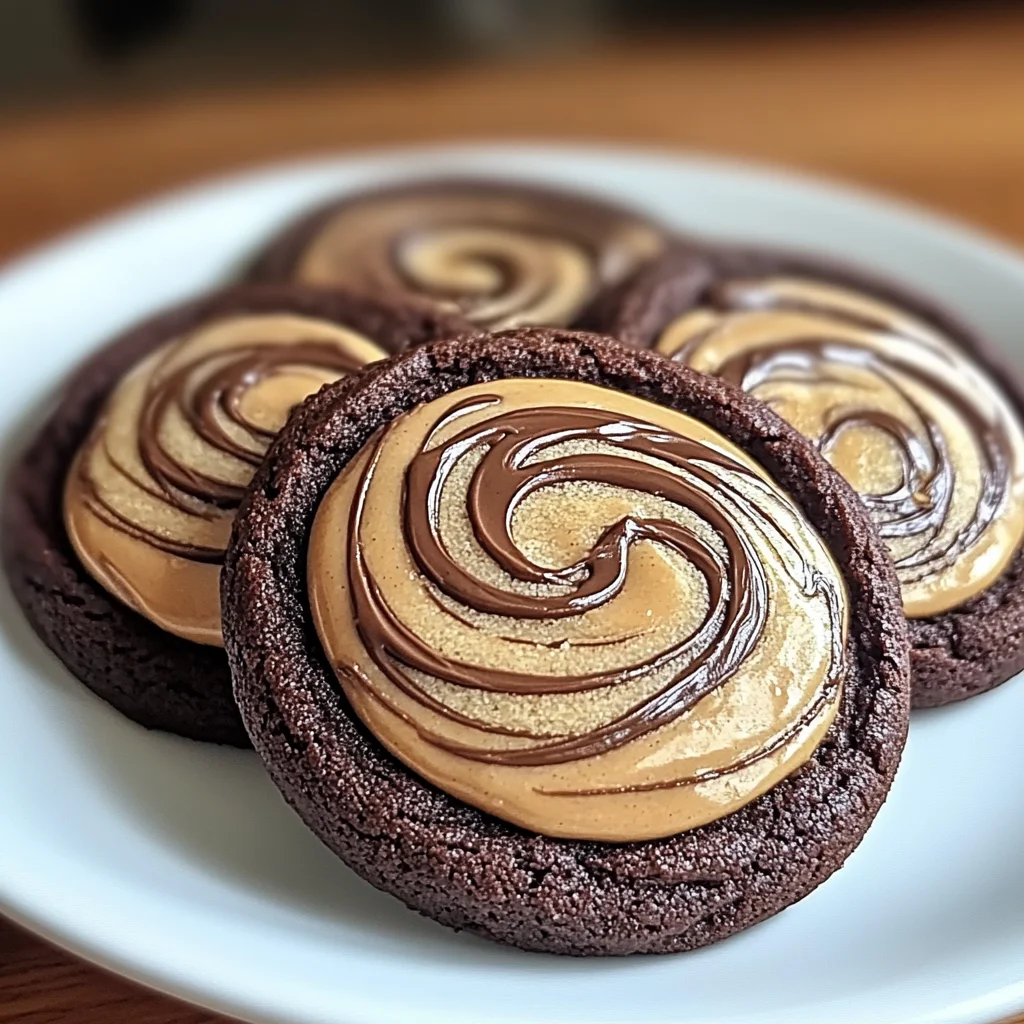
Once the dough has rested, it’s time to scoop! Use a 1.5-tablespoon cookie scoop to portion the dough onto your prepared baking sheets. Leave some space between them, about 8 cookies per sheet is usually perfect. Now for the fun part: the swirl! Spoon small amounts of that runny natural peanut butter over the top of each dough ball. Grab a toothpick or a chopstick and gently swirl the peanut butter into the surface of the cookie dough. You can make “C” shapes, “S” shapes, or just random swirls – whatever looks pretty to you! Don’t swirl too deep; you just want it on the surface.
Pop those sheets into the preheated oven. Bake for just 5 to 6 minutes. Yes, that’s right, 5-6 minutes! You’ll know they’re done when the edges look set but the centers still look a little soft or even slightly underdone. This is key for that fudgy, brownie-like texture in the middle. Don’t overbake them!
Immediately take the baking sheets out of the oven. If any of your cookies look a little wonky or spread unevenly, gently use the back of a spoon to nudge the edges back into a nice round shape while they are still warm. Let the cookies cool on the baking sheet for about 2 minutes before carefully transferring them to a wire rack to cool completely.
Once they are completely cool (this is important for storing!), store them in a single layer in an airtight container. If you need to stack them, place a layer of parchment paper in between.
Substitutions & Additions
Want to play around with this recipe? Here are some ideas!
- Different Nut Butter: Not a peanut fan? Try a runny almond butter or cashew butter for a different flavor swirl. Just make sure it’s the natural, drippy kind.
- Chocolate Swirl: No peanut butter? Swirl in some melted white chocolate or even milk chocolate instead of peanut butter for a double chocolate cookie!
- Add-ins: Feel free to fold in a handful of chopped nuts (like peanuts or walnuts) or even some extra chocolate chips into the batter with the dry ingredients.
- Flaky Sea Salt: A sprinkle of flaky sea salt on top of the swirls before baking is absolutely divine and enhances both the chocolate and peanut butter flavors.
Tips for Success
A few pointers to make sure your cookies turn out perfect every time:
- Room Temperature Eggs Matter: Don’t skip the warm water bath step if your eggs are cold. It makes a difference in the texture of the batter when whipping with sugar.
- Measure Flour Correctly: Spoon your flour into the measuring cup and level it off with a straight edge. Don’t scoop directly from the bag, as this can pack too much flour into the cup.
- Don’t Overmix: Once the flour and cocoa are added, fold just until combined. Overmixing develops the gluten, leading to tougher cookies.
- Rest the Dough: The 30-minute rest isn’t just for fun! It helps the dough become easier to handle and improves the final texture.
- Watch the Baking Time: These bake fast! Look for the edges to be set, but the center should still look soft. They will continue to set up as they cool on the hot baking sheet. Underbaking slightly is the secret to that chewy brownie center.
- Use Runny Peanut Butter: For the best swirl, you really need natural, drippy peanut butter.
How to Store It
Let these cookies cool completely before storing. Store them in an airtight container at room temperature. If you need to stack them, place a piece of parchment paper between layers to prevent sticking. They should stay fresh and chewy for 3-4 days. You can also freeze them! Once cooled, place them in a single layer on a baking sheet in the freezer until solid, then transfer to a freezer-safe bag or container for up to 3 months. Thaw at room temperature.
FAQs
Got questions? I’ve got some answers!
Can I use crunchy peanut butter?
You can, but it won’t swirl quite as smoothly as runny natural peanut butter. The nuts will make the swirl more chunky and less defined. Stick to smooth if you want that classic swirl look!
Why are my cookies still soft in the middle after 5 minutes?
That’s exactly how they should be! The centers are meant to be slightly underdone and gooey, like a brownie. They will set up as they cool on the baking sheet. If you bake until the centers look fully set in the oven, they will be overbaked and dry.
Can I make the dough ahead of time?
Yes! You can make the dough through step 5 and store it covered in the refrigerator for up to 24 hours. Let it sit at room temperature for 15-20 minutes to soften slightly before scooping and swirling.
What if I don’t have a stand mixer?
No problem! You can use a hand mixer for whipping the eggs and sugar (step 1). For folding in the chocolate and dry ingredients (steps 3 & 4), a sturdy spatula and some elbow grease will work perfectly. Just be gentle when folding!
Chewy Peanut Butter Swirl Brownie Cookies
Ingredients
Equipment
Method
- Step 1: If eggs are cold, place them in a bowl of warm water for about 10 minutes to bring to room temperature. In a stand mixer (or large bowl with hand mixer), beat the room temperature eggs and granulated sugar on medium-high speed for 3 to 4 minutes, until pale, thick, and fluffy.
- Step 2: In a microwave-safe bowl, combine chocolate chips and butter. Heat in 30-second bursts, stirring after each, until completely melted and smooth. Stir in instant coffee or espresso powder (if using). Let the mixture cool slightly for 2-3 minutes.
- Step 3: Add vanilla extract to the whipped egg and sugar mixture and mix briefly. Slowly pour the slightly cooled melted chocolate mixture into the egg mixture. Gently fold with a spatula until fully incorporated and glossy.
- Step 4: Stir in the salt and baking powder. Sift the cocoa powder and flour over the batter. Gently fold the dry ingredients into the wet mixture with a spatula just until no dry streaks remain. Do not overmix.
- Step 5: Cover the bowl and let the dough rest at room temperature for about 30 minutes to hydrate the flour and firm up slightly.
- Step 6: While the dough rests, preheat oven to 350°F (175°C) and line baking sheets with parchment paper.
- Step 7: Use a 1.5-tablespoon cookie scoop to portion dough onto prepared baking sheets, leaving space between cookies (about 8 per sheet). Spoon small amounts of runny natural peanut butter over the top of each dough ball. Use a toothpick or chopstick to gently swirl the peanut butter into the surface of the dough.
- Step 8: Bake for 5 to 6 minutes, until the edges look set but the centers still look a little soft or slightly underdone. Do not overbake.
- Step 9: Immediately remove baking sheets from the oven. If needed, gently nudge the edges of the warm cookies with the back of a spoon to shape them into a nice round. Let cookies cool on the baking sheet for about 2 minutes before transferring to a wire rack to cool completely.