Oh, my goodness, friends, have you ever had one of those days where you just need something sweet, but you’re short on time and energy? I know I have! Sometimes, the craving hits hard, and you want that rich, fudgy chocolate goodness combined with creamy, dreamy cheesecake, but the thought of baking and fussing just feels like too much. Well, let me tell you, I’ve got the absolute perfect solution for you today: these incredible Loaded Brownie Cheesecake Cups! They’re like a little hug in a jar, packed with all the flavor you crave, but without any of the stress. Seriously, they’re so easy, quick, and utterly memorable, you’ll wonder where they’ve been all your life.
Why You’ll Love Loaded Brownie Cheesecake Cup
- Fast: Whip these up in mere minutes, no oven required!
- Easy: Simple ingredients and straightforward steps mean anyone can make these.
- Giftable: Layered in cute jars or cups, they make the perfect edible gift for friends and neighbors.
- Crowd-Pleasing: Who can resist the irresistible combination of brownies and cheesecake? Not a soul, I tell you!
Ingredients

Gathering your ingredients for these delightful cups is super simple. You might even have most of them chilling in your pantry and fridge right now!
- 2 cups fudgy brownies, crumbled: This is your base, your foundation of chocolatey joy! Feel free to use your favorite homemade brownies (like my Grandma’s Easy Lunch Lady Brownies, they’re a dream!) or grab a box mix to bake up quickly, or even store-bought for ultimate convenience.
- 1 ½ cups cream cheese, softened: Make sure this is at room temperature. It’s the secret to a smooth, lump-free cheesecake filling.
- ½ cup powdered sugar: Also known as confectioners’ sugar, this sweetens our cheesecake and keeps it super silky.
- 1 teaspoon vanilla extract: A classic for a reason, vanilla brings out all the best flavors.
- 1 cup heavy whipping cream, whipped to stiff peaks: This is what gives our cheesecake that light, airy, cloud-like texture.
- Chocolate ganache (made from melted chocolate and heavy cream): You can buy a jar of pre-made ganache or easily whip up your own by melting chocolate chips with a splash of heavy cream.
- Caramel sauce: Another easy store-bought option or a quick homemade drizzle. The sweet, buttery notes are divine!
- Extra brownie crumbs: For that perfect finishing touch and an extra burst of chocolate.
How to Make Loaded Brownie Cheesecake Cup
Get ready to create some magic, because these layered desserts are as fun to make as they are to eat!
- Prepare the Cheesecake Filling: First things first, grab a medium bowl and your softened cream cheese. You’re going to beat the cream cheese with the powdered sugar and vanilla extract until it’s wonderfully smooth and creamy. No lumps allowed here, so give it a good whirl! Once that’s perfect, gently fold in your whipped heavy cream. The key here is “gently” – we want to keep all that beautiful air in the cream to make our cheesecake filling light and fluffy.
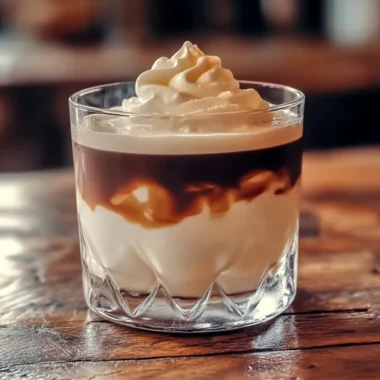
- Assemble the Cups: Now for the fun part – building your masterpieces! Take your favorite serving cups (mason jars, clear plastic cups, or even small bowls work great!) and start by layering a generous amount of crumbled brownies at the bottom. This is your delicious base. Next, spoon or pipe your dreamy cheesecake filling over the brownie layer. If you have a piping bag, it makes for a super neat presentation, but a spoon works perfectly fine too. Then, it’s drizzle time! Go wild with chocolate ganache and a swirl of rich caramel sauce. Oh, the anticipation!
- Repeat and Fill: You’re going to repeat those layers – more brownie crumbs, more cheesecake filling, and more luscious drizzles of chocolate and caramel – until your cup is beautifully full. It’s all about creating those gorgeous layers!
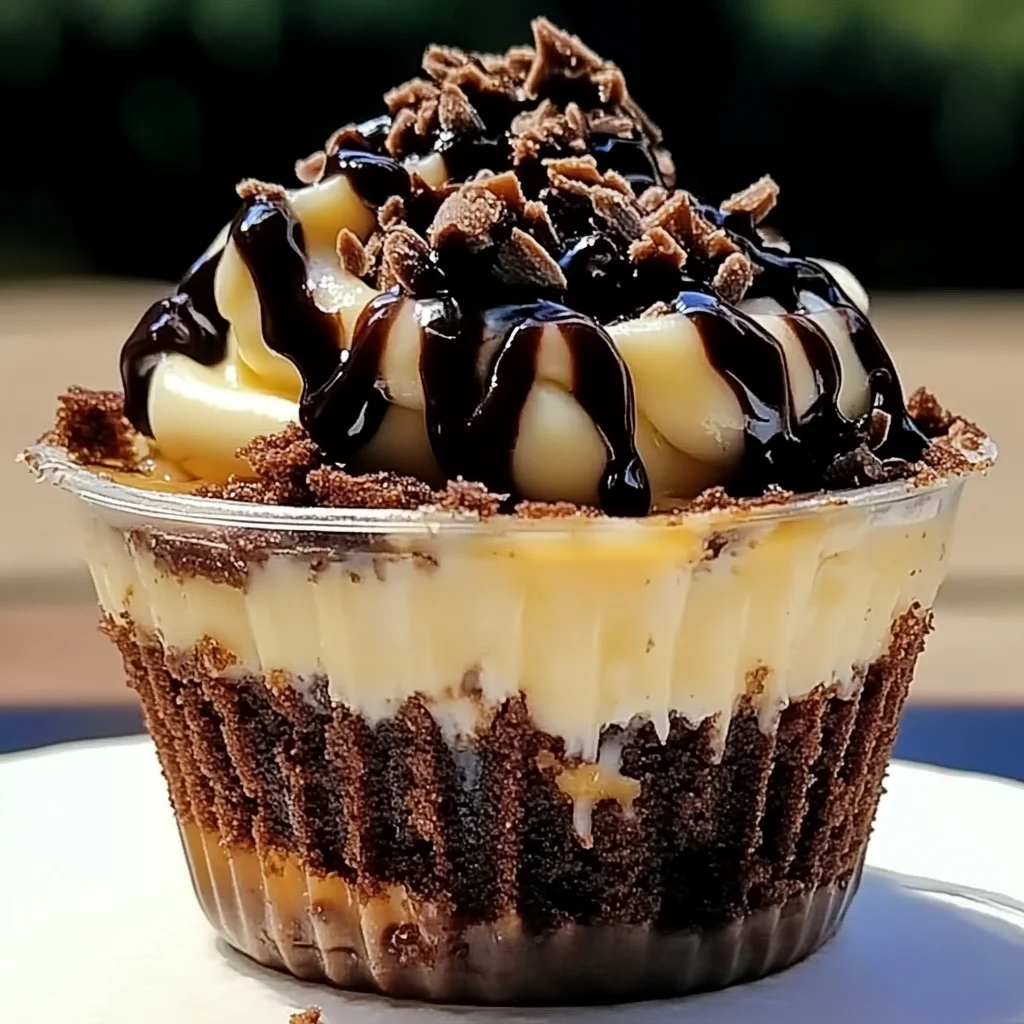
- Garnish: To make them truly “loaded,” don’t forget the final touches! Top off each cup with a sprinkle of extra brownie crumbs, an additional artistic chocolate drizzle, and another generous swirl of caramel. If you’re looking for more quick, impressive treats, you might love my No-Bake Chocolate Lasagna!
- Chill: This step is crucial! Pop your assembled cups into the refrigerator for at least 1 hour. This allows the cheesecake to set up beautifully and for all those incredible flavors to meld together. Trust me, it’s worth the wait!

Substitutions & Additions
One of the best things about these cups is how adaptable they are! Think of this recipe as a canvas, and you’re the artist.
- Brownie Base Alternatives: Don’t have brownies? No problem! You could use crushed Oreo cookies for a twist (and if you love Oreos, you HAVE to try my No-Bake Oreo Cheesecake!), graham cracker crumbs, or even crumbled chocolate chip cookies.
- Cheesecake Flavor Boosters: A little zest from a lemon or orange can brighten up the cheesecake. Or try a hint of almond extract instead of vanilla!
- Topping Extravaganza: The sky’s the limit here! Add chopped nuts, mini chocolate chips, sprinkles, fresh berries (strawberries or raspberries would be amazing!), or even crushed candy bars. A dollop of whipped cream on top before serving is always a win.
Tips for Success
Making these “Loaded Brownie Cheesecake Cups” is pretty straightforward, but a few little tricks can make them absolutely perfect every time!
- Softened Cream Cheese is Key: I can’t stress this enough! If your cream cheese isn’t completely softened to room temperature, you’ll end up with lumps in your filling. Plan ahead and take it out of the fridge at least 30 minutes to an hour before you start.
- Don’t Overmix: When you’re folding in the whipped cream, do it gently. Overmixing will deflate the air you worked so hard to whip in, resulting in a denser cheesecake filling instead of that lovely light texture.
- Chill Time Matters: Rushing the chilling process might leave you with a softer, less set cheesecake. That hour in the fridge allows everything to firm up and the flavors to truly mingle, making each bite even more delicious.
- Prep Ahead: You can crumble your brownies and even prepare your chocolate ganache a day or two in advance. Store the brownies in an airtight container and the ganache in the fridge (you might need to gently warm it to drizzle again). This makes assembly a breeze!
How to Store Loaded Brownie Cheesecake Cup
These delicious layered treats are best enjoyed fresh, but they also store wonderfully!
- Refrigeration: Keep your Loaded Brownie Cheesecake Cups covered tightly (plastic wrap works great if your cups don’t have lids) and store them in the refrigerator.
- Shelf Life: They’ll stay fresh and delicious for up to 3-4 days in the fridge. Beyond that, the brownies can start to get a little too soft.
- Freezing: While you technically could freeze them, the texture of the whipped cream in the cheesecake might change a bit, becoming slightly grainy once thawed. For best results, I’d stick to refrigeration.
FAQs
Got questions? I’ve got answers!
Q: Can I use store-bought brownies for this recipe?
A: Absolutely! Store-bought brownies are a fantastic shortcut that makes this recipe even faster. Just make sure they’re fudgy for the best texture.
Q: How far in advance can I make these?
A: You can assemble these cups up to 24 hours in advance. Any longer, and the brownie layer might become a little too soft from soaking up the moisture from the cheesecake.
Q: Can I make one large dessert instead of individual cups?
A: You sure can! Layer everything in a 9×9 inch dish or a springform pan for a gorgeous, shareable dessert. Just be sure to chill it for at least 4 hours, or even overnight, to ensure it sets properly before slicing.
Q: What if I don’t have heavy whipping cream?
A: While heavy whipping cream gives the best light and airy texture, you could substitute a good quality whipped topping (like Cool Whip) for the whipped cream in the cheesecake filling for an even easier no-bake option.
For more delicious recipe inspiration, be sure to follow us on Pinterest!
Decadent & Easy No-Bake Loaded Brownie Cheesecake Cups: Your New Go-To Dessert!
Ingredients
Equipment
Method
- Step 1: Prepare the Cheesecake Filling: In a medium bowl, beat the softened cream cheese with the powdered sugar and vanilla extract until wonderfully smooth and creamy. Gently fold in your whipped heavy cream to keep the filling light and fluffy.
- Step 2: Assemble the Cups: Take your favorite serving cups (mason jars, clear plastic cups, or small bowls) and layer a generous amount of crumbled brownies at the bottom. Spoon or pipe your cheesecake filling over the brownie layer. Drizzle with chocolate ganache and caramel sauce.
- Step 3: Repeat and Fill: Repeat the layers: more brownie crumbs, more cheesecake filling, and more luscious drizzles of chocolate and caramel, until your cup is beautifully full.
- Step 4: Garnish: Top off each cup with a sprinkle of extra brownie crumbs, an additional artistic chocolate drizzle, and another generous swirl of caramel.
- Step 5: Chill: Pop your assembled cups into the refrigerator for at least 1 hour. This allows the cheesecake to set up beautifully and for all those incredible flavors to meld together.