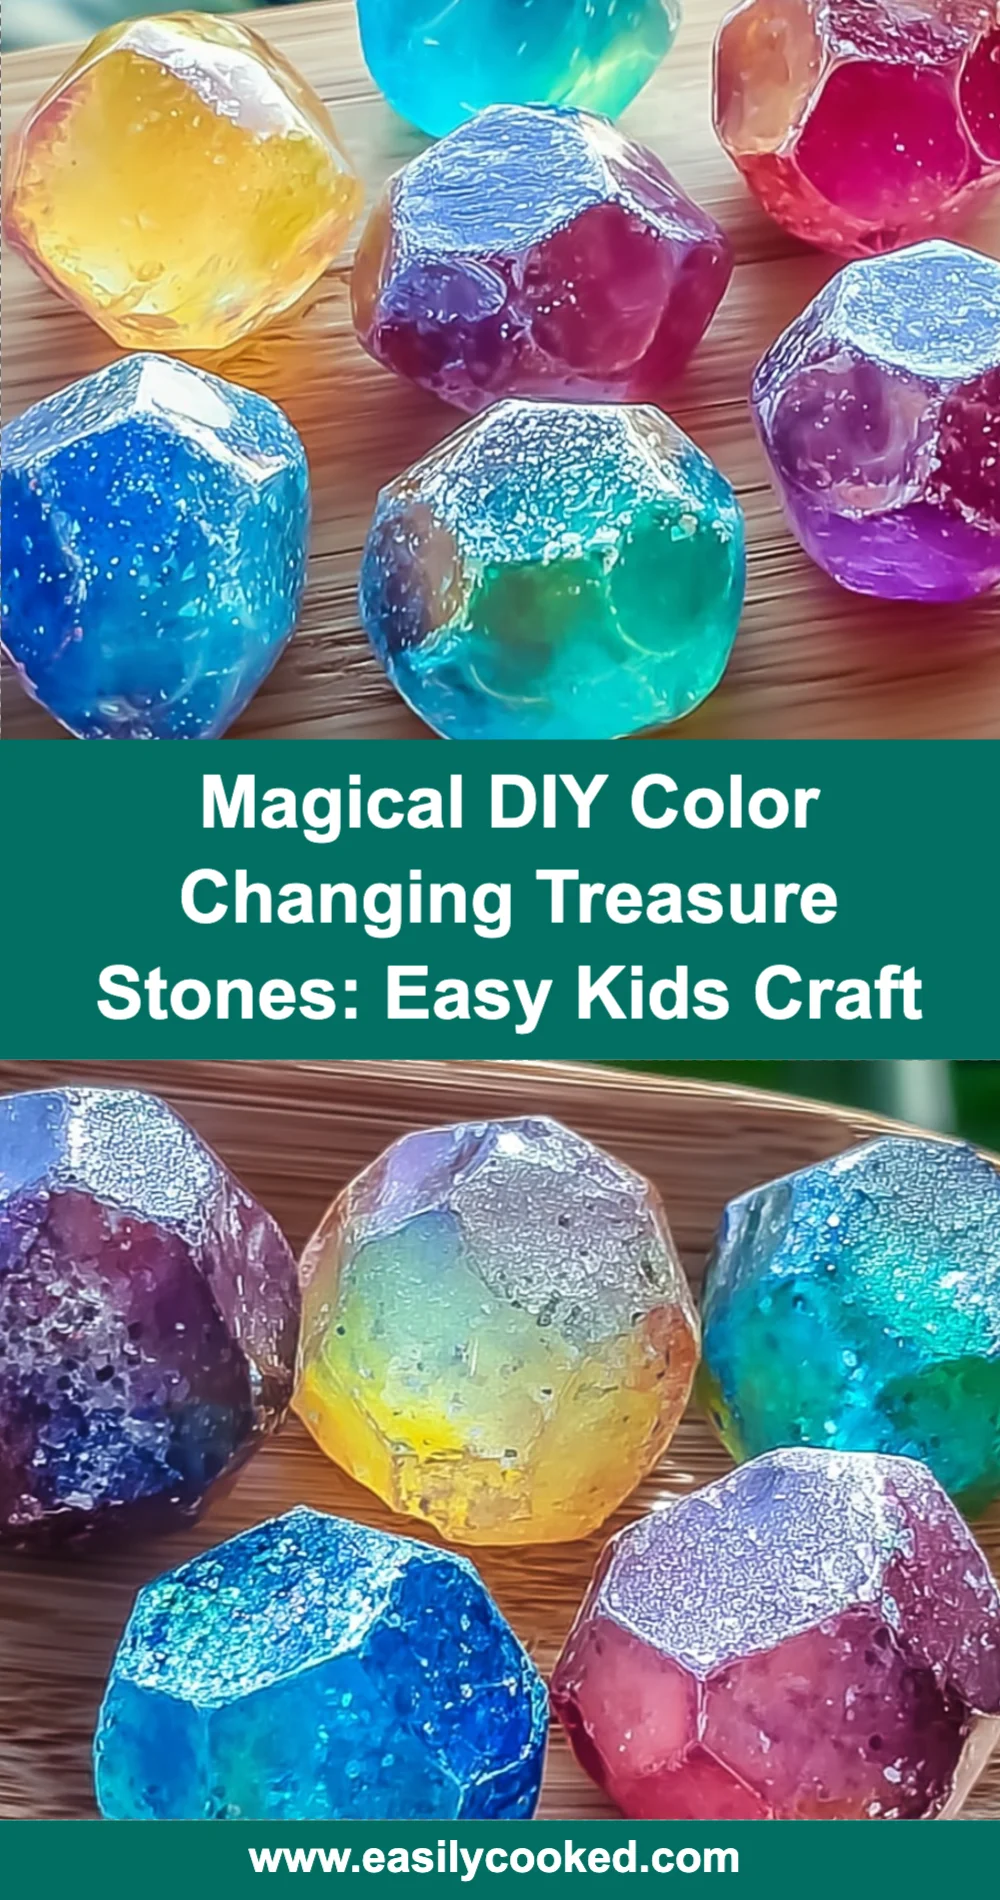
Do you remember the joy of creating something magical with your own hands as a child? It’s a wonderful feeling that can spark creativity and imagination! Today, I’m excited to share a delightful recipe for making Magical DIY Color Changing Treasure Stones. This project is not only easy and quick but also perfect for kids and adults alike! You’ll love how simple it is to create these colorful treasures that change when wet. Let’s dive in and make some memories!
Why You’ll Love Magical DIY Color Changing Treasure Stones: Easy Kids Craft
- Fast
- Easy
- Giftable
- Crowd-pleasing
Ingredients
Gathering the right ingredients is key to creating our magical stones. Here’s what you’ll need:
- 1 cup baking soda: This is our main ingredient that gives the stones their structure.
- 1/2 cup white vinegar: This will create a fun fizzing reaction!
- 1 tablespoon corn syrup: This adds a bit of sweetness and helps bind everything together.
- Food coloring: Choose various colors to make your treasure stones vibrant.
- 1 tablespoon cornstarch: This adds a nice texture to the mixture.
- Silicone molds or ice cube trays: These will shape our stones perfectly.
- A baking sheet: To hold your molds while they dry.
How to Make Magical DIY Color Changing Treasure Stones: Easy Kids Craft
Now that you have your ingredients ready, let’s get started with these fun steps:
- In a mixing bowl, combine the baking soda and cornstarch. This will create the base for your stones.
- Slowly add the white vinegar to the dry mixture, stirring continuously to prevent fizzing over. This part is so much fun to watch!
- Once the mixture is well combined, add the corn syrup and mix until smooth. This helps everything stick together.
- Divide the mixture into separate bowls and add different food coloring to each bowl to create various colors. The more colors, the better!
- Spoon the colored mixtures into silicone molds or ice cube trays, filling them evenly. You can mix colors in one mold for a marbled effect.
- Place the filled molds on a baking sheet and let them sit at room temperature for 24 hours to dry completely. Patience is key here!
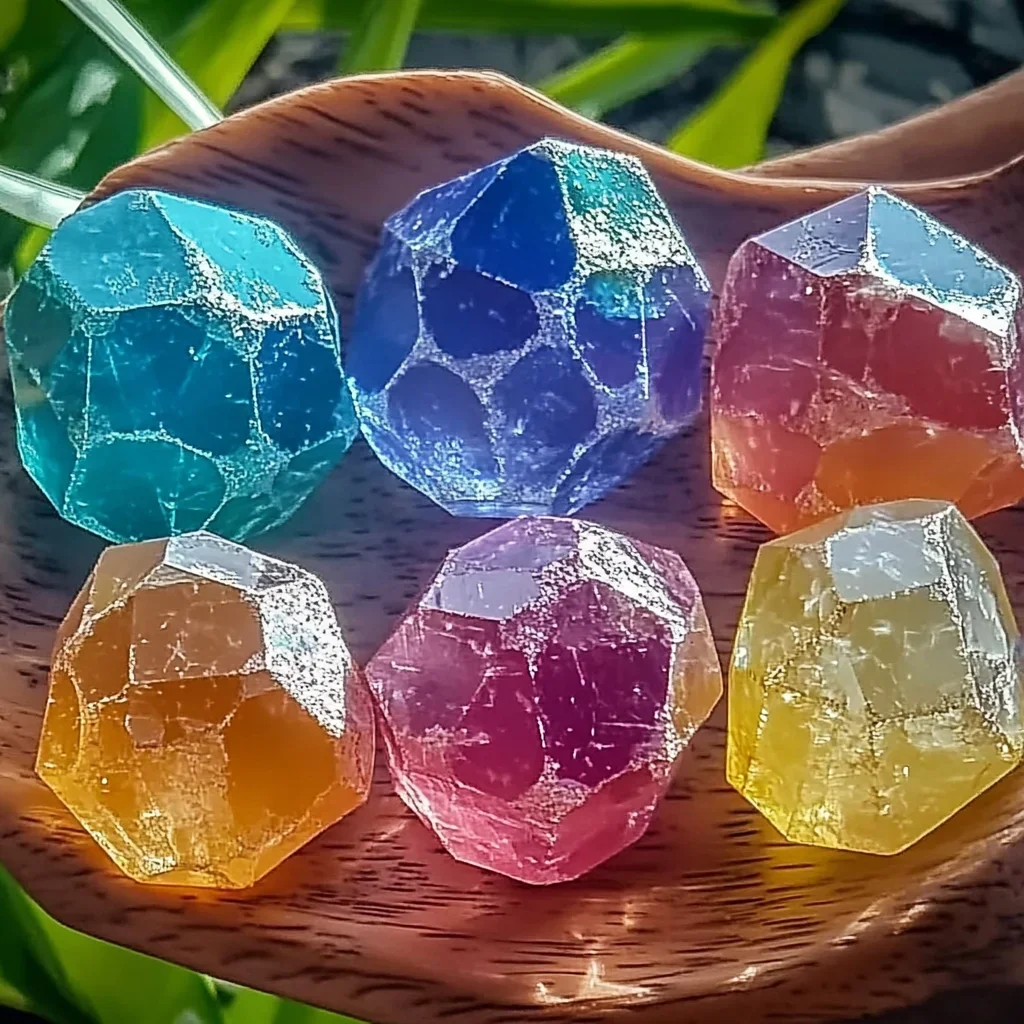
- Once dry, carefully remove the treasure stones from the molds. They should pop out easily!
- To activate the color-changing effect, simply wet the stones with water. Watch the magic happen!
Substitutions & Additions
If you want to switch things up a bit, here are some fun ideas:
- Try using glitter or small beads in the mixture for extra sparkle.
- Substitute the food coloring with natural dyes made from fruits or vegetables for a more organic approach.
- Use different shapes of molds to create unique treasures—get creative!
Tips for Success
To help you achieve the best results, here are a few tips:
- Make sure to mix the ingredients well to avoid lumps.
- Be careful when adding vinegar; it fizzes, so add it slowly!
- If you want to prepare ahead of time, you can mix the dry ingredients and store them in an airtight container until you are ready to make your stones.
How to Store Magical DIY Color Changing Treasure Stones: Easy Kids Craft
Once your treasure stones are complete, you can store them in a cool, dry place. They can last for several months if kept away from moisture. Just remember, the magic happens when they meet water, so keep them dry until you are ready to play!
FAQs
Here are some common questions I get about this fun project:
- Can I use different types of molds? Absolutely! Silicone molds work best, but you can also use ice cube trays or any other fun shapes you have.
- What happens if I don’t let them dry completely? They may not hold their shape well, so be sure to let them dry for a full 24 hours.
- Can I make these with my kids? Yes! This is a great family project to encourage creativity and fun.
Making Magical DIY Color Changing Treasure Stones is a wonderful way to bond with your children and unleash your creativity. For more delicious recipes, check out Earl Grey Cookies or Muddy Buddies for treats you will love!
If you enjoyed this craft, don’t forget to follow our Pinterest for more fun ideas and inspiration!
Magical DIY Color Changing Treasure Stones
Ingredients
Equipment
Method
- Step 1: In a mixing bowl, combine the baking soda and cornstarch. This will create the base for your stones.
- Step 2: Slowly add the white vinegar to the dry mixture, stirring continuously to prevent fizzing over. This part is so much fun to watch!
- Step 3: Once the mixture is well combined, add the corn syrup and mix until smooth. This helps everything stick together.
- Step 4: Divide the mixture into separate bowls and add different food coloring to each bowl to create various colors. The more colors, the better!
- Step 5: Spoon the colored mixtures into silicone molds or ice cube trays, filling them evenly. You can mix colors in one mold for a marbled effect.
- Step 6: Place the filled molds on a baking sheet and let them sit at room temperature for 24 hours to dry completely. Patience is key here!
- Step 7: Once dry, carefully remove the treasure stones from the molds. They should pop out easily!
- Step 8: To activate the color-changing effect, simply wet the stones with water. Watch the magic happen!
Notes