Remember those warm, sun-drenched afternoons when all you craved was something light, zesty, and utterly refreshing? Maybe it was a cool glass of lemonade on the porch swing, or a slice of Grandma’s famous lemon meringue pie. Well, my friend, get ready to experience that same delightful feeling, but with a modern, healthier twist! I’m absolutely thrilled to share a recipe today that brings all that bright, citrusy goodness into your kitchen without any fuss: my Easy Lemon Cottage Cheese Bars.
This recipe isn’t just about making a delicious dessert; it’s about creating a little moment of pure joy, easily and quickly. These bars are so simple to whip up, you’ll wonder where they’ve been all your life. They’re light, packed with flavor, and surprisingly good for you, thanks to a little secret ingredient. Trust me, these will become a memorable staple in your baking repertoire!
Why You’ll Love Lemon Cottage Cheese Bars
- Fast & Fuss-Free: From start to finish, these bars come together in a snap, perfect for those last-minute cravings or unexpected guests.
- Incredibly Easy: No fancy techniques or complicated steps here, just simple blending and baking!
- Surprisingly Wholesome: Thanks to the cottage cheese, you get a boost of protein and a wonderfully light texture, making them a dessert you can truly feel good about.
- Perfectly Portable & Giftable: Slice them up, pack them in a cute tin, and you’ve got the ideal treat for picnics, potlucks, or a thoughtful gift.
- Universally Loved: That bright, zesty lemon flavor combined with a creamy, melt-in-your-mouth texture is a guaranteed crowd-pleaser!
Ingredients
- 1 cup cottage cheese, drained for 10 minutes: This is our secret weapon for creaminess and a protein boost! Make sure to drain it well to avoid a watery batter.
- 2 eggs or 3 egg whites: Eggs bind everything beautifully. If you’re looking for a lighter option, egg whites work wonders.
- 1 tsp vanilla extract: A warm, comforting hug that rounds out the bright lemon.
- Zest of 1 lemon: Don’t skip this! It provides intense lemon flavor without adding too much liquid.
- ¼ cup fresh lemon juice: For that essential tang and brightness. Freshly squeezed is always best!
- ½ cup raw cane sugar or sweetener of choice: Sweetness to balance the tartness. Adjust to your liking!
- 1 cup almond flour or oat flour: Keeps these bars light and often gluten-friendly. Choose your favorite!
- 1 tsp baking powder: Our little helper for a soft, slightly airy texture.
- ½ tsp salt: Just a pinch to enhance all those wonderful flavors.
- ¼ cup white chocolate, melted and slightly cooled (optional): This adds a lovely, subtle sweetness and helps with the fudgy texture. Trust me on this!
- 2 tbsp white chocolate chips (optional): For an extra sprinkle of sweetness and a pretty top.
How to Make Lemon Cottage Cheese Bars
Alright, kitchen friends, let’s get baking! You’ll be amazed at how quickly these come together.
- Preheat oven to 350°F. Grease and line an 8×8-inch pan with parchment paper. This ensures easy removal and clean-up. I always make sure the parchment paper overhangs a bit on the sides to create “handles.”
- Melt the white chocolate and set aside to cool slightly. You can do this in a microwave in 30-second intervals, stirring in between, or over a double boiler. You want it warm and melty, but not hot, so it doesn’t scramble your eggs.
- In a blender or food processor, blend cottage cheese, eggs, vanilla, lemon zest, lemon juice, and sugar until smooth and creamy. This is where the magic happens! Blend until there are no visible lumps of cottage cheese. You want it silky smooth, like a dream.
- Add baking powder, salt, and melted white chocolate to the blender. Blend again until incorporated. This step mixes everything perfectly.
- In a medium bowl, add the flour and pour in the blended mixture. Mix until fully combined. I prefer to do this in a separate bowl to avoid over-blending the flour, which can make the bars tough. A spatula or whisk works perfectly here.
- Pour batter into the prepared pan and smooth the top. Get every last drop of that delicious batter!
- Sprinkle with white chocolate chips or add ½ cup berries (if not using chocolate). This is your chance to customize! Blueberries or raspberries are fantastic here, adding another layer of freshness.
- Bake until the center is just set and a toothpick comes out with moist crumbs. Keep an eye on them! Ovens vary, so start checking around the minimum bake time. The edges should be lightly golden, and the center should no longer jiggle when you gently shake the pan.
- Let cool completely before slicing. Chill for a denser, fudgy texture. Patience is key here, my dears! These bars firm up beautifully as they cool. For that truly fudgy, almost cheesecake-like texture, pop them in the fridge for a couple of hours.
Substitutions & Additions
One of the best things about these Lemon Cottage Cheese Bars is how adaptable they are! Feel free to play around with them and make them your own.
- Flour Power: While almond and oat flour give a lovely texture, you can experiment with gluten-free all-purpose flour blends if you prefer. Just be mindful of the liquid absorption and adjust if needed.
- Sweetness Swaps: Instead of raw cane sugar, try maple syrup, honey (reduce liquid slightly), or your favorite granulated sugar substitute for a different twist.
- Citrus Zing: Not a lemon fan? You could easily swap lemon zest and juice for lime or orange for a completely different flavor profile. Imagine Orange Blossom Cottage Cheese Bars!
- Berry Good: As mentioned, fresh or frozen berries (no need to thaw!) are a fantastic addition. Blueberries, raspberries, or chopped strawberries work beautifully, especially if you skip the chocolate. For another delightful berry and cream cheese combo, you might love these Strawberry Crunch Cheesecake bars too!
- Nutty Crunch: For a little textural contrast, sprinkle some finely chopped pistachios or almonds on top before baking.
- More Lemon Love: If you’re a serious lemon enthusiast, a drizzle of simple lemon glaze (powdered sugar + lemon juice) after they’ve cooled would be divine! For another bright and zesty breakfast idea, why not try my Fluffy Lemon Ricotta Pancakes?
Tips for Success
- Drain Your Cottage Cheese: This is crucial! Excess liquid can make your bars too wet. Place the cottage cheese in a fine-mesh sieve for at least 10 minutes, pressing gently with the back of a spoon if you’re in a hurry.
- Blend Until Smooth: Don’t rush this step. You want zero lumps of cottage cheese for that silky-smooth texture. A good blender or food processor is your friend here.
- Don’t Overmix the Flour: Once you add the flour, mix just until combined. Overmixing can develop gluten, making your bars tough.
- Cool Completely: Seriously, wait! These bars need time to set and firm up, especially if you want that perfect slice. Chilling them in the fridge makes them even better.
- Baking Pan Size Matters: An 8×8-inch pan gives you a nice thickness. If you use a larger pan, the bars will be thinner and might bake faster, so adjust your baking time. For more inspiration on delicious bars and treats, check out my recipe for Easy Chocolate Chip Cheesecake Bars – another family favorite!
How to Store Lemon Cottage Cheese Bars
Once your Lemon Cottage Cheese Bars are completely cooled (and if there are any left!), storing them properly will keep them fresh and delicious.
- Countertop: While tempting, due to the cottage cheese, these bars are best kept refrigerated.
- Refrigerator: Store them in an airtight container in the refrigerator for up to 3-4 days. They actually taste even better chilled, and the texture becomes wonderfully dense and fudgy!
- Freezer: You can freeze these bars! Wrap individual slices tightly in plastic wrap, then place them in a freezer-safe bag or container. They’ll keep well for up to 1 month. Thaw in the refrigerator before serving.
FAQs
-
Can I use low-fat cottage cheese?
Absolutely! Any type of cottage cheese will work. Just ensure it’s well-drained to prevent a watery batter, regardless of fat content.
-
Do these bars taste like cottage cheese?
Surprisingly, no! Once blended and baked, the cottage cheese transforms into a creamy, subtle base. The lemon flavor truly shines through, so even cottage cheese skeptics will be pleasantly surprised!
-
Can I make these dairy-free?
You can certainly try! Use a dairy-free cottage cheese alternative and ensure your white chocolate (if using) is dairy-free. Results may vary slightly in texture, but the flavor should still be lovely.
For more delicious and easy recipes, be sure to follow us on Pinterest!

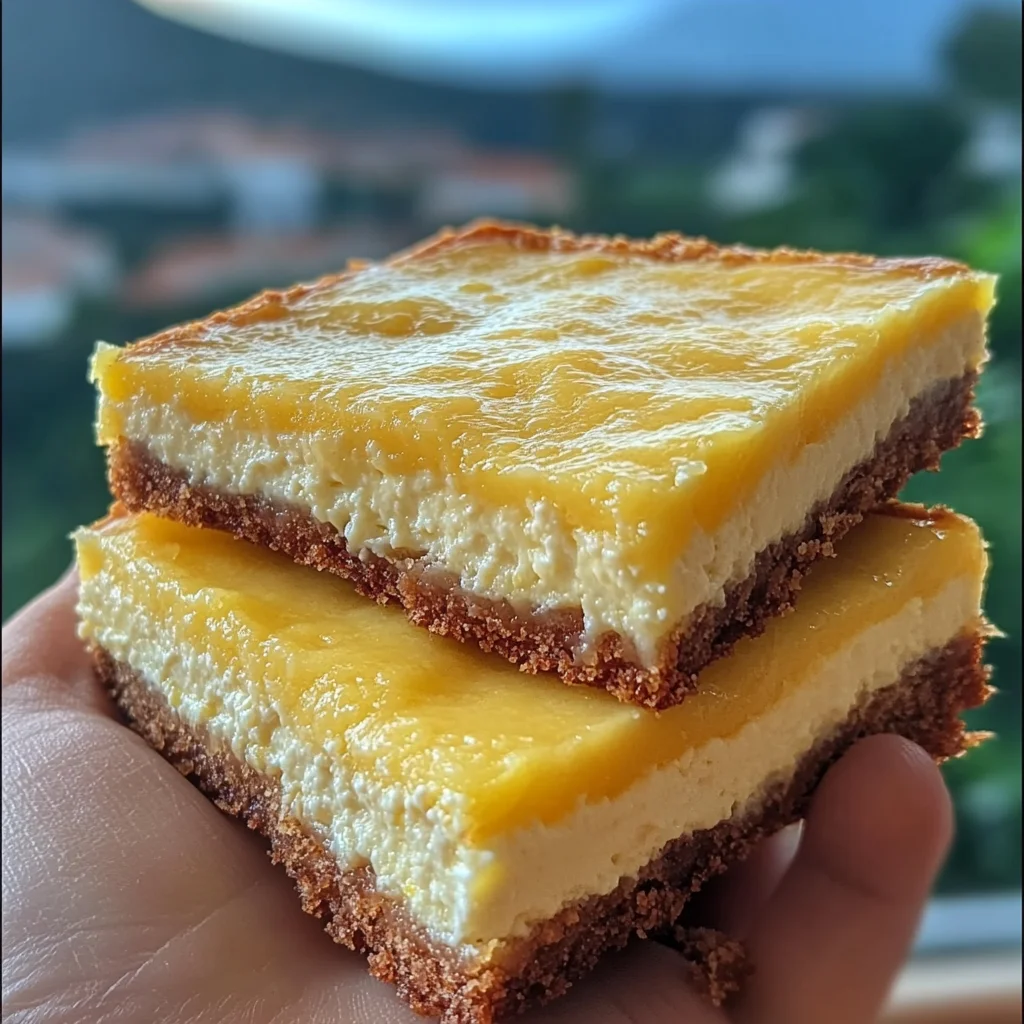
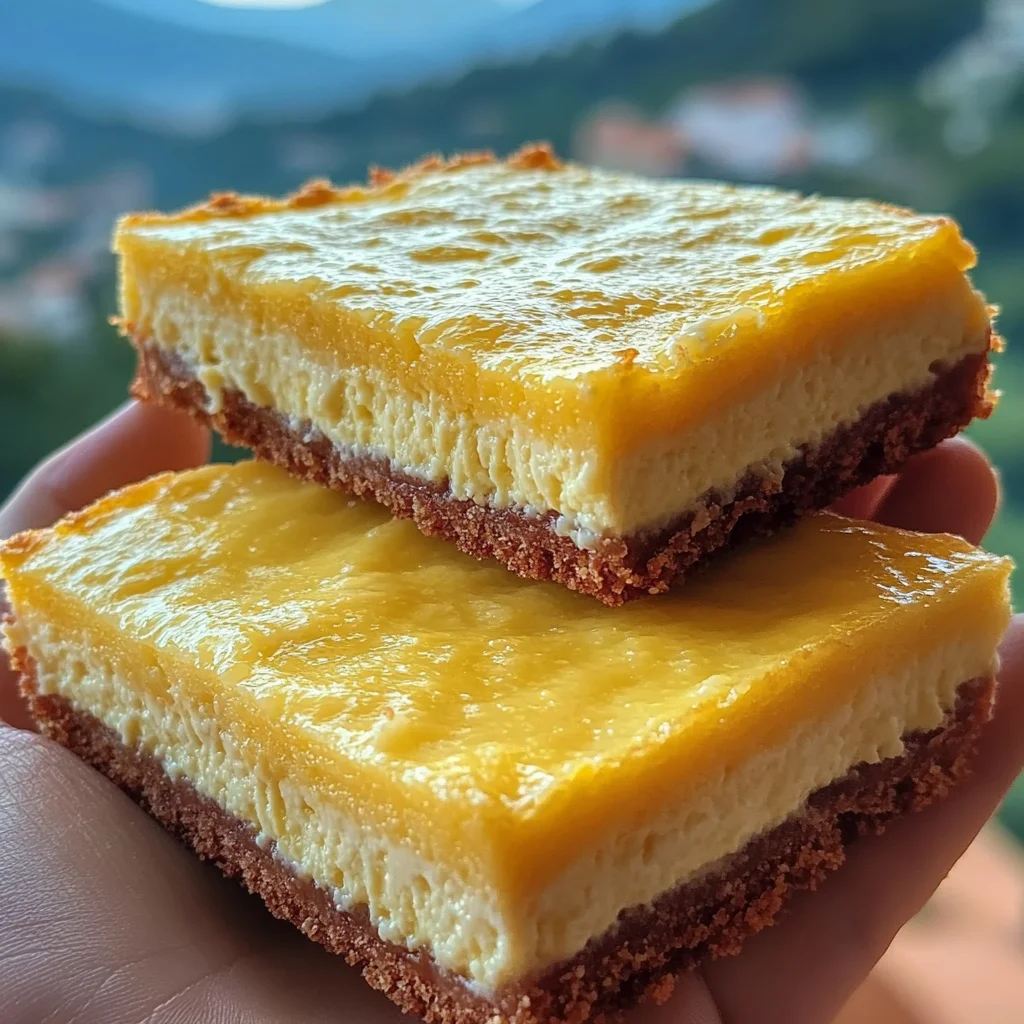
Bright & Zesty Lemon Cottage Cheese Bars
Ingredients
Equipment
Method
- Step 1: Preheat oven to 350°F. Grease and line an 8x8-inch pan with parchment paper. This ensures easy removal and clean-up. I always make sure the parchment paper overhangs a bit on the sides to create "handles."
- Step 2: Melt the white chocolate and set aside to cool slightly. You can do this in a microwave in 30-second intervals, stirring in between, or over a double boiler. You want it warm and melty, but not hot, so it doesn't scramble your eggs.
- Step 3: In a blender or food processor, blend cottage cheese, eggs, vanilla, lemon zest, lemon juice, and sugar until smooth and creamy. This is where the magic happens! Blend until there are no visible lumps of cottage cheese. You want it silky smooth, like a dream.
- Step 4: Add baking powder, salt, and melted white chocolate to the blender. Blend again until incorporated. This step mixes everything perfectly.
- Step 5: In a medium bowl, add the flour and pour in the blended mixture. Mix until fully combined. I prefer to do this in a separate bowl to avoid over-blending the flour, which can make the bars tough. A spatula or whisk works perfectly here.
- Step 6: Pour batter into the prepared pan and smooth the top. Get every last drop of that delicious batter!
- Step 7: Sprinkle with white chocolate chips or add ½ cup berries (if not using chocolate). This is your chance to customize! Blueberries or raspberries are fantastic here, adding another layer of freshness.
- Step 8: Bake until the center is just set and a toothpick comes out with moist crumbs. Keep an eye on them! Ovens vary, so start checking around the minimum bake time. The edges should be lightly golden, and the center should no longer jiggle when you gently shake the pan.
- Step 9: Let cool completely before slicing. Chill for a denser, fudgy texture. Patience is key here, my dears! These bars firm up beautifully as they cool. For that truly fudgy, almost cheesecake-like texture, pop them in the fridge for a couple of hours.