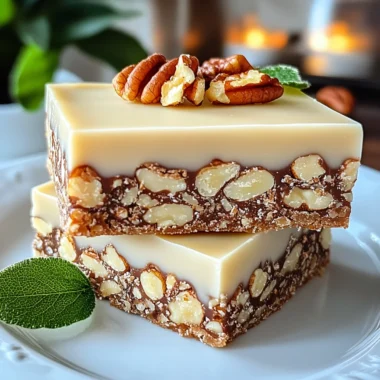
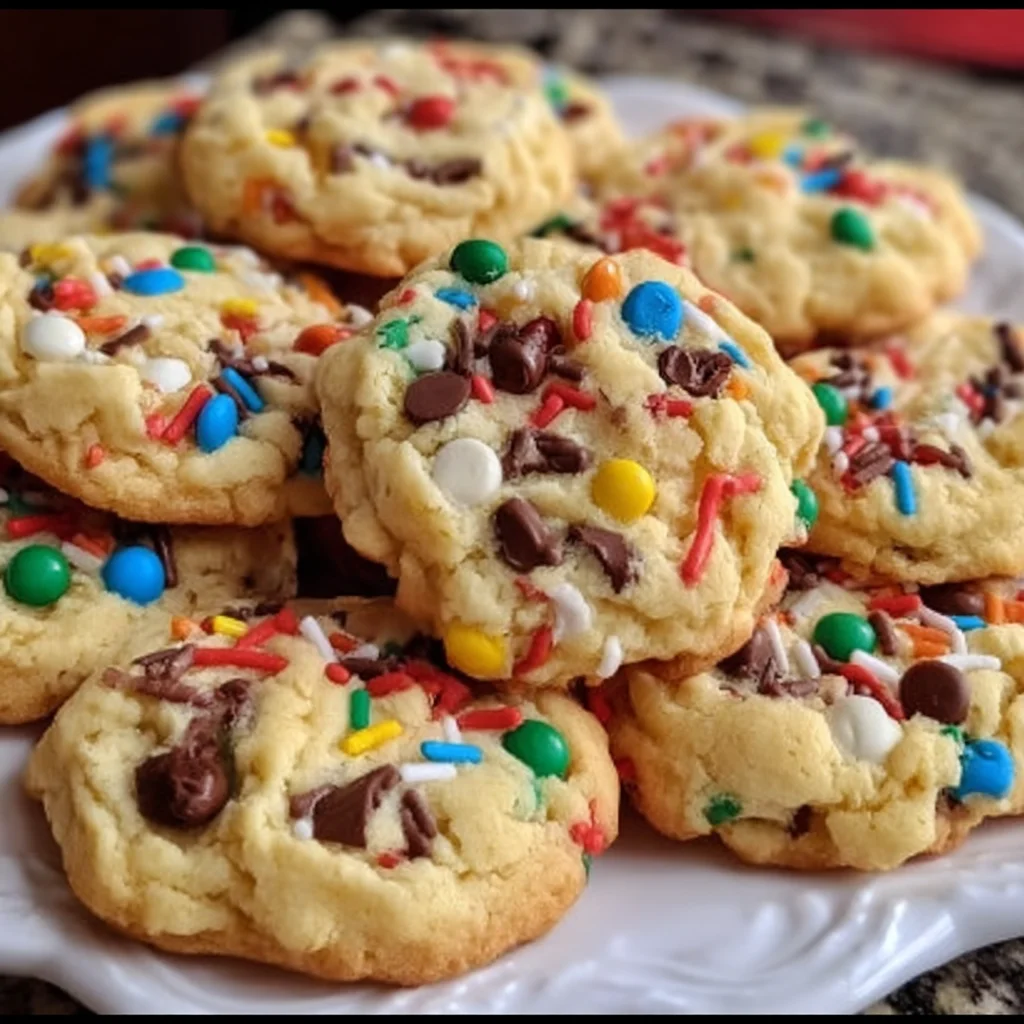
Hey there, friend! Remember those days when making cookies meant pulling out the mixer, dealing with flour dust everywhere, and waiting for the oven to preheat? Well, let’s leave those days behind for a minute and step into the world of lazy cookies. You know, the kind you can whip up on a whim without even turning on your oven? These Lazy Cake Cookies are exactly that – pure, unadulterated, no-bake bliss. They taste just like a mashup of your favorite chocolate bar, a crispy treat, and a cozy snack you used to make as a kid. Get ready for seriously easy magic!
Seriously, if you have 15 minutes and a microwave, you are halfway to cookie heaven. They are ridiculously easy, taste incredible, and disappear even faster than they were made. Perfect for impromptu guests, a quick sweet craving, or letting the kids help out in the kitchen (safely, of course!).
Why You’ll Love This Recipe
- Fast: We’re talking maybe 15 minutes of active time. Seriously speedy!
- Easy: No baking, minimal dishes, simple steps. You can’t mess these up!
- Giftable: Pack them up in a cute tin or bag for a homemade treat everyone will adore.
- Crowd-Pleasing: Chocolate, peanut butter, crispy bits… who wouldn’t love these?
- No Bake: Perfect for hot summer days or when you just don’t want to use the oven.
Ingredients
Gather ’round, let’s talk about the simple heroes of this no-bake masterpiece:
- 1 cup Chocolate Chips: Use your favorite! Semi-sweet, milk chocolate, or even dark chocolate chips all work wonderfully here.
- 1/2 cup Peanut Butter: Creamy or crunchy, your call! Peanut butter adds that essential richness and helps bind everything together.
- 1/4 cup Honey or Maple Syrup: This is our natural sweetener and binder. Honey gives a classic flavor, while maple syrup keeps it vegan (if you use vegan chocolate chips and peanut butter!).
- 1 cup Rolled Oats: Old-fashioned rolled oats give these cookies a lovely chewiness and texture. Quick oats might get a bit mushy, so I stick to rolled oats.
- 1/2 cup Crushed Graham Crackers: This is the “cake” part! They add that crucial crispy, slightly sweet crumb texture. Just crush them up roughly by hand or in a bag.
- 1/4 cup Mini Marshmallows (optional): If you want an extra layer of gooey, chewy fun, toss these in! They melt just slightly into the mixture.
How to Make It
Okay, let’s get this no-bake party started! It’s truly as simple as melt, mix, and chill.
1. Melt the Chocolate Mixture: Grab a microwave-safe bowl. Toss in your chocolate chips and that glorious peanut butter. Now, here’s the key: microwave them in short bursts! Start with 20 seconds, then stir. Microwave for another 20 seconds, stir again. Keep doing this until it’s all melty and beautifully smooth. Don’t overheat, or the chocolate can get grumpy!
2. Add Sweetener: Once your chocolate and peanut butter are a dreamy, smooth liquid, pour in your honey or maple syrup. Stir it really well until it’s fully mixed in. This adds sweetness and helps the texture.
3. Mix Dry Ingredients: In a separate, slightly larger bowl, combine your rolled oats, those wonderfully crushed graham crackers, and the optional mini marshmallows. Give it a quick stir just to distribute everything evenly.
4. Combine Everything: Now for the fun part! Pour that warm, melted chocolate-peanut butter mixture right over your dry ingredients. Grab a spoon or a sturdy spatula and get stirring! Make sure every single oat, every graham cracker crumb, and every marshmallow is coated in that delicious chocolatey goodness. You want it all mixed in thoroughly.
5. Shape the Cookies: Get a baking sheet ready and line it with parchment paper or wax paper. This is crucial so they don’t stick! Using a spoon or a small cookie scoop (I find a scoop makes them look neater and more uniform), drop spoonfuls of the mixture onto the lined sheet. They won’t spread like baked cookies, so you’ll want to gently press them down with the back of the spoon or your fingers to shape them into traditional cookie discs.
6. Chill: Pop the entire baking sheet into the refrigerator. They need at least 30 minutes to chill out and firm up completely. You’ll know they’re ready when they are solid and hold their shape perfectly. Once they’re firm, they’re ready to devour!
Substitutions & Additions
This recipe is super flexible! Feel free to play around:
- Chocolate: Swap semi-sweet chips for milk, dark, or even white chocolate (though white chocolate might change the texture slightly).
- Nut Butter: Almond butter, cashew butter, or even sunflower seed butter work great as a peanut-free alternative.
- Sweetener: Agave syrup can also be used instead of honey or maple syrup.
- Oats: While rolled oats are best, quick oats can be used in a pinch, but the texture will be softer. Don’t use steel-cut oats – they won’t soften properly.
- Graham Crackers: Crushed cookies like Biscoff, digestive biscuits, or even crushed pretzels could add a fun twist!
- Mix-ins: Get creative! Add a sprinkle of sea salt, a handful of chopped nuts (peanuts, walnuts, pecans), dried cranberries, shredded coconut, or even some sprinkles to the mix.
Tips for Success
Even though these are super easy, a couple of pointers can help you nail them every time:
- Don’t Overheat the Chocolate: When melting the chocolate and peanut butter, go slow and stir frequently. Overheated chocolate can seize up and become clumpy.
- Make Sure Everything is Coated: Take your time when mixing the wet and dry ingredients. You want all those oats and graham crackers evenly coated so the cookies hold together nicely.
- Chill Time is Key: Don’t skip or shorten the chilling time! This is what sets the cookies and gives them their structure.
- Parchment Paper is Your Friend: Always line your baking sheet. It makes removing the chilled cookies a breeze and cleanup so much easier.
How to Store It
Once your Lazy Cake Cookies are firm, you can store them in an airtight container. Keep them in the refrigerator; they stay nice and firm there. They should last for about a week, though I bet they’ll be gone long before then!
FAQs
Q: Can I make these vegan?
A: Absolutely! Just use vegan chocolate chips, ensure your peanut butter is vegan (most are!), and use maple syrup as your sweetener instead of honey.
Q: Why is my mixture too dry/crumbly?
A: This can happen if you didn’t have quite enough wet ingredients (maybe your measuring wasn’t precise) or if your dry ingredients were packed in too tightly. If it’s too dry, you can gently warm the mixture in the microwave for a few seconds to make it more pliable, or stir in another tiny bit of melted peanut butter or syrup.
Q: Can I freeze these?
A: Yes! Once they are completely chilled and firm, you can transfer them to a freezer-safe container or bag, separating layers with parchment paper. They should last for 2-3 months. Thaw them in the refrigerator before serving.
Q: Do I have to use graham crackers?
A: Graham crackers add a unique texture and flavor that’s traditional in “lazy cake” or “no-bake cookie” recipes. You could potentially substitute with other crushed crunchy cookies, but the classic result comes from the graham cracker base.

Lazy Cake Cookies: The Easiest No-Bake Treat Ever!
Ingredients
Equipment
Method
- Step 1: Melt the Chocolate Mixture: Grab a microwave-safe bowl. Toss in your chocolate chips and that glorious peanut butter. Microwave them in short bursts! Start with 20 seconds, then stir. Microwave for another 20 seconds, stir again. Keep doing this until it's all melty and beautifully smooth. Don't overheat, or the chocolate can get grumpy!
- Step 2: Add Sweetener: Once your chocolate and peanut butter are a dreamy, smooth liquid, pour in your honey or maple syrup. Stir it really well until it's fully mixed in. This adds sweetness and helps the texture.
- Step 3: Mix Dry Ingredients: In a separate, slightly larger bowl, combine your rolled oats, those wonderfully crushed graham crackers, and the optional mini marshmallows. Give it a quick stir just to distribute everything evenly.
- Step 4: Combine Everything: Now for the fun part! Pour that warm, melted chocolate-peanut butter mixture right over your dry ingredients. Grab a spoon or a sturdy spatula and get stirring! Make sure every single oat, every graham cracker crumb, and every marshmallow is coated in that delicious chocolatey goodness. You want it all mixed in thoroughly.
- Step 5: Shape the Cookies: Get a baking sheet ready and line it with parchment paper or wax paper. Using a spoon or a small cookie scoop, drop spoonfuls of the mixture onto the lined sheet. Gently press them down with the back of the spoon or your fingers to shape them into traditional cookie discs.
- Step 6: Chill: Pop the entire baking sheet into the refrigerator. They need at least 30 minutes to chill out and firm up completely. You'll know they're ready when they are solid and hold their shape perfectly. Once they're firm, they're ready to devour!