Oh, friend, do you ever open your spice cabinet, grab that trusty jar of chili powder, and wish it had just a little more oomph? That deep, earthy, slightly smoky flavor that tells a story of cozy nights and incredible meals? I totally get it. For years, I relied on store-bought blends, but there’s something truly magical about making your own. It’s like unlocking a secret level of flavor in your kitchen, and honestly, once you try this homemade chili powder, you’ll wonder how you ever lived without it. It’s so unbelievably easy, ridiculously quick, and the difference it makes in your favorite dishes is just plain memorable. Imagine stirring this vibrant, homemade blend into a simmering pot of your favorite chili, or even sprinkling it into dishes like my Easy Slow Cooker Taco Chicken Rice for an extra kick. Pure comfort, pure flavor!
Why You’ll Love Chili Powder
Making your own chili powder isn’t just a kitchen hack; it’s a game-changer! Here’s why you’ll be absolutely smitten with this recipe:
- Fast: We’re talking minutes, not hours. A quick whiz in the grinder, and you’re done!
- Easy: If you can measure and push a button, you can make this. No fancy techniques needed!
- Giftable: Pour this fragrant blend into cute jars, tie a ribbon, and you’ve got the perfect homemade gift for any food lover in your life.
- Crowd-pleasing: From classic chili to tacos, roasted veggies, or even popcorn, this blend adds an irresistible depth that everyone will adore.
Ingredients
Gathering your ingredients for this chili powder is super simple. Here’s what you’ll need to create your own flavor masterpiece:
- ¾ ounce dried mild red chiles (such as ancho, guajillo, or New Mexico): These are the stars of the show! They provide that foundational, rich chili flavor without overwhelming heat. You can usually find these in the Mexican or international aisle of your grocery store.
- 1 tablespoon paprika: Adds a lovely red color and a sweet, peppery note that rounds out the flavor.
- 1 tablespoon cumin: Earthy, warm, and absolutely essential for that classic Tex-Mex flavor profile we all love.
- 1 tablespoon Mexican oregano: This isn’t your average Italian oregano! Mexican oregano has a more assertive, citrusy, and slightly peppery flavor that truly sings in chili blends.
- 2 teaspoons garlic powder: A classic savory backbone that enhances all the other flavors.
- ¼ teaspoon cayenne pepper: Just a touch for a gentle warmth. If you like more heat, feel free to add a little extra!
How to Make Chili Powder
Alright, let’s get this deliciousness going! Making your own chili powder is a breeze, I promise. Just follow these simple steps:
- Grind the Chiles: First things first, grab your dried chiles. You’ll want to remove the stems and seeds. Don’t worry about getting every last seed, but a good shake will do the trick. Now, working in batches if your grinder is on the smaller side, pop those stemmed and seeded chiles into your trusty spice grinder (a clean coffee grinder works wonderfully too!). Pulse, pulse, pulse until those chiles are finely ground into a beautiful, aromatic powder. This usually takes about a minute, but keep an eye on it to make sure there are no large pieces left.
- Combine Ingredients: Once your chiles are perfectly ground, either add them back into your spice grinder or transfer them to a bowl. Now for the magic! Add in the paprika, cumin, Mexican oregano, garlic powder, and that little pinch of cayenne pepper. Give everything a good mix until all the ingredients are thoroughly combined. You can give it another quick pulse in the grinder if you want to ensure it’s super fine and perfectly blended.
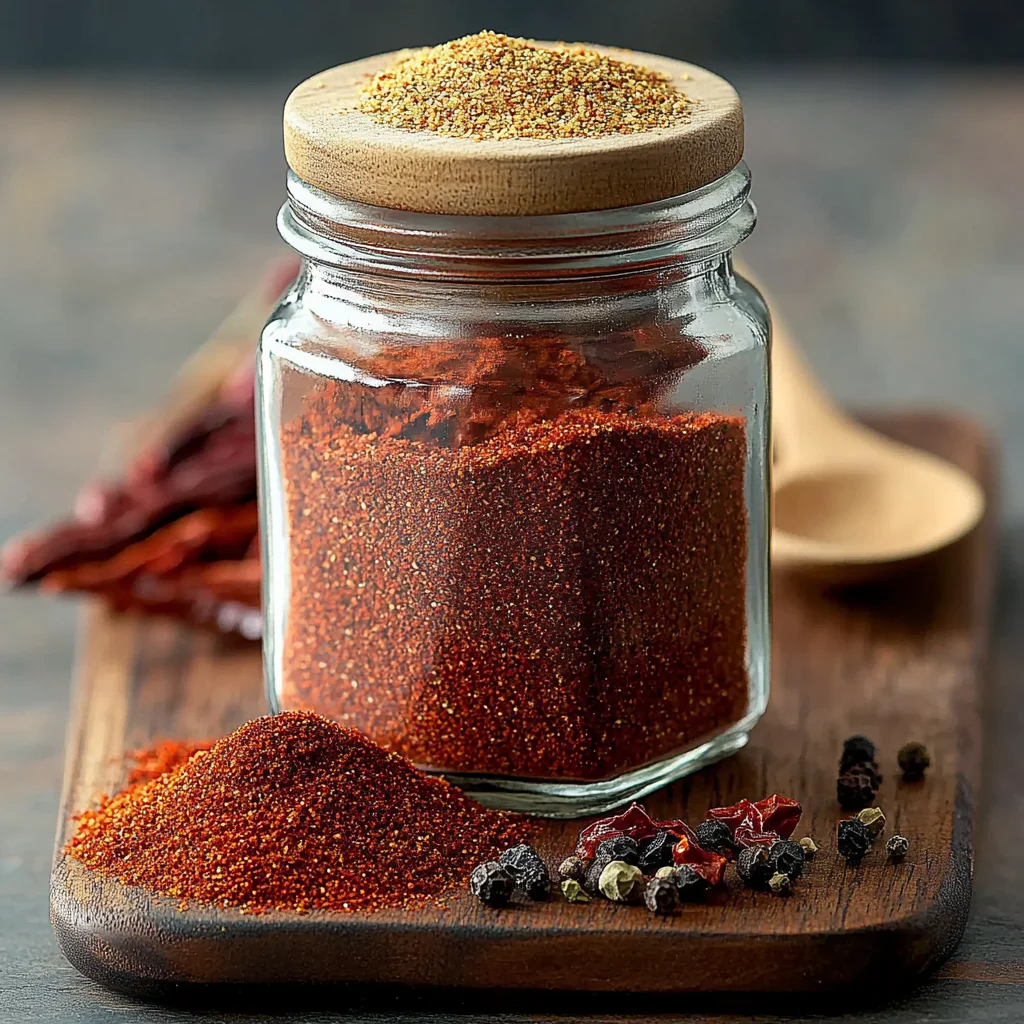
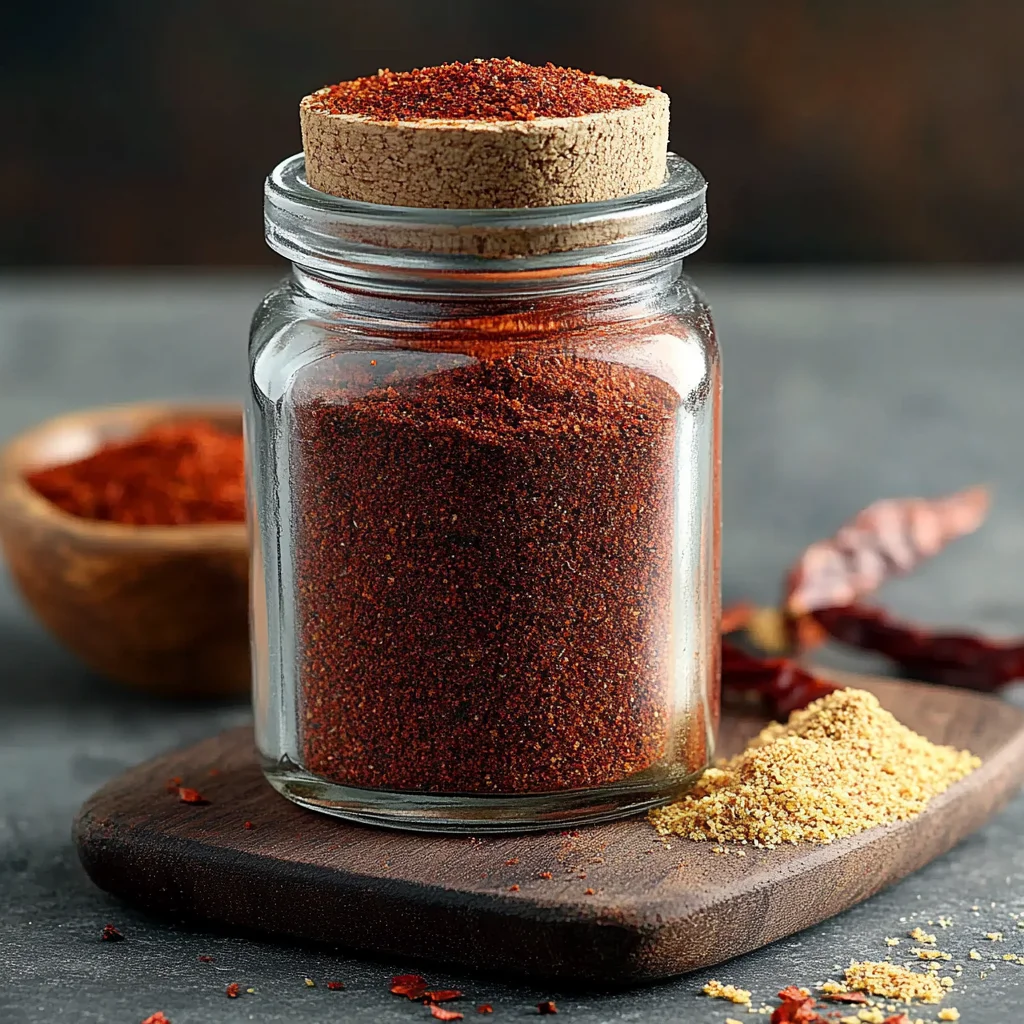
- Store: And just like that, you’re done! Transfer your vibrant, homemade chili powder to a clean, airtight glass jar. Store it in a cool, dark place, away from direct sunlight, and you’ll have fresh, flavorful chili powder ready for your culinary adventures for 6 to 12 months.
Substitutions & Additions
One of the joys of making your own spice blends is customizing them! Here are some ideas to make this chili powder truly yours:
- Chile Varieties: Feel free to experiment with different dried chiles! For a smoky kick, try adding a dried chipotle chile (or two!). If you like it spicier, a few dried arbol chiles will wake things up. For a milder, sweeter blend, stick to purely New Mexico chiles.
- Toasted Spices: For an even deeper, richer flavor, you can lightly toast your whole cumin seeds before grinding them, or even toast the dried chiles briefly in a dry skillet over medium heat until fragrant (about 30 seconds to 1 minute, don’t burn them!). This really brings out their essential oils.
- Extra Aromatics: A teaspoon of onion powder or a half-teaspoon of ground coriander can add another layer of complexity.
- Salt Factor: This recipe is salt-free, which I love because it gives me control over the seasoning in my dishes. However, if you prefer an all-in-one blend, you can add 1-2 teaspoons of fine sea salt to the mix.
- Smoked Paprika: Swap out regular paprika for smoked paprika if you’re looking to infuse a lovely, subtle smoky flavor into your blend, especially if you’re making a dish that calls for a deeper, smokier flavor, like a hearty stew or even my Cozy Chile Relleno Soup.
Tips for Success
Homemade chili powder is pretty foolproof, but a few pointers can ensure yours is absolutely perfect every time:
- Quality Matters: Start with fresh, high-quality dried chiles and spices. Fresh spices have more potent oils, leading to a more flavorful final product. Old, faded spices just won’t cut it.
- Clean Grinder: If you’re using a coffee grinder, make sure it’s super clean and free of coffee residue. You don’t want coffee-flavored chili! I actually have a dedicated grinder just for spices.
- Don’t Over-Grind: Pulse your chiles and spices until they reach your desired fineness. Over-grinding can sometimes heat them too much, causing them to release their oils prematurely and potentially affecting their shelf life.
- Ventilation: Grinding chiles can create a bit of a spicy dust cloud. Work in a well-ventilated area, and avoid inhaling directly over the grinder.
How to Store Chili Powder
Proper storage is key to keeping your homemade chili powder fresh and flavorful for as long as possible:
- Airtight Container: Always store your chili powder in a clean, airtight glass jar or container. This prevents moisture and air from degrading its quality.
- Cool, Dark Place: Keep it in a pantry, cupboard, or any spot away from direct sunlight, heat, and humidity. Heat and light are the enemies of fresh spices!
- Shelf Life: When stored correctly, your homemade chili powder will stay wonderfully potent for 6-12 months. You’ll know it’s time for a new batch if the color fades or the aroma isn’t as vibrant when you open the jar. Trust your nose!
FAQs
What kind of dried chiles are best for homemade chili powder?
For a classic, mild, and flavorful chili powder, I highly recommend starting with ancho, guajillo, or New Mexico chiles. Ancho chiles offer a rich, fruity, slightly smoky flavor; guajillos are a bit fruitier and tangier; and New Mexico chiles are known for their earthy sweetness. A mix of these is often ideal!
Can I toast the spices before grinding them?
Absolutely! Toasting whole spices like cumin seeds in a dry skillet for a minute or two until fragrant can deepen their flavor considerably. Just be careful not to burn them, as that will make them bitter. You can also lightly toast the dried chiles themselves for enhanced smokiness.
How do I know if my homemade chili powder is fresh?
The best way to tell is by its aroma and color. Fresh chili powder will have a vibrant, rich color (usually a deep reddish-brown) and a strong, complex fragrance. If it looks dull, faded, or smells weak and musty, it’s probably past its prime and won’t contribute much flavor to your cooking.
What can I use homemade chili powder in?
The possibilities are endless! It’s perfect for chili (of course!), tacos, enchiladas, fajitas, rubs for grilled meats, and can even elevate a simple weeknight meal like my Easy Sloppy Joe Casserole. Try sprinkling it on roasted vegetables, sweet potatoes, or even stirring a pinch into your scrambled eggs for a morning kick!
For more delicious recipes and kitchen inspiration, be sure to follow us on Pinterest!

Homemade Chili Powder
Ingredients
Equipment
Method
- Step 1: Grind the Chiles: First things first, grab your dried chiles. You'll want to remove the stems and seeds. Don't worry about getting every last seed, but a good shake will do the trick. Now, working in batches if your grinder is on the smaller side, pop those stemmed and seeded chiles into your trusty spice grinder (a clean coffee grinder works wonderfully too!). Pulse, pulse, pulse until those chiles are finely ground into a beautiful, aromatic powder. This usually takes about a minute, but keep an eye on it to make sure there are no large pieces left.
- Step 2: Combine Ingredients: Once your chiles are perfectly ground, either add them back into your spice grinder or transfer them to a bowl. Now for the magic! Add in the paprika, cumin, Mexican oregano, garlic powder, and that little pinch of cayenne pepper. Give everything a good mix until all the ingredients are thoroughly combined. You can give it another quick pulse in the grinder if you want to ensure it's super fine and perfectly blended.
- Step 3: Store: And just like that, you’re done! Transfer your vibrant, homemade chili powder to a clean, airtight glass jar. Store it in a cool, dark place, away from direct sunlight, and you’ll have fresh, flavorful chili powder ready for your culinary adventures for 6 to 12 months.