Hey there, friend! Do you ever have those moments when you just crave something really special? Something warm, comforting, and utterly delicious, but you don’t want to spend hours in the kitchen? Yeah, me too! That’s exactly how these Fried Strawberry Cheesecake Sandwiches came into my life, and let me tell you, they were love at first bite.
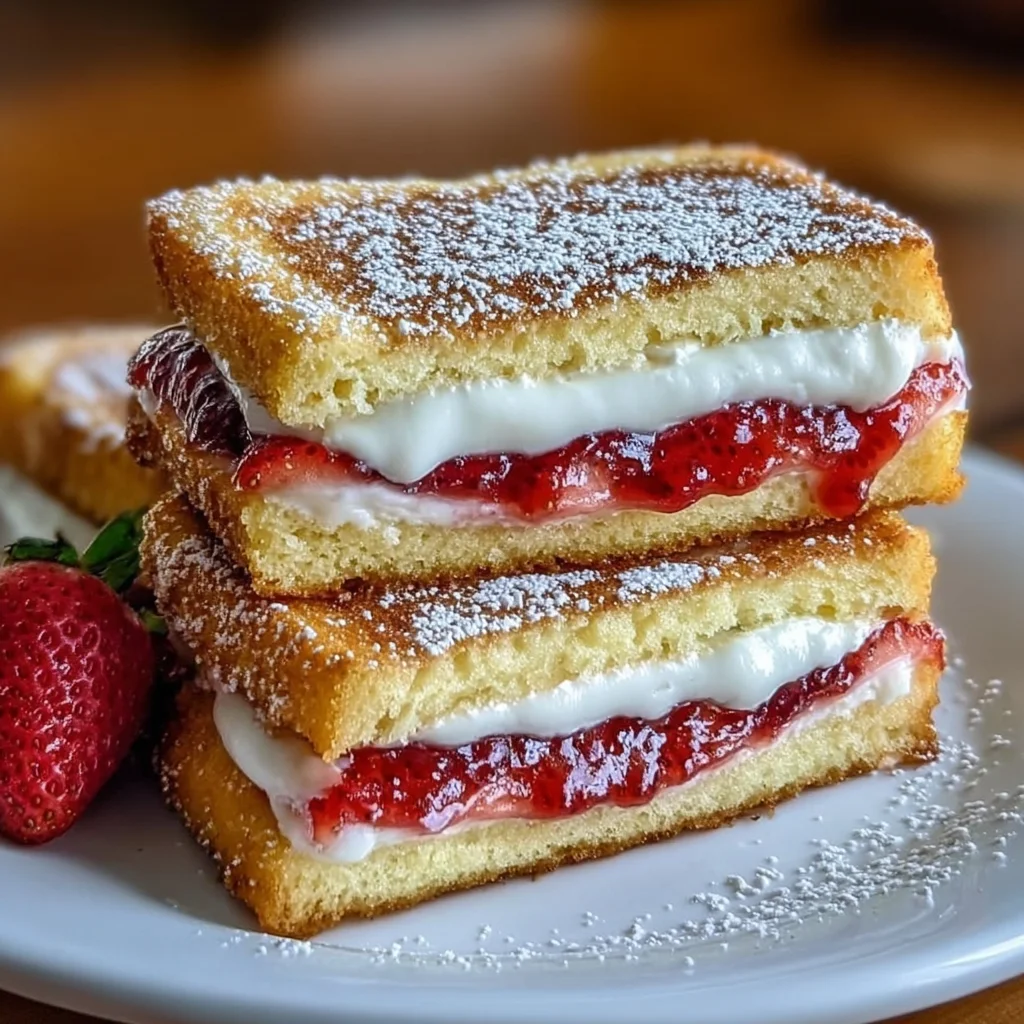
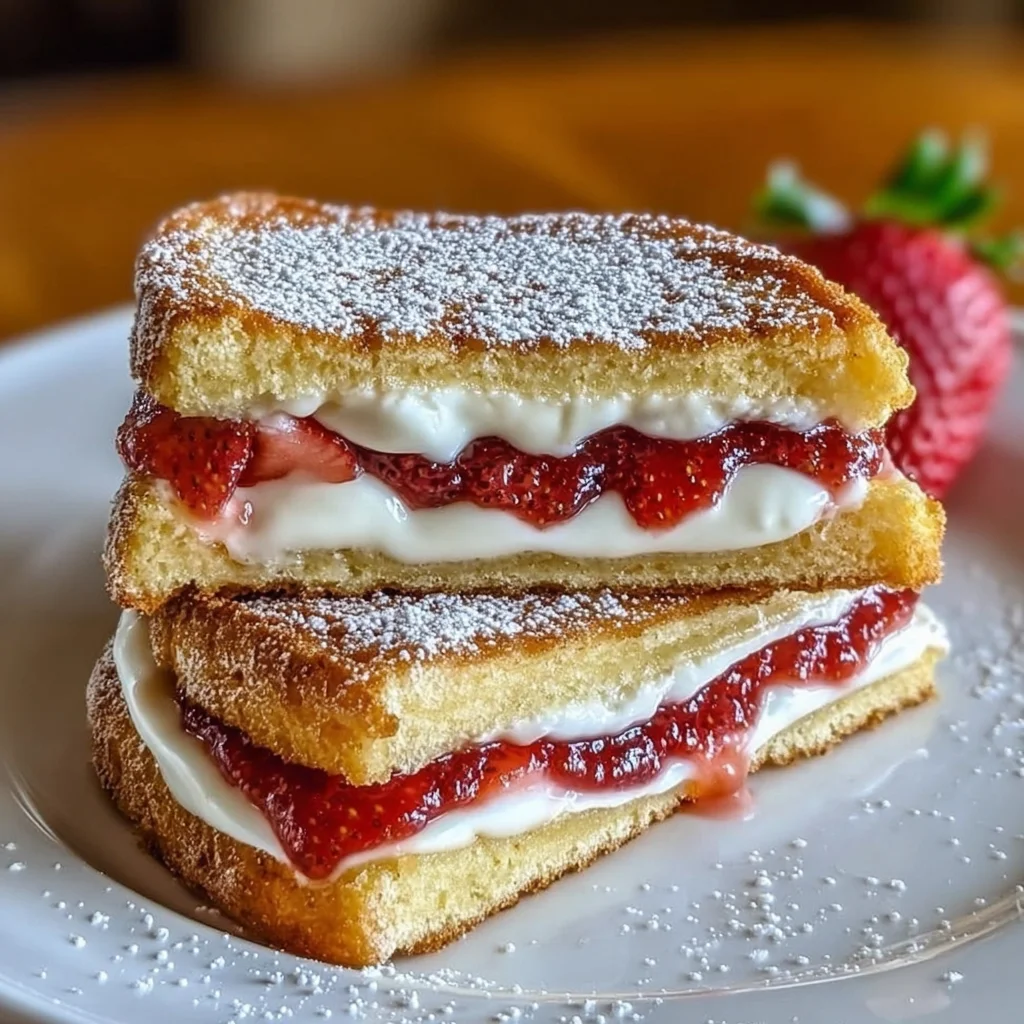
Imagine the best parts of French toast, combined with creamy cheesecake, sweet strawberries, and jam, all wrapped up in a golden, crispy hug. Seriously, it’s a little piece of heaven! They feel fancy, like something you’d get at a cute brunch spot, but guess what? You can whip these up right in your own kitchen with minimal fuss. They’re quick, they’re easy, and they disappear even faster!
Why You’ll Love This Recipe
There are so many reasons these little delights will steal your heart (and your stomach!). Here are just a few:
- Fast: From start to finish, you can be biting into warm deliciousness in under 20 minutes. Perfect for a spontaneous craving!
- Easy: If you can make a grilled cheese, you can make these. No complicated steps or fancy techniques needed.
- Giftable (Okay, maybe just shareable!): While they’re best warm, these make a delightful surprise for family or friends.
- Crowd-pleasing: Seriously, who doesn’t love fried bread, cream cheese, and strawberries? Kids and adults alike go wild for these.
Ingredients
Gathering your ingredients is the first step to deliciousness! Here’s what you’ll need:
- 8 slices of brioche or challah bread: Trust me on this one. The richness and slight sweetness of these breads make all the difference. It toasts up beautifully!
- 2 tablespoons powdered sugar (plus more for dusting): This sweetens the cream cheese just right and gives that classic dessert finish.
- 4 ounces cream cheese, softened: Make sure it’s really soft, sitting at room temperature. This is key to a smooth filling.
- 1/2 cup fresh strawberries, sliced: Fresh is best here! Slice them relatively thin so they lay flat in the sandwich.
- 1/4 cup strawberry jam: Adds another layer of sweet strawberry flavor and helps bind everything together a bit.
- 2 large eggs: The base of our egg wash, giving that golden coating.
- 3 tablespoons milk: Thins out the egg wash slightly for better dipping.
- 2 tablespoons butter (for frying): Butter gives these sandwiches the best flavor and a beautiful golden color.
How to Make It
Alright, let’s get cooking! Follow these simple steps, and you’ll have these heavenly sandwiches in no time.
-
Whip up the creamy filling: Grab a small bowl and toss in your softened cream cheese and the initial 2 tablespoons of powdered sugar. Give it a good mix with a spoon or a whisk until it’s super smooth and creamy. No lumps allowed!
-
Prep the bread: Lay out all 8 beautiful slices of brioche or challah bread. Now, take your smooth cream cheese mixture and spread it evenly over one side of four of those bread slices. Make sure to get it right to the edges!
-
Add the fruity layers: Carefully arrange your fresh, sliced strawberries over the cream cheese layer on those four slices. Don’t overload it, or they’ll spill out when frying! Then, spoon the strawberry jam right on top of the strawberries. This creates a wonderful double layer of strawberry goodness.
-
Build the sandwiches: Place the remaining four plain bread slices on top of the filled halves. Gently press down on each sandwich to help everything stick together and form a nice, neat package.
-
Prepare the egg bath: Find a shallow dish – a pie plate works perfectly! Crack your 2 large eggs into it and add the 3 tablespoons of milk. Grab a whisk and whisk them together really well until the egg and milk are completely combined and there are no streaks of egg white left.
-
Give them a dip: Carefully pick up each sandwich and dip it into the egg mixture. Make sure both sides (and maybe even the edges!) get a nice, even coating. Lift it out and let any excess egg wash drip back into the dish for a second before placing it on a clean plate.
-
Heat the pan: Get a large skillet or a good non-stick pan heating over medium heat. You want it warm, but not smoking hot. Add the first tablespoon of butter and let it melt and coat the bottom of the pan.
-
Time to fry!: Carefully place the dipped sandwiches into the hot skillet. Don’t overcrowd the pan – cook them in batches if needed. Let them fry for about 2-3 minutes on each side. You’re looking for a gorgeous golden brown color and a slightly crispy exterior. If you’re cooking a second batch, add the remaining tablespoon of butter to the pan before you start frying those.
-
Drain and rest: Once they’re beautifully golden, remove the fried sandwiches from the skillet and place them on a plate lined with a paper towel. This helps soak up any extra butter and keeps them from getting greasy.
-
The final magic touch: This is my favorite part! Before you serve them, grab that extra powdered sugar and dust the tops of the warm sandwiches generously. It makes them look so pretty and adds that perfect touch of sweetness.
Serve them warm, maybe with a little extra jam on the side, and watch them disappear!
Substitutions & Additions
One of the fun parts of cooking is making it your own! Here are a few ideas for shaking things up:
- Different Fruits: Swap strawberries for sliced raspberries, blueberries, or even thin slices of banana.
- Add Chocolate: Sprinkle a few mini chocolate chips over the strawberries before adding the top slice of bread. Strawberry and chocolate are a match made in heaven!
- Different Jam: Try raspberry jam, mixed berry jam, or even apricot jam for a different flavor profile.
- Flavor the Egg Wash: Add a splash of vanilla extract or a pinch of cinnamon to the egg and milk mixture for extra warmth.
- Switch the Bread: While brioche or challah is highly recommended, you could use Texas toast or even good quality white bread, though the texture and richness will be different.
Tips for Success
Just a few little pointers to make sure your Fried Strawberry Cheesecake Sandwiches turn out perfect every single time:
- Soften that Cream Cheese: I know I mentioned it before, but seriously, make sure your cream cheese is at room temperature. It makes mixing so much easier and the filling way smoother.
- Don’t Overstuff: It’s tempting to pack them full of strawberries, but too much filling means it’s more likely to squeeze out during frying.
- Medium Heat is Your Friend: If the pan is too hot, the bread will burn before the inside gets warm and melty. If it’s too low, they’ll soak up too much butter and be greasy. Medium heat is just right for golden, crispy perfection.
- Don’t Over-Soak: A quick dip in the egg wash is all you need. Letting them sit in the wash for too long will make the bread soggy.
- Prep Ahead: You can definitely make the cream cheese filling a day ahead and keep it covered in the fridge. This shaves off a few minutes when you’re ready to cook!
How to Store It
Honestly? These are best eaten immediately while they are warm and the filling is melty. However, if you have leftovers (lucky you!), you can store them.
Let them cool completely, then store them in an airtight container in the refrigerator for 1-2 days. Reheating them in a toaster oven or back in a skillet over low heat is the best way to try and crisp them up again. Microwaving will make them soft, but they’ll still be tasty!
FAQs
Got questions? Let’s answer a few common ones!
Can I use frozen strawberries?
While fresh are preferred for texture, you can use frozen. Just be sure to thaw them completely and drain off all the excess liquid. Pat them dry with a paper towel before adding them to the sandwich to prevent sogginess.
What if I don’t have brioche or challah?
You can use other types of bread like Texas toast, potato bread, or even a good quality white bread. However, brioche and challah are richer and create the best “dessert sandwich” feel.
Can I bake these instead of frying?
You could try! The texture won’t be quite the same (you’ll miss that buttery crisp crust), but placing them on a baking sheet and baking at maybe 375°F (190°C) until golden brown (flipping halfway) could work. I haven’t tested this method myself, but it’s worth experimenting with if you prefer not to fry.
I hope you love these Fried Strawberry Cheesecake Sandwiches as much as I do! They’re truly a little taste of happiness. Happy cooking!
Easy Fried Strawberry Cheesecake Sandwiches
Ingredients
Equipment
Method
- Step 1: Whip up the creamy filling: Grab a small bowl and toss in your softened cream cheese and the initial 2 tablespoons of powdered sugar. Give it a good mix with a spoon or a whisk until it's super smooth and creamy. No lumps allowed!
- Step 2: Prep the bread: Lay out all 8 beautiful slices of brioche or challah bread. Now, take your smooth cream cheese mixture and spread it evenly over one side of four of those bread slices. Make sure to get it right to the edges!
- Step 3: Add the fruity layers: Carefully arrange your fresh, sliced strawberries over the cream cheese layer on those four slices. Don't overload it, or they'll spill out when frying! Then, spoon the strawberry jam right on top of the strawberries. This creates a wonderful double layer of strawberry goodness.
- Step 4: Build the sandwiches: Place the remaining four plain bread slices on top of the filled halves. Gently press down on each sandwich to help everything stick together and form a nice, neat package.
- Step 5: Prepare the egg bath: Find a shallow dish – a pie plate works perfectly! Crack your 2 large eggs into it and add the 3 tablespoons of milk. Grab a whisk and whisk them together really well until the egg and milk are completely combined and there are no streaks of egg white left.
- Step 6: Give them a dip: Carefully pick up each sandwich and dip it into the egg mixture. Make sure both sides (and maybe even the edges!) get a nice, even coating. Lift it out and let any excess egg wash drip back into the dish for a second before placing it on a clean plate.
- Step 7: Heat the pan: Get a large skillet or a good non-stick pan heating over medium heat. You want it warm, but not smoking hot. Add the first tablespoon of butter and let it melt and coat the bottom of the pan.
- Step 8: Time to fry!: Carefully place the dipped sandwiches into the hot skillet. Don't overcrowd the pan – cook them in batches if needed. Let them fry for about 2-3 minutes on each side. You're looking for a gorgeous golden brown color and a slightly crispy exterior. If you're cooking a second batch, add the remaining tablespoon of butter to the pan before you start frying those.
- Step 9: Drain and rest: Once they're beautifully golden, remove the fried sandwiches from the skillet and place them on a plate lined with a paper towel. This helps soak up any extra butter and keeps them from getting greasy.
- Step 10: The final magic touch: This is my favorite part! Before you serve them, grab that extra powdered sugar and dust the tops of the warm sandwiches generously. It makes them look so pretty and adds that perfect touch of sweetness. Serve them warm, maybe with a little extra jam on the side, and watch them disappear!