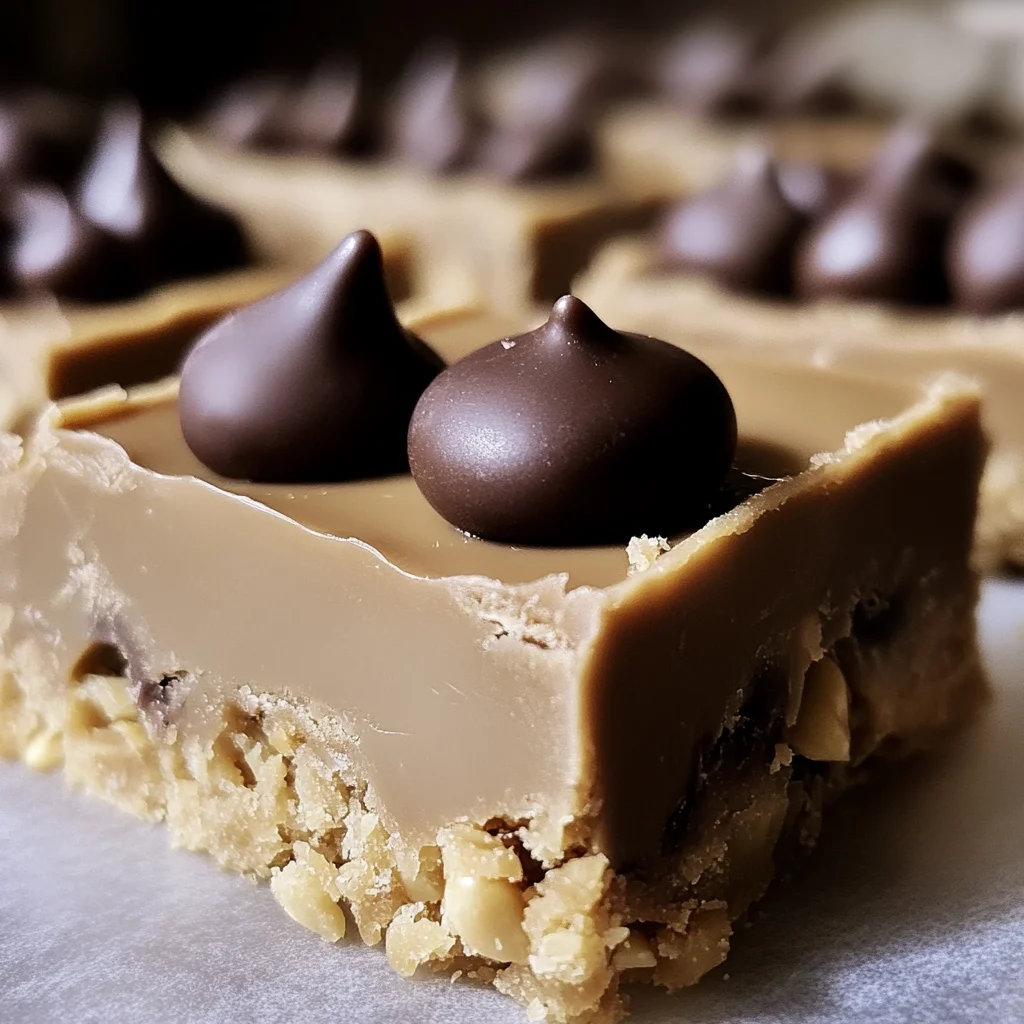
Do you remember the joy of biting into a creamy, chocolatey treat that makes your heart skip a beat? Those delightful moments are what inspired me to whip up these Reese’s Peanut Butter No-Bake Bars. This recipe is not only quick and easy but also brings back the nostalgia of childhood snacks. Trust me, these bars are a breeze to make and will leave everyone asking for seconds!
Why You’ll Love Reese’s Peanut Butter No-Bake Bars
- Fast
- Easy
- Giftable
- Crowd-pleasing
Ingredients
Gather up these simple ingredients that create a heavenly combination of flavors:
- 1 cup graham cracker crumbs: The base of our bars, adding that delightful crunch.
- 1 cup powdered sugar: For a touch of sweetness that binds everything together.
- 1 cup creamy peanut butter: The star of the show, delivering that rich, nutty flavor.
- 1/2 cup unsalted butter, melted: This adds moisture and richness to our bars.
- 1 cup milk chocolate chips: To top it all off with a smooth, chocolatey layer.
- 1/2 cup chopped peanuts (optional): For those who want an extra crunch on top!
How to Make Reese’s Peanut Butter No-Bake Bars
Now, let’s dive into the fun part – making these delicious bars!
- In a medium bowl, combine the graham cracker crumbs and powdered sugar. Mix them together with a fork until combined.
- Add the creamy peanut butter and melted butter to the mixture. Stir until everything is well combined and looks like a thick dough.
- Press the mixture evenly into the bottom of a greased 8×8 inch baking pan. Make sure it’s compact so it holds together well.
- In a microwave-safe bowl, melt the milk chocolate chips. Microwave in 30-second intervals, stirring in between until the chocolate is smooth and creamy.
- Pour the melted chocolate over the peanut butter layer in the baking pan. Spread it out evenly for a nice finish.
- If you like, sprinkle chopped peanuts on top of the chocolate layer for an extra crunch.
- Refrigerate for at least 2 hours or until set. This step is crucial for the bars to hold their shape!
- Once set, cut into bars and serve. Enjoy the smiles on everyone’s faces!
Substitutions & Additions
If you want to get creative, here are a few ideas to switch things up:
- Swap out the graham cracker crumbs for crushed digestive biscuits for a different flavor.
- Use dark chocolate chips instead of milk chocolate for a richer taste.
- Add a pinch of sea salt on top of the chocolate for a sweet and salty combination.
- Mix in some mini chocolate chips into the peanut butter layer for extra chocolate goodness.
Tips for Success
Here are some tips to ensure your no-bake bars turn out perfectly:
- Make sure to pack the graham cracker mixture tightly in the pan to avoid crumbling.
- Let the bars chill for long enough in the refrigerator; they should be firm to the touch.
- If you find the chocolate is too thick, add a teaspoon of coconut oil while melting for a smoother texture.
- For prep-ahead ideas, you can make these bars a day in advance and store them in the fridge.
How to Store Reese’s Peanut Butter No-Bake Bars
To keep your delicious bars fresh, store them in an airtight container in the refrigerator. They can last up to a week, but I doubt they will stick around that long! If you want to freeze them, wrap individual bars tightly in plastic wrap, and they can last for up to three months.
FAQs
Can I use crunchy peanut butter instead of creamy?
Absolutely! It will add a delightful crunch to your bars.
Do I need to use a microwave to melt the chocolate?
Nope! You can also melt the chocolate using a double boiler on the stove if you prefer.
Can I make these bars gluten-free?
Yes, just use gluten-free graham crackers or alternative cookie crumbs.
These Reese’s Peanut Butter No-Bake Bars are not only a treat for yourself but also a fantastic gift idea for friends and family. They are perfect for any occasion, from birthday parties to cozy movie nights. For more delicious recipes, check out easy no-bake caramel pretzel bars or peanut butter cup dump cake for treats you will love!
If you’re looking for more inspiration, don’t forget to follow me on Pinterest for more delightful recipes!
Reese’s Peanut Butter No-Bake Bars
Ingredients
Equipment
Method
- Step 1: In a medium bowl, combine the graham cracker crumbs and powdered sugar. Mix them together with a fork until combined.
- Step 2: Add the creamy peanut butter and melted butter to the mixture. Stir until everything is well combined and looks like a thick dough.
- Step 3: Press the mixture evenly into the bottom of a greased 8x8 inch baking pan. Make sure it’s compact so it holds together well.
- Step 4: In a microwave-safe bowl, melt the milk chocolate chips. Microwave in 30-second intervals, stirring in between until the chocolate is smooth and creamy.
- Step 5: Pour the melted chocolate over the peanut butter layer in the baking pan. Spread it out evenly for a nice finish.
- Step 6: If you like, sprinkle chopped peanuts on top of the chocolate layer for an extra crunch.
- Step 7: Refrigerate for at least 2 hours or until set. This step is crucial for the bars to hold their shape!
- Step 8: Once set, cut into bars and serve. Enjoy the smiles on everyone’s faces!