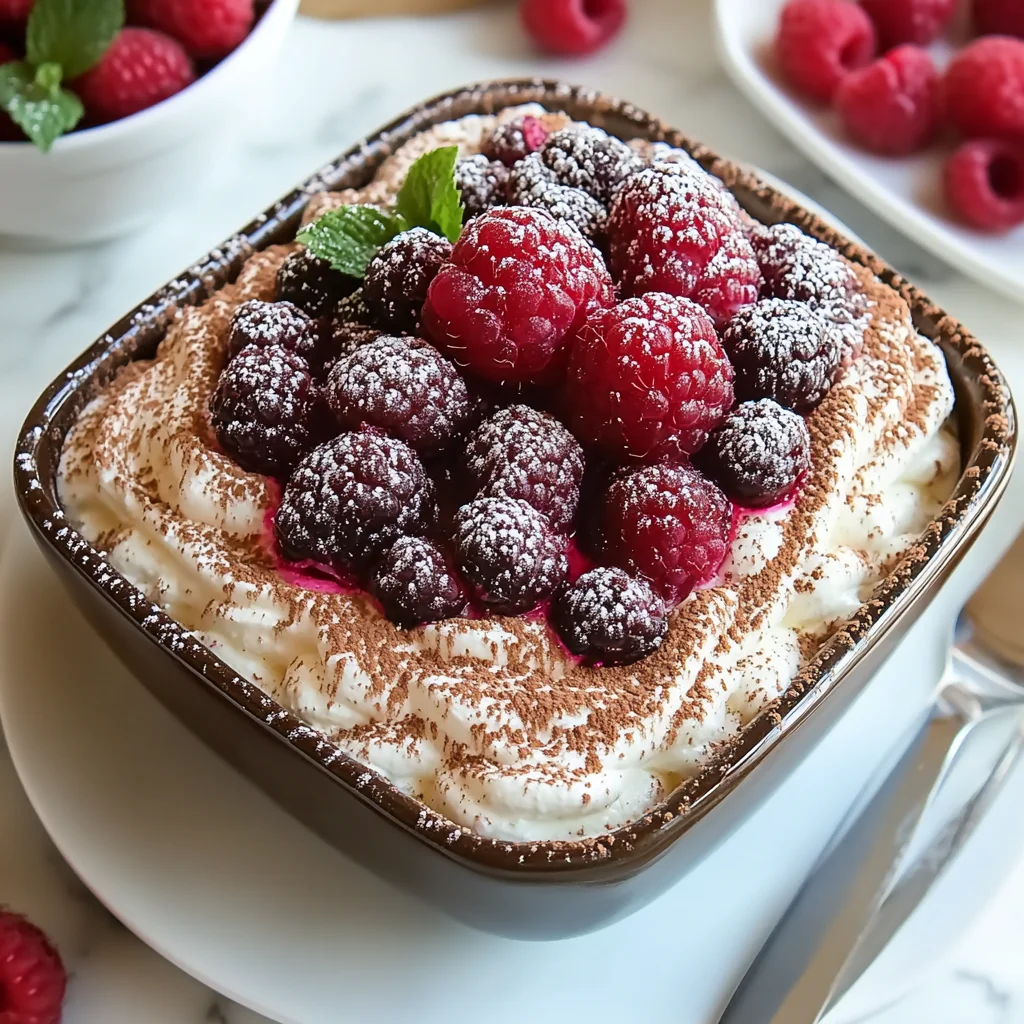
Hey friend! Remember those warm summer days, maybe a picnic in the park or a backyard barbecue? There’s something so lovely about a light, fruity dessert after a meal, isn’t there? While I absolutely adore classic coffee tiramisu, sometimes you just want a brighter, more summery vibe. That’s where this Fresh Raspberry Tiramisu comes in! It’s like the classic’s vibrant, berry-loving cousin, and trust me, you’re going to fall head over heels for it. It’s surprisingly simple to whip up (hello, no baking required!), looks absolutely stunning, and tastes like pure sunshine. Perfect for parties, holidays, or just a sweet treat any night of the week!
Why You’ll Love This Recipe
Besides being outrageously delicious, this Raspberry Tiramisu is a winner for so many reasons:
- Fast: Seriously, most of the time is just waiting for it to chill! The active prep is speedy.
- Easy: If you can whip cream and dip a cookie, you can make this. No fancy techniques needed.
- Giftable: Layer it in a pretty dish or individual jars, and you’ve got a beautiful homemade gift.
- Crowd-pleasing: Who doesn’t love raspberries and creamy dessert? It’s a guaranteed hit.
Ingredients
Here’s what you’ll need to bring this beautiful dessert to life. Simple ingredients that pack a punch!
For the raspberry layer:
- 2 cups fresh raspberries: The star of the show! Use the freshest, juiciest ones you can find. Grab a little extra for garnishing later.
- 1/4 cup sugar: Just enough to sweeten the berries and make them jammy.
- 2 tablespoons raspberry liqueur (like Chambord) or raspberry juice: This adds depth to the sauce. Liqueur is lovely for adults, but juice works perfectly for an alcohol-free version.
- 1 tablespoon lemon juice: Brightens everything up and balances the sweetness.
For the mascarpone filling:
- 1½ cups cold heavy whipping cream: Make sure it’s really cold – this is key for whipping up into stiff peaks!
- 8 oz (225 g) softened mascarpone cheese: Let it sit on the counter for a bit so it’s easy to whisk smooth. Mascarpone is like the Italian version of cream cheese, but richer and less tangy – perfect for a fluffy filling.
- 1/3 cup powdered sugar: Sweetens the filling and helps stabilize the whipped cream.
- 1 teaspoon vanilla extract: A touch of warmth and classic dessert flavor.
For the base:
- 1 package ladyfinger biscuits (about 24 pieces): These light, dry cookies are the perfect vehicle for soaking up flavor without getting soggy.
- 1/2 cup brewed raspberry tea or raspberry juice: This is what we’ll use to quickly dip the ladyfingers. Raspberry tea adds a subtle hint of flavor, while juice is bolder.
Topping:
- Fresh raspberries: For a final flourish!
- Powdered sugar for dusting: Makes it look extra elegant.
- White chocolate shavings (optional): A little extra indulgence never hurt anyone!
How to Make It
Let’s get this deliciousness layered up! It’s straightforward, I promise.
Step 1: Make the raspberry sauce. In a small saucepan, toss your raspberries, sugar, lemon juice, and your chosen raspberry liqueur or juice. Pop it over medium heat and let it simmer gently for about 5 to 7 minutes. You’ll see the berries start to break down and the mixture thicken into a lovely sauce. Once it’s ready, take it off the heat and, this is important, let it cool completely. I often make this step first so it has plenty of time to chill while I prepare the other components.
Step 2: Whip the cream. Grab a large bowl and your electric mixer. Pour in the cold heavy cream, powdered sugar, and vanilla extract. Beat it until beautiful, stiff peaks form. You know you’re there when you lift the beaters and the cream stands up on its own!
Step 3: Prepare the mascarpone mixture. In a separate bowl, give your softened mascarpone a good whisk until it’s smooth and creamy. Now, gently fold this whisked mascarpone into your whipped cream. You want to be careful here not to overmix – just fold until it’s just combined and looks lovely and fluffy.
Step 4: Layer the tiramisu. Get your 9×9-inch dish or a pretty trifle bowl ready. Pour your cooled raspberry tea or juice into a shallow dish. Take each ladyfinger, give it a quick dip (literally just a second or two on each side!) in the liquid, then arrange a single layer of dipped ladyfingers on the bottom of your dish. The key here is not to soak them, or your tiramisu will be soggy.
Step 5: Add filling and raspberries. Dollop about half of your fluffy mascarpone mixture over the ladyfinger layer and spread it out evenly. Now, spoon half of that gorgeous, cooled raspberry sauce on top. Repeat the layers: another layer of quickly dipped ladyfingers, the rest of the mascarpone mixture, and finally, the remaining raspberry sauce.
Step 6: Chill and set. Cover your dish snugly with plastic wrap. Pop it in the refrigerator for at least 4 hours. Honestly, though? Overnight is best! This time in the fridge is crucial. It lets the ladyfingers soften perfectly, allows the flavors to meld beautifully, and ensures the dessert is set and easy to slice (or spoon!).
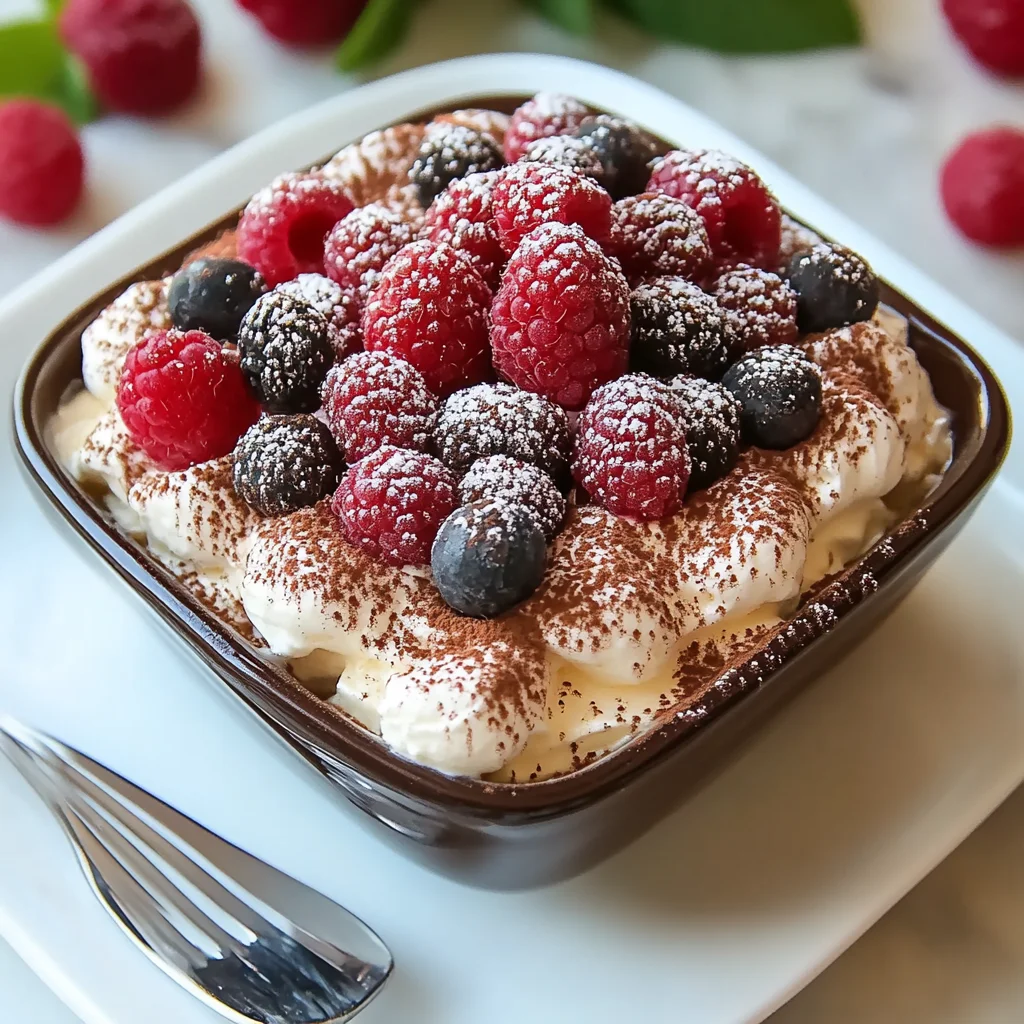
Step 7: Garnish and serve. Just before you’re ready to present your masterpiece, take it out of the fridge. Scatter fresh raspberries over the top, give it a lovely dusting of powdered sugar, and if you’re feeling fancy, add some white chocolate shavings. Now, dive in and enjoy the light, fruity, creamy bliss!
Substitutions & Additions
Want to mix things up or don’t have something on hand? Here are a few ideas:
- No raspberry liqueur? As mentioned, plain raspberry juice works perfectly fine! You could also use a little orange liqueur (like Grand Marnier) for a different citrusy twist, or even a splash of vodka if you just want a bit of alcohol without a specific flavor.
- Ladyfingers alternative? If you can’t find ladyfingers, a simple sponge cake cut into slices can work. Just make sure you dip it very quickly as sponge is more absorbent.
- Other berries? Feel free to mix in a few other berries into the sauce! Strawberries, blueberries, or blackberries would add lovely complexity.
- Add some zest! Stir a little lemon zest or even lime zest into the mascarpone filling for an extra pop of brightness.
Tips for Success
A few little pointers to make sure your Raspberry Tiramisu is absolutely perfect:
- Cool the sauce completely! Adding warm sauce to the cold mascarpone mixture is a no-go. Make sure it’s fully chilled.
- Don’t over-soak the ladyfingers! This is the most common mistake. A quick dip is all they need. They’ll soak up more moisture as the dessert chills.
- Use cold heavy cream. It whips up much better and holds its shape longer.
- Soften the mascarpone. It makes it so much easier to whisk smooth before folding it into the whipped cream.
- Be patient with chilling. Seriously, that overnight chill makes all the difference in texture and flavor. Plan ahead!
- Prep ahead: You can make the raspberry sauce and even whip the mascarpone filling the day before you plan to assemble. Just cover and store separately in the fridge.
How to Store It
If you have any leftovers (a big IF!), simply cover the dish tightly with plastic wrap and keep it in the refrigerator. It’s best enjoyed within 2-3 days. Unfortunately, tiramisu doesn’t freeze very well because the texture of the cream and ladyfingers can change quite a bit once thawed.
FAQs
Got questions? I’ve got (quick) answers!
Q: Can I use frozen raspberries for the sauce?
A: Yes, absolutely! Frozen raspberries work great for the sauce. They might just take a couple of extra minutes to break down and thicken.
Q: What if I can’t find mascarpone cheese?
A: Mascarpone has a unique richness. While not the same, you could try using softened cream cheese mixed with a little extra heavy cream and maybe a touch more sugar, but the flavor and texture will be different (more tangy, less light).
Q: Can I make this a day ahead for a party?
A: YES! Making it a day ahead is ideal. The longer chilling time (overnight) really allows the flavors to develop and the dessert to set up perfectly, making it easier to serve.
Q: Is this recipe really no-bake?
A: Yep! The only cooking involved is a quick simmer for the raspberry sauce on the stovetop. The rest is just mixing and layering – no oven required!
Easy & Fresh Raspberry Tiramisu (No Coffee Needed!)
Ingredients
Equipment
Method
- Step 1: Make the raspberry sauce. In a small saucepan, toss your raspberries, sugar, lemon juice, and your chosen raspberry liqueur or juice. Pop it over medium heat and let it simmer gently for about 5 to 7 minutes. Once it's ready, take it off the heat and let it cool completely.
- Step 2: Whip the cream. Grab a large bowl and your electric mixer. Pour in the cold heavy cream, powdered sugar, and vanilla extract. Beat it until beautiful, stiff peaks form.
- Step 3: Prepare the mascarpone mixture. In a separate bowl, give your softened mascarpone a good whisk until it's smooth and creamy. Gently fold this whisked mascarpone into your whipped cream until just combined and fluffy.
- Step 4: Layer the tiramisu. Get your 9x9-inch dish or a pretty trifle bowl ready. Pour your cooled raspberry tea or juice into a shallow dish. Take each ladyfinger, give it a quick dip (just a second or two on each side!) in the liquid, then arrange a single layer of dipped ladyfingers on the bottom of your dish. The key is not to soak them.
- Step 5: Add filling and raspberries. Dollop about half of your fluffy mascarpone mixture over the ladyfinger layer and spread it out evenly. Now, spoon half of that gorgeous, cooled raspberry sauce on top. Repeat the layers: another layer of quickly dipped ladyfingers, the rest of the mascarpone mixture, and finally, the remaining raspberry sauce.
- Step 6: Chill and set. Cover your dish snugly with plastic wrap. Pop it in the refrigerator for at least 4 hours. Overnight is best. This lets the ladyfingers soften perfectly, allows the flavors to meld, and ensures the dessert is set.
- Step 7: Garnish and serve. Just before serving, take it out of the fridge. Scatter fresh raspberries over the top, give it a lovely dusting of powdered sugar, and add white chocolate shavings if using. Now, dive in and enjoy!
Notes
Storage: Cover leftovers tightly with plastic wrap and keep in the refrigerator. Best enjoyed within 2-3 days. Tiramisu does not freeze well as the texture changes upon thawing.