There’s something truly magical about the flavors and colors of Easter, isn’t there? I still remember those sunny spring afternoons, sitting at my grandma’s kitchen table, eagerly unwrapping pastel candy eggs and nibbling on homemade fudge she’d made fresh just for the holiday. That sweet, creamy fudge paired with those crunchy, colorful candy eggs—pure bliss. If you’re looking to bring a little of that nostalgia and joy into your own kitchen this season, this Easter Fudge recipe is a must-try. It’s incredibly easy, super quick, and makes the perfect festive treat that everyone will love.
Whether you’re looking for a fun dessert to whip up for your family, a sweet gift for friends, or a charming addition to your Easter basket, this fudge recipe hits all the right notes. Plus, it’s a wonderful way to celebrate spring with those pretty pastel colors that just scream Easter!
Why You’ll Love Easter Fudge
- Fast: You’ll have this fudge ready to chill in under 20 minutes—no complicated steps or long bake times.
- Easy: Just a few simple ingredients and a little stirring is all it takes. It’s perfect for beginners or anyone short on time.
- Giftable: Wrapped up in a cute box or tied with a ribbon, this fudge makes a heartfelt homemade gift that friends and family will adore.
- Crowd-pleasing: The combination of creamy white chocolate, crunchy candy eggs, and optional pecans means it’s a hit at parties, potlucks, or holiday gatherings.
Ingredients
Let’s talk ingredients because each one plays a key role in making this fudge so special:
- White chocolate chips: They give the fudge its rich, creamy, and sweet base. Choose a good-quality brand for the best flavor.
- Sweetened condensed milk: This adds luscious sweetness and helps the fudge set perfectly without needing any baking soda or sugar crystals.
- Unsalted butter: Adds a smooth texture and a bit of richness that balances the sweet white chocolate beautifully.
- Vanilla extract: Just a teaspoon enhances all the flavors and adds a subtle warmth.
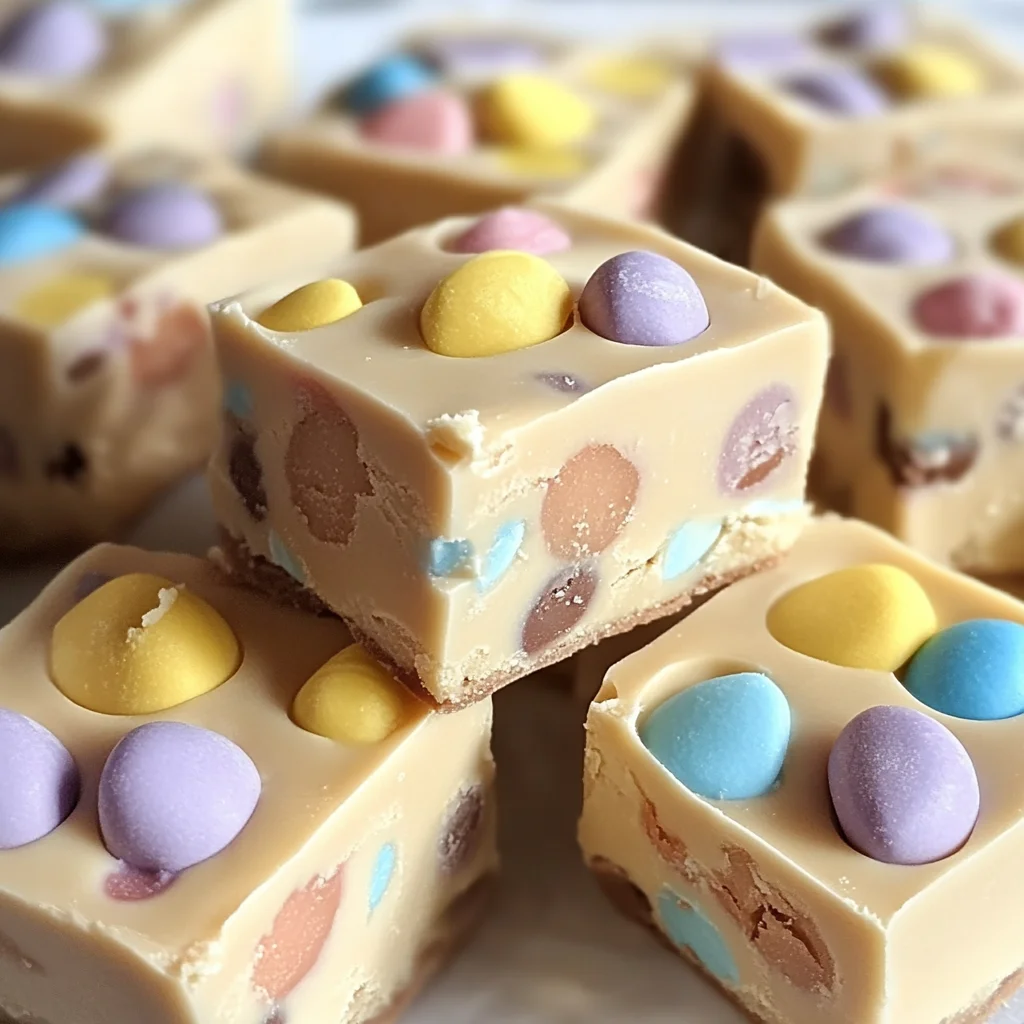
- Pastel-colored candy-coated chocolate eggs: These are the star of the show! Chopped up, they add fun color and a delightful crunch. They make the fudge festive and perfect for Easter.
- Chopped pecans (optional): For a nutty contrast, pecans bring texture and a slightly savory note. I love adding them, but you can skip if you prefer nut-free.
- Pinch of salt: A small amount of salt helps balance the sweetness and bring out the depth of the white chocolate.
How to Make Easter Fudge
This recipe is such a joy to make, and I promise, you’ll feel like a pro even if it’s your first time making fudge. Here’s your step-by-step guide to Easter bliss:
- Prepare your pan: Line an 8×8 inch baking pan with parchment paper. Make sure to leave a bit of overhang on the sides—it makes lifting the fudge out a breeze once it’s set.
- Heat the base: In a medium saucepan over low heat, combine the white chocolate chips, sweetened condensed milk, and unsalted butter. Stir constantly. This is the key to smooth, creamy fudge—keep the heat low and don’t rush. You’ll want the mixture to melt together gently and become silky without burning.
- Flavor it up: Once everything’s melted and smooth, remove the pan from heat. Stir in the vanilla extract, the pinch of salt, and half of your chopped candy-coated chocolate eggs. This will infuse the fudge with that classic vanilla warmth and a hint of salty-sweet magic.
- Add the nuts: If you’re using pecans, fold them in now. I love how the pecans add a little crunch and balance the sweetness, but this step is totally optional. You could also try other nuts like walnuts or almonds if you want to experiment.
- Pour and smooth: Pour the fudge mixture into your prepared pan. Use a spatula to smooth out the top evenly.
- Top it off: Sprinkle the remaining chopped candy eggs evenly over the top of the fudge. This adds a festive, colorful touch that’s irresistible—and it makes the fudge look like a springtime celebration on a plate.
- Chill: Refrigerate the fudge for at least 2 hours. This allows everything to set up nicely so you can cut perfect squares without it crumbling or melting.
- Cut and serve: Once firm, lift the fudge out of the pan by the parchment paper overhang. Cut into squares and enjoy! These are great for sharing, gifting, or nibbling throughout the day.
Pro tip: If you want to speed up the chilling time, pop the fudge in the freezer for 30-40 minutes, but watch closely so it doesn’t get too hard.
Substitutions & Additions
One of the best parts about fudge is how flexible it can be. Don’t be afraid to get creative or adjust based on what you have on hand:
- Chocolate swap: If white chocolate isn’t your favorite, try using semi-sweet or milk chocolate chips instead. Just remember the flavor and color will change, but the creamy texture stays.
- Nut options: Instead of pecans, walnuts, almonds, or even pistachios would be delicious. For a nut-free version, try sunflower seeds or skip nuts altogether.
- Candy mix-ins: Beyond pastel candy eggs, you could fold in mini marshmallows, crushed candy canes (for a minty twist), or even chopped dried fruit for a chewy surprise.
- Flavor twists: Add a teaspoon of almond extract instead of vanilla for a different aroma. Or stir in a tablespoon of coconut flakes for a tropical flair.
- Decorative toppings: Besides chopped candy eggs, try colorful sprinkles, edible glitter, or drizzle melted chocolate over the top to make it extra festive.
Feeling inspired by Easter fudge? If you love mixing sweet and simple, you might also enjoy making a batch of Muddy Buddies for a crunchy, chocolatey snack or whip up some Easy No-Bake Caramel Pretzel Bars for that perfect sweet-salty combo.
Tips for Success
Making fudge can feel a little intimidating if it’s your first time, but I’m here to make sure yours turns out perfectly every time. Here are some helpful tips I’ve learned along the way:
- Use low heat: Melting your white chocolate slowly on low heat is essential. High heat can cause the chocolate to seize or burn, resulting in a grainy texture.
- Stir constantly: Keep stirring while melting to ensure everything blends smoothly and to prevent sticking or burning on the bottom of the pan.
- Don’t skip the parchment paper: This helps you lift the fudge out of the pan easily, so you don’t have to worry about it sticking or breaking apart.
- Chop candy eggs evenly: Try to chop your pastel candy eggs into fairly uniform pieces. This helps distribute the crunch and color evenly throughout the fudge.
- Prep ahead: You can make the fudge a day or two in advance. Just keep it refrigerated, and bring to room temperature before serving if needed.
- Cutting tips: Use a sharp knife warmed in hot water to cut clean squares without cracking or crumbling your fudge.
- Watch the chilling time: Don’t rush the fridge time. The fudge needs at least 2 hours to set properly, or it may be too soft to cut neatly.
For an extra cozy spring breakfast treat, you might want to pair your Easter fudge with a stack of Fluffy Lemon Ricotta Pancakes. The bright lemon notes contrast so nicely with the creamy sweet fudge for an indulgent but balanced flavor experience.
How to Store Easter Fudge
Proper storage is key to keeping your Easter fudge fresh, creamy, and delicious:
- Refrigerate: Store fudge in an airtight container in the refrigerator. It will keep well for up to 2 weeks.
- Freeze for longer storage: You can freeze fudge for up to 3 months. Wrap it tightly in plastic wrap and then place it in a freezer-safe container or bag. Thaw in the fridge overnight before serving.
- Serving tips: For the best texture and flavor, let refrigerated fudge sit at room temperature for about 10 minutes before eating so it softens slightly.
- Keep it covered: Avoid letting fudge dry out by storing it away from strong-smelling foods and keeping it sealed tightly.
If you’re planning ahead for an Easter party or gift-giving, making your fudge a day or two in advance and storing it properly will save you a lot of last-minute stress.
FAQs
Q: Can I use candy-coated chocolate eggs without the pastel colors?
A: Absolutely! You can use any candy-coated chocolate eggs you like. The pastel colors just give it that lovely Easter vibe, but regular chocolate eggs work just as well.
Q: What if my fudge turns out too soft?
A: This usually means it didn’t chill long enough. Pop it back into the fridge for a few more hours. Also, make sure to keep the heat low when melting the ingredients so the texture sets right.
Q: Can I make this fudge dairy-free?
A: You can try substituting the butter with a dairy-free alternative and use dairy-free white chocolate chips, but the texture might be a bit different. Sweetened condensed coconut milk is also an option, though results can vary.
Q: How do I prevent the candy eggs from melting when mixed into the warm fudge?
A: Stir in the candy eggs only after you’ve removed the fudge mixture from the heat. This helps keep the candy coating intact and gives you that lovely crunch and color.
This Easter fudge is a perfect little celebration on its own or as part of a bigger holiday spread. If you’re looking to balance out the sweet treats with a savory side, you might enjoy trying the Cream Cheese Corn Casserole for a comforting, cheesy dish that’s a crowd-pleaser at any gathering.
So, gather your ingredients, invite a friend or family member into the kitchen, and make some sweet memories with this simple, scrumptious Easter fudge recipe. I promise it’ll be a treat everyone talks about long after spring has passed!
Happy Easter and happy fudge-making!
For more delicious recipes and kitchen inspiration, don’t forget to follow us on Pinterest!
Delightfully Easy Easter Fudge
Ingredients
Equipment
Method
- Step 1: Line an 8x8 inch baking pan with parchment paper, leaving an overhang on the sides for easy removal.
- Step 2: In a medium saucepan over low heat, combine white chocolate chips, sweetened condensed milk, and unsalted butter. Stir constantly until mixture is smooth and melted, being careful not to burn.
- Step 3: Remove saucepan from heat and stir in vanilla extract, salt, and half of the chopped candy-coated chocolate eggs.
- Step 4: Fold in chopped pecans if using.
- Step 5: Pour the fudge mixture into the prepared pan and smooth the top with a spatula.
- Step 6: Sprinkle the remaining chopped candy eggs evenly over the top of the fudge.
- Step 7: Refrigerate the fudge for at least 2 hours until firm.
- Step 8: Lift fudge out of the pan using the parchment paper overhang, cut into squares, and serve.