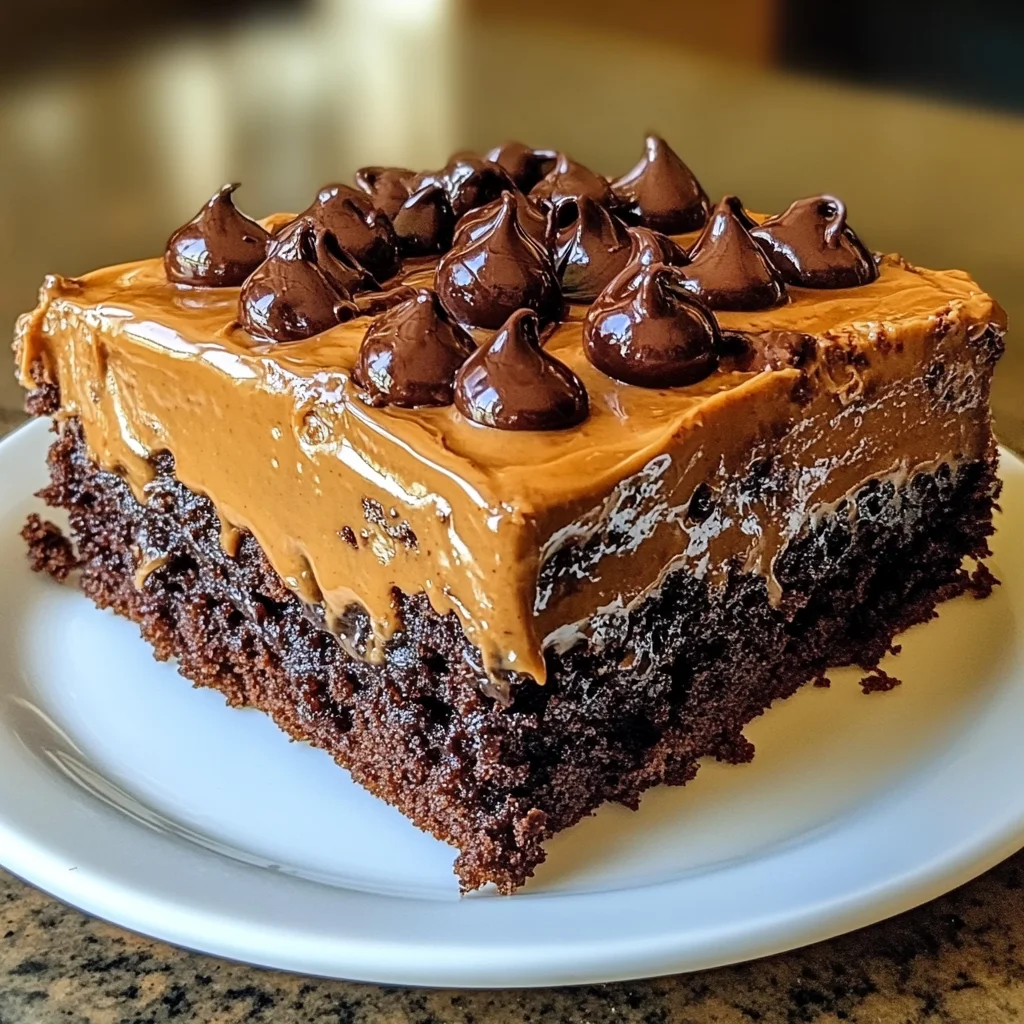
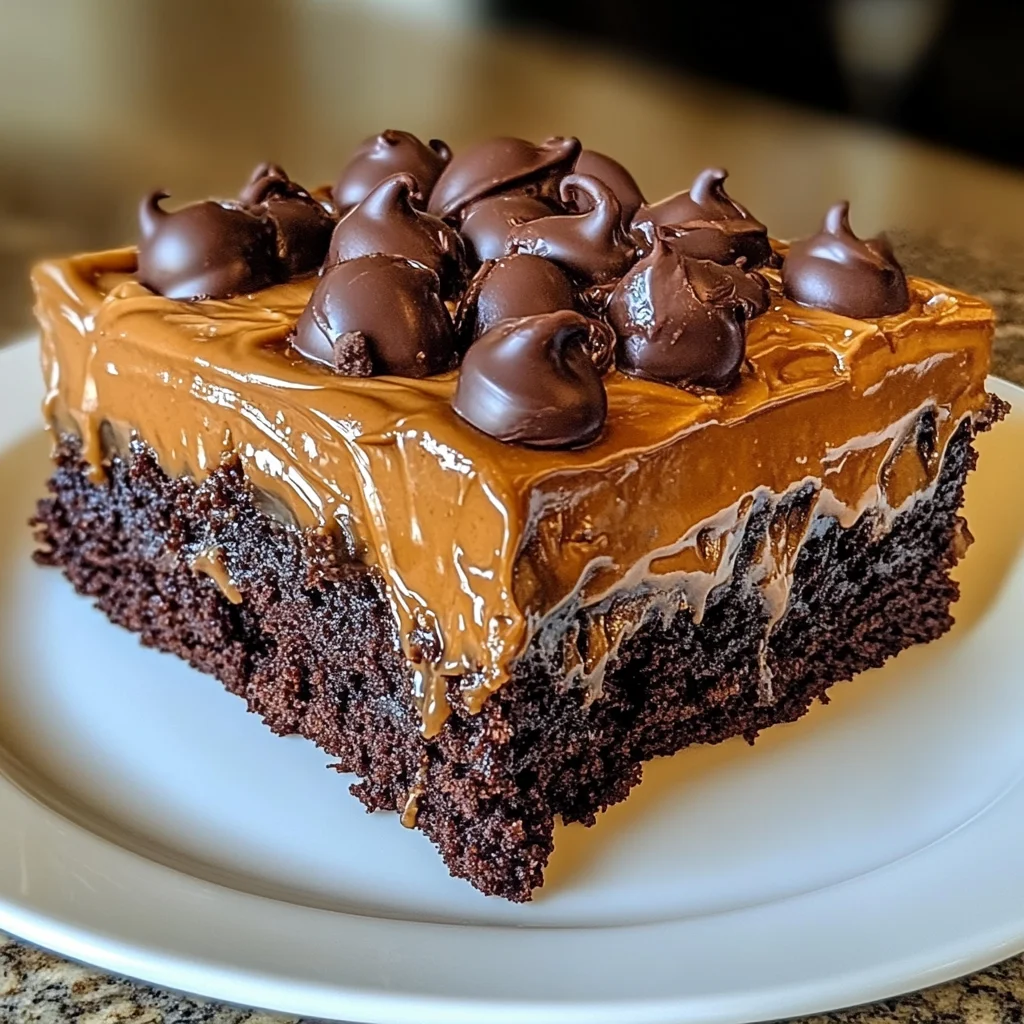
Hey there, fellow dessert lover! Let’s talk about those recipes that just wrap you up like a warm hug, shall we? For me, one bite of this incredible Chocolate Ooey Gooey Cake takes me right back to cozy kitchen days. It’s the kind of dessert that doesn’t need a special occasion; it is the special occasion. Forget complicated layers or fancy frostings – this cake is all about simple ingredients coming together to create something truly magical. It’s impossibly moist, delightfully rich, and has that signature “gooey” layer that earns it its name. Trust me, once you make this, it’ll be on repeat in your kitchen!
Why You’ll Love This Recipe
Why is this cake so darn popular? Let me count the ways!
- Fast: Seriously, you can whip this up from start to finish in under an hour (plus cooling time, of course!).
- Easy: If you can stir and mix, you can make this cake. It uses simple pantry staples and cake mix as a shortcut.
- Giftable: Bake it in a disposable pan, and you’ve got the perfect treat to share with friends, neighbors, or bring to a potluck.
- Crowd-pleasing: Rich chocolate + sweet, creamy goodness? It’s universally loved! Kids and adults alike devour this.
Ingredients
Gather ’round, friends! Here’s what you’ll need for this gooey masterpiece. Nothing fancy, I promise!
- 1 box (15.25 oz) chocolate cake mix: Your shortcut to cakey bliss! Any standard chocolate cake mix will do the trick.
- 1 large egg (for the cake): Helps bind our simple crust layer together.
- 1/2 cup (1 stick) unsalted butter, melted (for the cake): Gives the base richness and moisture. Make sure it’s fully melted!
- 8 ounces cream cheese, softened to room temperature: This is KEY for that smooth, creamy filling. Let it sit on the counter for a bit or gently warm it. Trust me, soft cream cheese makes all the difference!
- 2 large eggs (for the filling): Adds structure and richness to our gooey layer.
- 1 teaspoon vanilla extract: A classic pairing with chocolate and cream cheese. Use the best quality you have!
- 1/2 cup (1 stick) unsalted butter, melted (for the filling): Contributes to the gooey texture and decadent flavor of the top layer.
- 16 ounces powdered sugar: Sweetens our filling and helps create that perfect consistency. Sifting isn’t usually necessary, but if your sugar is clumpy, go for it!
- 1/4 cup unsweetened cocoa powder: Gives the filling an extra punch of chocolate flavor that perfectly complements the cake base.
How to Make It
Alright, let’s get this deliciousness into the oven! It’s easier than you think.
Step 1: Prep the Cake Layer. First things first, preheat your oven to 350°F (175°C). While it’s heating up, grab your trusty 9×13 inch baking pan. You’ll want to grease and flour it well to make sure your cake comes out easily later. Now, in a medium bowl, combine that box of chocolate cake mix, one large egg, and the half cup of melted butter. Stir it together until it’s just combined – don’t overmix! The batter will be quite thick, almost like a cookie dough. Press this mixture evenly into the bottom of your prepared pan. This forms our lovely cake base.
Step 2: Prepare the Filling. In a separate, larger bowl (you’ll need room!), get out your softened cream cheese. Beat it until it’s nice and smooth – no lumps allowed! Now, beat in the two large eggs one at a time, mixing well after each addition. Stir in the vanilla extract. Next, add the melted butter for the filling and mix until everything is happily incorporated. Gradually add the powdered sugar and cocoa powder to the cream cheese mixture. I like to add it in batches on a low speed to avoid a powdered sugar cloud in my kitchen! Beat until the filling is completely smooth and creamy. It should look wonderfully rich and decadent.
Step 3: Assemble. This is the easy part! Simply pour the glorious cream cheese filling mixture evenly over the chocolate cake layer that you pressed into the pan. Smooth out the top with a spatula if needed, getting it right into the corners.
Step 4: Bake. Pop the pan into your preheated oven. Bake for 40 to 50 minutes. You’ll know it’s ready when the edges are lightly browned and the center looks set, but might still have a slight wobble. A toothpick inserted near the center should come out with moist crumbs attached, not completely clean like a regular cake. Remember, it’s supposed to be gooey!
Step 5: Cool. This is arguably the hardest step because it requires patience! Let the cake cool completely in the pan on a wire rack. As it cools, that gooey center will set up beautifully. Cutting into it too soon means a messy, though still tasty, situation. This cake is truly best enjoyed at room temperature.
Substitutions & Additions
Want to mix things up? Here are a few ideas to customize your Ooey Gooey Cake:
- Change the Cake Flavor: Swap the chocolate cake mix for a yellow, vanilla, or even a funfetti mix!
- Add Chocolate Chips: Stir in a cup of chocolate chips (milk, semi-sweet, or dark) into the cream cheese filling before pouring it over the base.
- Different Extracts: Try swapping vanilla extract for almond extract or even a hint of peppermint extract for a holiday twist.
- Swirls: Melt a little extra chocolate or peanut butter and swirl it into the top of the filling before baking.
Tips for Success
Even though this recipe is super simple, here are a few tips to ensure your cake is absolutely perfect every time:
- Room Temperature Cream Cheese: I can’t stress this enough! Cold cream cheese will leave you with lumps in your filling. Take it out of the fridge at least an hour before you start, or give it a quick soften in the microwave if you’re in a hurry (use 10-second bursts).
- Don’t Overmix the Base: Mix the cake layer ingredients just until combined. Overmixing can make the base tough.
- Grease and Flour Well: This gooey cake likes to stick! Take an extra minute to grease and flour your pan thoroughly.
- Watch the Baking Time: Ovens vary, so start checking around 40 minutes. The center should look set but not dry. Remember the gooey name!
- Cool Completely: Resist the urge to slice into it hot. Cooling allows the gooey layer to achieve that perfect, decadent texture.
- Prep Ahead: You can make the base layer and press it into the pan, then cover and refrigerate it for up to 24 hours before making and adding the filling and baking.
How to Store It
Once it’s cooled (and you’ve managed not to eat the whole pan!), here’s how to keep your cake fresh:
Store any leftover cake in an airtight container at room temperature for 2-3 days. For longer storage, you can refrigerate it for up to a week. Some people even prefer it cold from the fridge!
FAQs
Got questions? I’ve got answers!
Q: Why is my cake not “gooey” in the middle?
A: It might have been slightly overbaked. The center should look set but not completely firm when it comes out of the oven. Also, ensure your oven temperature is accurate.
Q: Can I use a different size pan?
A: This recipe is designed for a 9×13 inch pan. Using a different size will change the thickness and baking time. A smaller pan might require more baking time, while a larger pan might bake faster and be less thick.
Q: Can I freeze this cake?
A: Yes, you can! Once completely cooled, cut the cake into individual servings or wrap larger portions tightly in plastic wrap, then aluminum foil. It can be frozen for up to 2-3 months. Thaw in the refrigerator or at room temperature.
Q: Is this cake supposed to be thin?
A: It’s not a super tall layer cake. The base layer is thin, and the filling is substantial, making for a dense, rich, and yes, gooey dessert! The overall height is modest compared to a standard two-layer cake.

Easy Chocolate Ooey Gooey Cake
Ingredients
Equipment
Method
- Step 1: Prep the Cake Layer. Preheat oven to 350°F (175°C). Grease and flour a 9x13 inch baking pan. In a medium bowl, combine chocolate cake mix, one large egg, and ½ cup melted butter. Stir until just combined (batter will be thick). Press mixture evenly into the bottom of the prepared pan.
- Step 2: Prepare the Filling. In a larger bowl, beat softened cream cheese until smooth. Beat in the two large eggs one at a time. Stir in the vanilla extract. Add the melted butter for the filling and mix until incorporated. Gradually add the powdered sugar and cocoa powder, beating until the filling is completely smooth and creamy.
- Step 3: Assemble. Pour the cream cheese filling mixture evenly over the chocolate cake layer in the pan. Smooth out the top with a spatula.
- Step 4: Bake. Bake for 40 to 50 minutes in the preheated oven. The edges should be lightly browned and the center should look set with a slight wobble. A toothpick inserted near the center should come out with moist crumbs attached.
- Step 5: Cool. Let the cake cool completely in the pan on a wire rack. Cooling allows the gooey center to set up properly. Serve at room temperature.