Oh, friend, do you ever get that cozy, comforting feeling when the air turns crisp and the scent of apples and cinnamon starts wafting from kitchens all around? For me, it immediately transports me back to my grandma’s kitchen, where she always had something delicious bubbling on the stove. And while a full-blown apple pie is a labor of love, sometimes you just crave that incredible flavor without all the fuss, right?
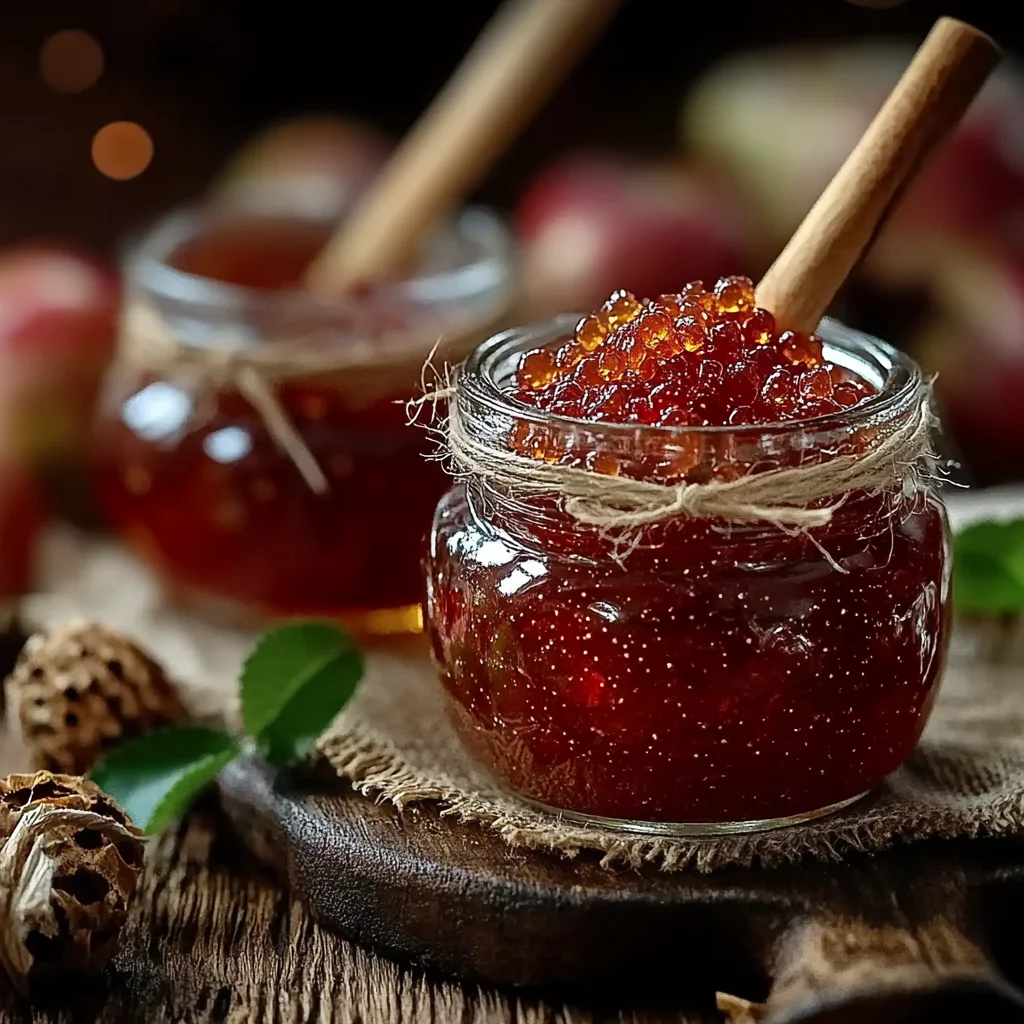
That’s where this incredible Easy Apple Pie Jam comes in! It’s pure magic in a jar – all the warm, spiced goodness of your favorite apple pie, but in a spreadable, spoonable form. Seriously, this recipe is so unbelievably simple, quick, and yields such a memorable result, you’ll wonder why you haven’t been making it your whole life. It’s perfect for slathering on toast, swirling into yogurt, or even dolloping on a scoop of vanilla ice cream. Let’s get jamming!
Why You’ll Love Easy Apple Pie Jam
- Fast
- Easy
- Giftable
- Crowd-pleasing
Ingredients
You’ll be delighted by how few ingredients you need to create this flavor-packed jam. Chances are, you already have most of them in your pantry!
- 4 cups chopped apples (about 3-4 medium apples): The star of our show! I love using a mix of sweet and tart apples like Honeycrisp, Granny Smith, or Fuji for the best flavor balance. No need to peel them if you like a little texture and extra fiber – the skins will soften beautifully.
- 2 cups sugar: This not only provides sweetness but also acts as a natural preservative, helping your jam last longer and set up perfectly.
- 1 teaspoon cinnamon: Essential for that classic apple pie warmth.
- ¼ teaspoon nutmeg: A tiny pinch goes a long way to deepen those cozy spice notes.
- 2 tablespoons lemon juice: Don’t skip this! It brightens the flavor of the apples and, very importantly, helps with the jam’s setting process and preservation.
- ½ cup water: Just a little liquid to get things going and prevent sticking at the start.
How to Make Easy Apple Pie Jam
Alright, grab your favorite large pot, put on some good tunes, and let’s make some jam! You’re going to be amazed at how straightforward this process is.
- Combine Ingredients: First things first, get your chopped apples, sugar, cinnamon, nutmeg, lemon juice, and water into a large, heavy-bottomed pot. Give everything a really good stir to combine. You want to make sure those apples are coated in the sugar and spices.
- Boil and Simmer: Now, place your pot over medium-high heat. Keep stirring occasionally as the mixture comes to a boil. Once it’s bubbling nicely, reduce the heat to low. This is where the magic happens! You’re going to let it simmer, stirring frequently, for about 45-60 minutes. Your goal here is for the apples to completely break down and for the jam to thicken up. It’ll start looking less like chopped apples and more like a luscious, thick sauce.
- Mash to Perfection: Once your jam has reached that lovely thick consistency, it’s time to decide how chunky you like it! For a rustic, chunky jam, simply grab a potato masher and mash the apples right in the pot until you reach your desired texture. If you prefer a super smooth, almost butter-like consistency, an immersion blender is your best friend here. Just be careful, as the jam is hot!
- Jar and Process: This is the final step for preserving your delicious jam. Carefully ladle the hot jam into sterilized jars, making sure to leave about ½ inch of headspace at the top. This is important for proper sealing! Wipe the jar rims clean with a damp cloth – any jam on the rim can prevent a good seal. Secure the lids tightly, then process the jars in a boiling water bath. If you’re new to canning, make sure to follow standard canning procedures to ensure they are properly sealed and safe for shelf storage. If you’re not canning, you can skip this step and just store them in the fridge! Once processed, let the jars cool completely on your counter. You’ll hear those satisfying “pop” sounds as they seal!
Substitutions & Additions
This recipe is wonderfully versatile, so feel free to play around and make it your own! Here are some ideas:
- Apple Varieties: While I love a mix, feel free to use your favorite. For a tarter jam, go heavier on Granny Smith. For a sweeter one, more Honeycrisp or Gala.
- Spice It Up: Add a pinch of ground cloves, allspice, or even a tiny bit of ginger for a more complex spice profile. A dash of vanilla extract after cooking can also be divine.
- A Boozy Twist: For an adult-only version, a splash of bourbon or apple brandy added at the end of the simmering stage gives a wonderful depth of flavor.
- Mix-ins: Stir in a handful of golden raisins or dried cranberries during the last 10 minutes of simmering for extra texture and chewiness.
Tips for Success
Making jam is more of an art than a science sometimes, but these tips will help ensure your batch is perfect every time:
- Choose Firm Apples: Even if you’re mashing them, starting with firm apples will give you the best flavor and texture. Overly soft or mealy apples can lead to a less vibrant jam.
- Don’t Rush the Simmer: That 45-60 minute simmering time is crucial for the apples to break down and the natural pectin to release, helping the jam thicken. Patience is key here!
- Test for Doneness: To check if your jam is set, place a small plate in the freezer before you start cooking. When you think the jam is done, spoon a small amount onto the cold plate, wait 30 seconds, then push it with your finger. If it wrinkles, it’s ready!
- Sterilize Your Jars Properly: This is paramount for food safety if you plan to store your jam outside the refrigerator. There are many ways to sterilize, from boiling them to running them through a hot dishwasher cycle. Make sure they are hot when you fill them!
- Prep Ahead: You can chop your apples a day in advance and store them in a bowl of water with a little lemon juice to prevent browning. This makes assembly even faster! If you’re looking for other easy apple treats, you might also love our Apple Fritter Bites recipe!
How to Store Easy Apple Pie Jam
Once you’ve made your delicious jam, knowing how to store it correctly is important for enjoying it for months to come!
- Canned Jam: If you properly processed your jars in a boiling water bath, your sealed apple pie jam can be stored in a cool, dark place (like a pantry) for up to 1 year. Once opened, store it in the refrigerator and consume within 2-3 weeks.
- Uncanned Jam (Refrigerator Storage): If you skipped the canning process, simply let the jam cool completely, then transfer it to clean jars or airtight containers. Store it in the refrigerator for up to 3 weeks.
- Freezing: For longer storage without canning, you can also freeze your jam! Allow it to cool completely, then transfer it to freezer-safe containers, leaving about an inch of headspace to allow for expansion. It will keep well in the freezer for up to 6 months. Thaw in the refrigerator before using.
FAQs
Got a few questions bubbling up? Let’s answer some common ones about this amazing jam!
Do I need pectin for this Apple Pie Jam?
Nope! This recipe relies on the natural pectin in the apples, combined with the sugar and lemon juice, to achieve its perfect set. No need to add any extra pectin!
What kind of apples are best for this jam?
I find a mix of sweet and tart apples works wonders. Varieties like Honeycrisp, Granny Smith, Fuji, or Gala are all fantastic choices. Using a blend gives your jam a more complex and balanced flavor profile.
How do I know when the jam is thick enough or “set”?
The “wrinkle test” is your best friend! Place a small plate in the freezer for 10-15 minutes. When you think your jam is ready, spoon a teaspoon onto the cold plate. Let it sit for about 30 seconds, then push it gently with your finger. If the surface wrinkles, your jam is set! If not, continue simmering and testing every 5-10 minutes.
Can I make a smaller or larger batch?
Absolutely! You can easily halve or double this recipe. Just be sure to adjust your pot size accordingly to prevent boil-overs, and remember that cooking times may vary slightly with different batch sizes. This jam is so good, you might even want to make a big batch to share! It makes a wonderful homemade gift, especially when paired with a thoughtful card. If you’re into baking gifts, you might also enjoy our recipe for The Ultimate Classic Carrot Cake.
For more delicious recipes and kitchen inspiration, be sure to follow us on Pinterest!
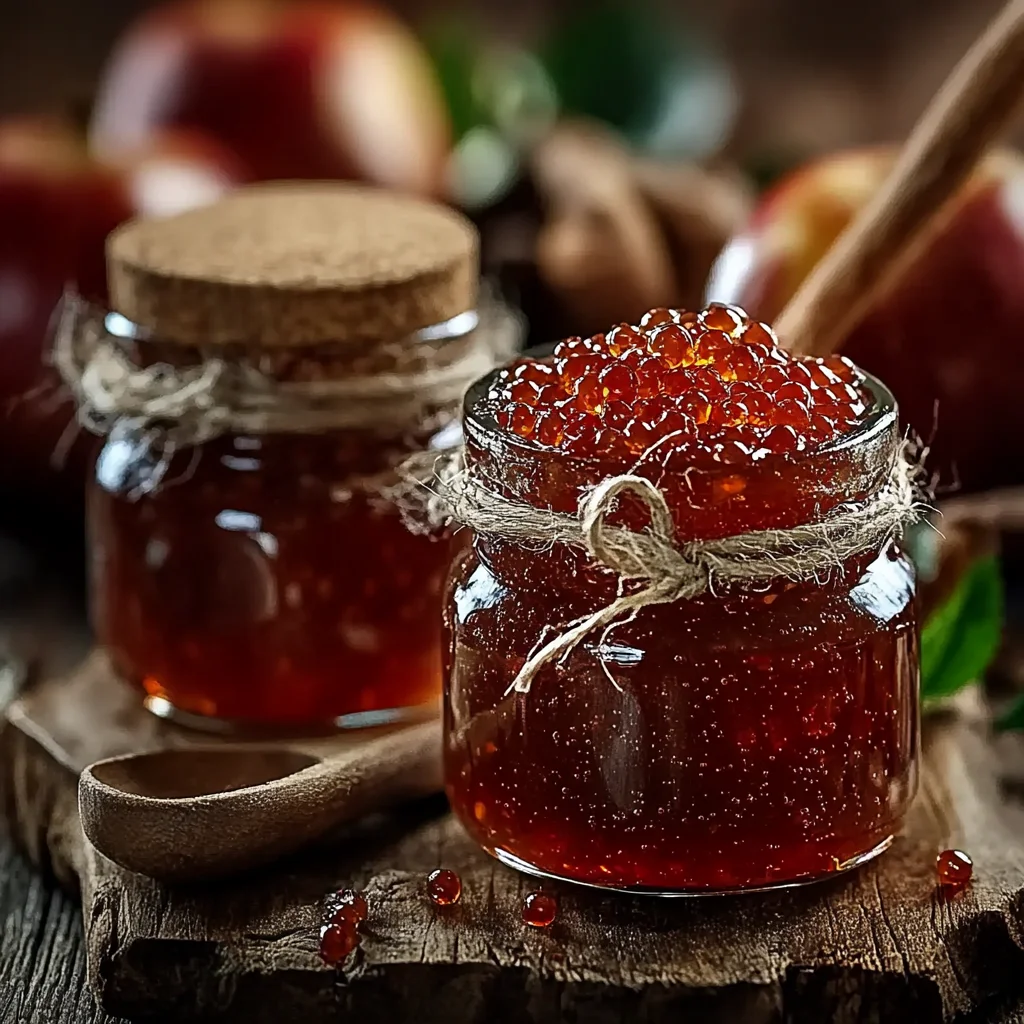
Easy Apple Pie Jam: Sweet Homemade Goodness in Every Jar!
Ingredients
Equipment
Method
- Step 1: Combine Ingredients: Get your chopped apples, sugar, cinnamon, nutmeg, lemon juice, and water into a large, heavy-bottomed pot. Give everything a really good stir to combine, ensuring apples are coated in the sugar and spices.
- Step 2: Boil and Simmer: Place your pot over medium-high heat. Stir occasionally as the mixture comes to a boil. Once bubbling nicely, reduce heat to low and simmer, stirring frequently, for about 45-60 minutes. The goal is for the apples to completely break down and the jam to thicken into a luscious sauce.
- Step 3: Mash to Perfection: Once the jam reaches a lovely thick consistency, mash the apples directly in the pot with a potato masher for a chunky jam. For a super smooth consistency, use an immersion blender (careful, as the jam is hot).
- Step 4: Jar and Process: Carefully ladle the hot jam into sterilized jars, leaving about ½ inch of headspace. Wipe jar rims clean with a damp cloth. Secure the lids tightly. Process the jars in a boiling water bath, following standard canning procedures for shelf storage (if not canning, skip this step and store in the fridge). Let jars cool completely on your counter until you hear the sealing "pop" sounds.