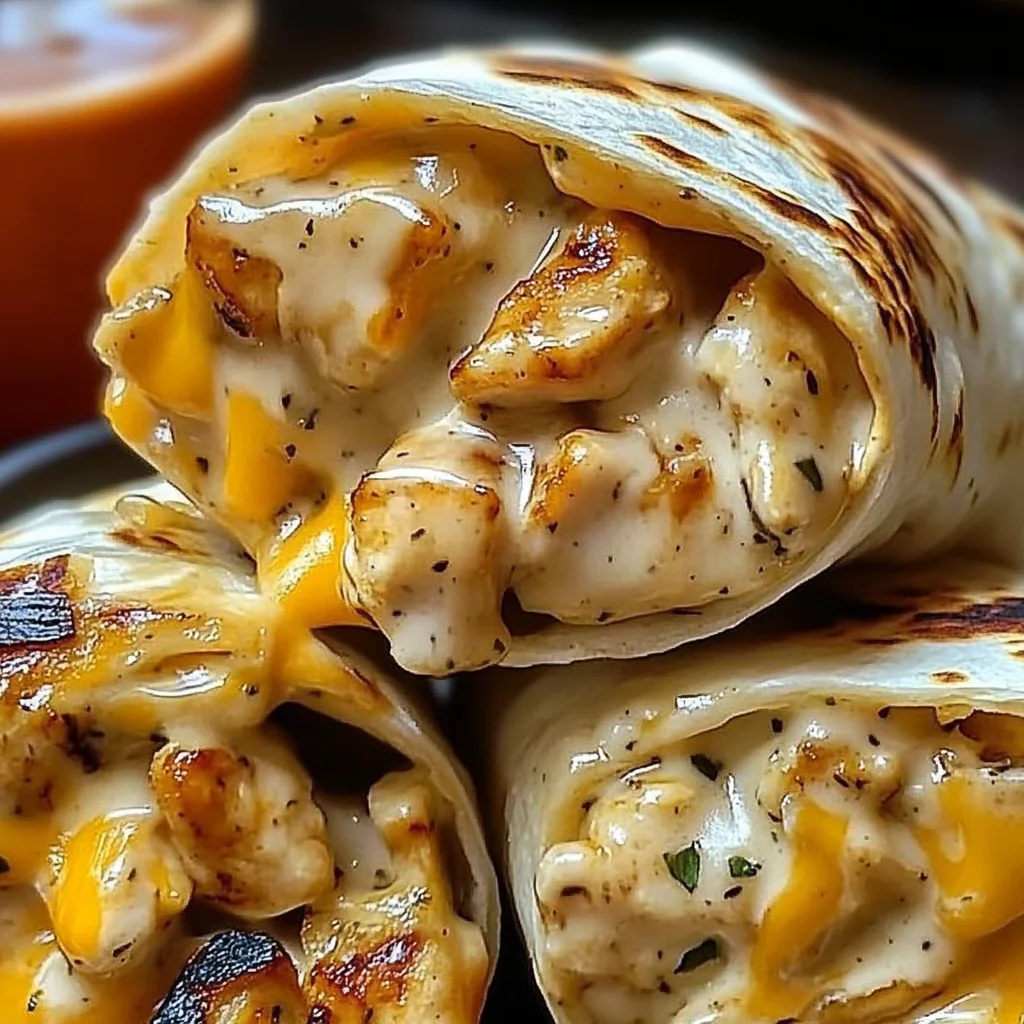
Hey there, busy bees and home cooks! Have you ever had one of those days where you just need dinner (or lunch!) fast, but you still want it to be utterly comforting and delicious? You know, the kind of meal that makes everyone happy with minimal fuss? Well, get ready, because these Cheesy Garlic Chicken Wraps are about to become your absolute go-to recipe. They’re so simple, so quick, and packed with gooey, cheesy goodness that’s just irresistible. I remember whipping these up for a last-minute get-together once, and they disappeared in minutes! Trust me, this recipe is pure magic.
Why You’ll Love This Recipe
- Fast
- Easy
- Giftable
- Crowd-pleasing
Ingredients
Gather ’round, this list is short and sweet, just like your prep time will be!
- 2 cups cooked, shredded chicken: This is where leftover chicken shines! Or, grab a rotisserie chicken from the grocery store – your best friend for speedy recipes like this.
- 1 cup shredded mozzarella or cheddar cheese: Use your favorite! Mozzarella gives you that classic stretch, while cheddar adds sharp flavor. A mix? Even better!
- 2 tbsp cream cheese: The secret weapon! This adds creaminess and helps hold everything together in the most delicious way. Make sure it’s softened a little so it mixes easily.
- Wraps: Grab your favorite tortillas or wraps. Standard flour tortillas work great, but feel free to use whole wheat, spinach, or gluten-free options!
How to Make It
Okay, let’s get this party started! It’s so simple, you barely need instructions, but here’s a little step-by-step love:
-
Combine the Good Stuff: Grab a medium-sized bowl. Toss in your shredded chicken, that lovely shredded cheese, and the softened cream cheese. Now, get in there with a spoon or even your hands (if you don’t mind getting a little messy!) and mix it all up until everything is nicely combined and the cream cheese is distributed throughout. You want cheesy goodness in every bite!
-
Fill ‘Em Up: Lay out your wraps on a clean surface. Spoon an even amount of your chicken and cheese mixture onto each wrap. Don’t overfill them, or they’ll be tricky to roll! Think a generous line down the center, leaving some space on the sides.
-
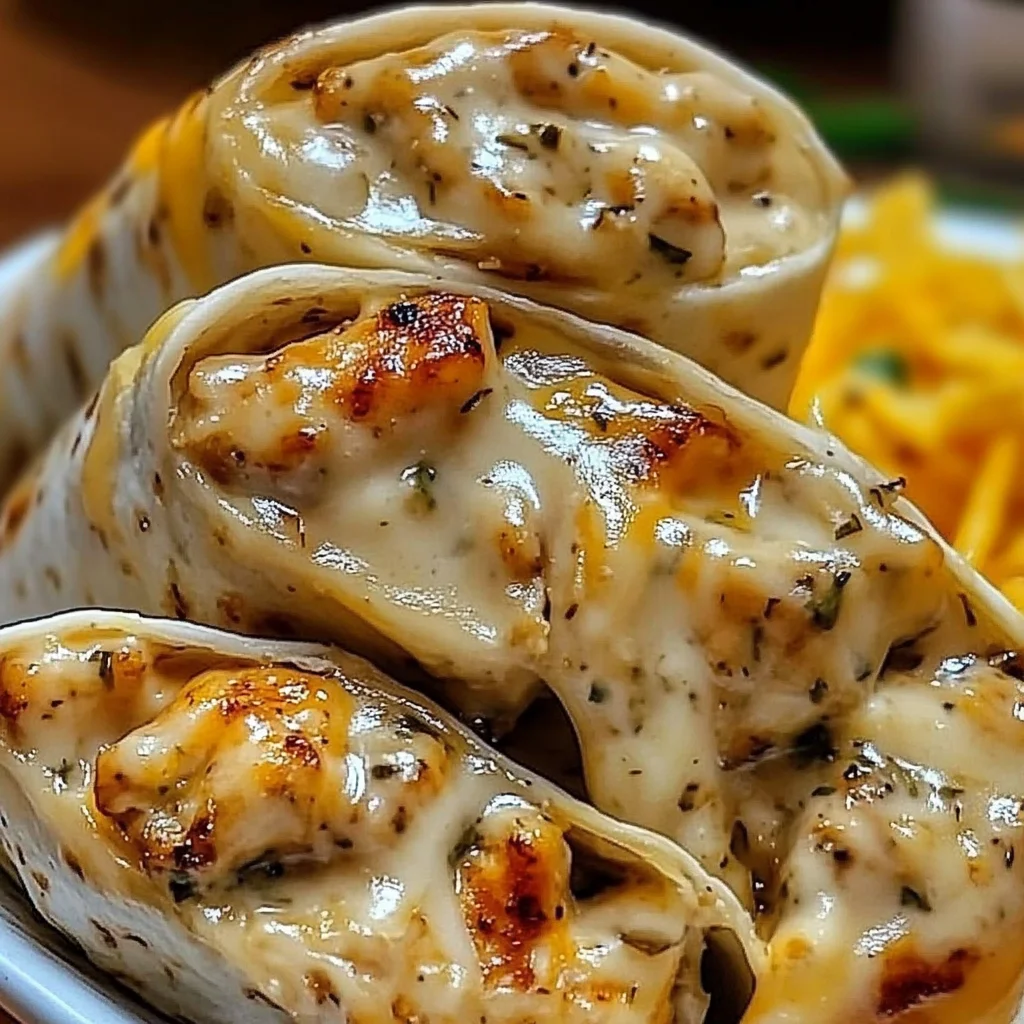
Roll and Slice: Now for the fun part! Fold the sides of the wrap in over the filling, then tightly roll from the bottom up. You want a nice, snug wrap. Once rolled, grab a sharp knife and slice each wrap right in the middle, usually on the diagonal, for perfect little handheld portions.
-
Optional Warm-Up: You can totally eat these as-is, but if you want that cheese extra melty and the wrap just a little warm, give them a quick heat. You can pop them in a warm skillet (no oil needed usually), a panini press, or even under the broiler for a minute or two until they’re lightly golden and the cheese is gooey. I often just use a dry non-stick pan over medium heat – easy peasy!
-
Serve Warm: Pile those beautiful wraps onto a plate and serve them while they’re warm and the cheese is saying hello! They’re perfect on their own or with your favorite dipping sauce.
Substitutions & Additions
This recipe is a fantastic base! Feel free to play around and make it your own. Here are some ideas:
- Change the Cheese: Smoked gouda, pepper jack (for a little kick!), provolone, or even a dairy-free shredded cheese would work.
- Add Veggies: Finely chopped bell peppers, onions (sautéed first!), spinach (wilted), or even some corn can be mixed into the filling.
- Spice it Up: Add a pinch of garlic powder, onion powder, Italian seasoning, or a dash of cayenne pepper to the mix for extra flavor.
- Make it Saucy: Stir a tablespoon or two of ranch dressing, buffalo sauce, or BBQ sauce into the chicken mixture before rolling.
- Different Protein: Cooked, shredded turkey or even finely diced ham could stand in for the chicken.
Tips for Success
Even though this is a simple recipe, a couple of little tricks can make them absolutely perfect!
- Don’t Overstuff: Seriously, resist the urge! Too much filling makes them hard to roll and messy to eat. Start with less than you think you need, you can always add more next time.
- Soften the Cream Cheese: Make sure your cream cheese is at room temperature or softened slightly in the microwave (like, 10-15 seconds) so it mixes smoothly with the chicken and cheese.
- Chop Chicken Finely: Shredded chicken works best, but make sure there aren’t super large chunks, which can make rolling difficult.
- Prep Ahead: You can make the chicken and cheese filling ahead of time and store it in an airtight container in the fridge for up to 2-3 days. Then, just scoop, roll, and heat when you’re ready!
- Heating Tip: If you’re heating them, watch them closely! You just want the cheese melted and the wrap warmed, not crispy or burnt. A minute or two per side in a dry skillet is usually plenty.
How to Store It
Got leftovers? Lucky you! You can store the assembled (and unheated) wraps or the filling separately in an airtight container in the refrigerator for up to 3-4 days. If you heated them, let them cool completely before storing.
To reheat, pop them back in a dry skillet over medium-low heat, use a panini press, or even microwave them gently (though the skillet or press gives a nicer texture!).
FAQs
-
Can I use canned chicken? Yes, absolutely! Just drain it really well before mixing it in.
-
Can I bake these instead of grilling/heating? You sure can! Place the rolled wraps (you might not even need to slice them first) on a baking sheet and bake at 375°F (190°C) for about 8-12 minutes, or until lightly golden and heated through. Keep an eye on them!
-
The filling seems a little dry. What can I add? A tablespoon or two of mayonnaise, sour cream, or a little extra cream cheese can add moisture. Or, mix in a little ranch dressing or chicken broth.
-
Can I make these ahead for a party? Yes! Make the filling up to a day or two in advance. Assemble the wraps a few hours before, cover them well, and keep them in the fridge. Heat just before serving.
Easy Cheesy Garlic Chicken Wraps
Ingredients
Equipment
Method
- Step 1: Combine the Good Stuff: Grab a medium-sized bowl. Toss in your shredded chicken, shredded cheese, and the softened cream cheese. Mix it all up until everything is nicely combined and the cream cheese is distributed throughout.
- Step 2: Fill 'Em Up: Lay out your wraps on a clean surface. Spoon an even amount of your chicken and cheese mixture onto each wrap. Don't overfill them.
- Step 3: Roll and Slice: Fold the sides of the wrap in over the filling, then tightly roll from the bottom up. Slice each wrap in the middle, usually on the diagonal, for perfect little handheld portions.
- Step 4: Optional Warm-Up: You can eat these as-is, or heat them for extra melty cheese. Pop them in a warm skillet (no oil), a panini press, or under the broiler for a minute or two until lightly golden and gooey. A dry non-stick pan over medium heat works well.
- Step 5: Serve Warm: Pile those beautiful wraps onto a plate and serve them while they're warm and the cheese is gooey. They're perfect on their own or with your favorite dipping sauce.