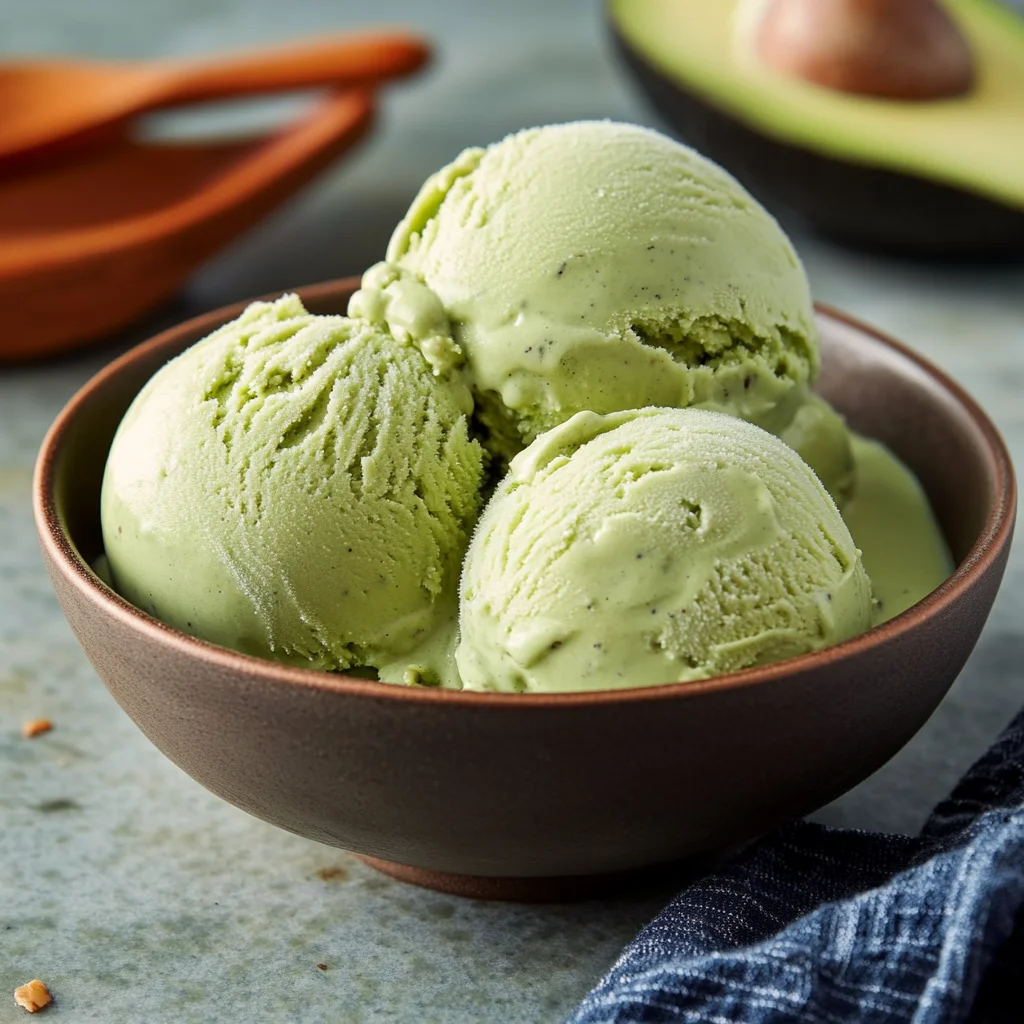
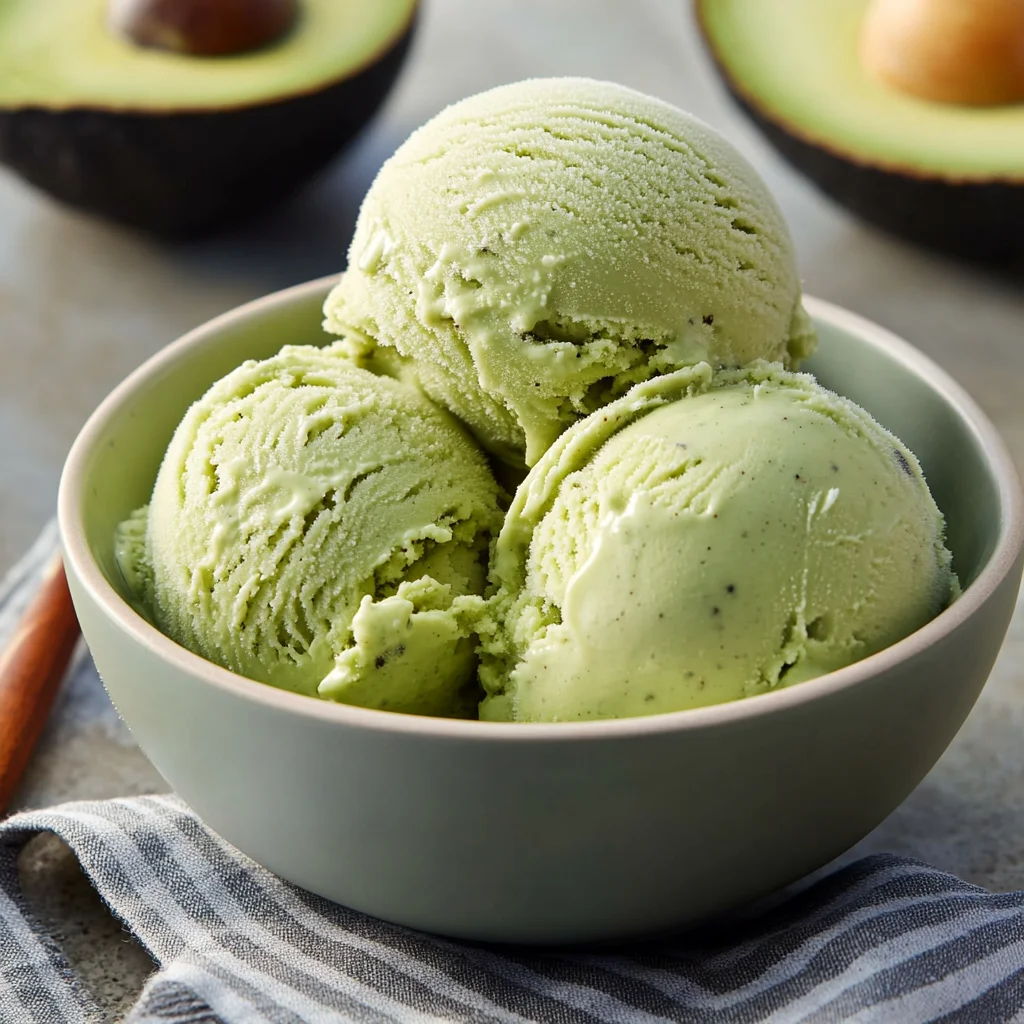
Oh, friends. Let me tell you about this ice cream. Remember those lazy summer afternoons when the sun was shining bright, and all you wanted was a cool, creamy treat? This California Avocado Coconut Ice Cream takes me right back there, but with a delicious, healthy twist! It’s so ridiculously easy, incredibly smooth, and has the most lovely, subtle tropical flavor. It’s the kind of recipe you’ll make once and then crave constantly. Seriously, get ready to be obsessed!
Why You’ll Love This Recipe
- Fast: You can whip up the base mixture in literally minutes.
- Easy: If you can press a button on a blender, you can make this!
- Giftable: Spoon it into cute containers and share the love (if you can bear to part with it!).
- Crowd-pleasing: Even folks who think they don’t like avocado will fall for this creamy delight.
Ingredients
Gather ’round, let’s look at the simple stars of this show:
- 1/2 cup Sugar: Just enough sweetness to make it dessert-worthy. You can adjust this a bit to your liking.
- 1 Pinch Salt: A tiny bit of salt helps enhance all those lovely flavors and balances the sweetness. Don’t skip it!
- 2 Ripe, Fresh California Avocados, seeded, peeled and quartered: Ah, the secret ingredient for unparalleled creaminess! Make sure they are perfectly ripe – they should yield gently to pressure. This is key for that silky texture and mild flavor.
- 1 (13.5 oz) can Coconut Milk: Use full-fat canned coconut milk for the richest, creamiest result. Shake the can before opening!
- 1/2 cup Heavy Cream: Adds extra richness and helps with the ice cream structure.
- 1/2 tsp. Lemon Juice: This little touch of acidity brightens the flavors and, bonus, helps keep the avocado’s gorgeous green color vibrant.
How to Make It
Okay, let’s make some magic! It truly doesn’t get much simpler than this:
First things first, grab your blender or food processor. Make sure it’s ready to go.
Now, carefully add all of your ingredients into the blender container: the sugar, the pinch of salt, the beautiful California avocado quarters, the coconut milk, the heavy cream, and that little splash of lemon juice.
Secure the lid and blend, blend, blend! If your blender has settings like ‘smoothie,’ ‘purée,’ or ‘frappe,’ those work perfectly. Blend for about 2 minutes. The goal here is super smoothness. You want absolutely no lumps or bits of avocado left.
Sometimes, those thick ingredients like to hang out on the sides. If necessary, stop the blender, use a spatula to carefully scrape down the sides and push everything towards the blades, then blend again until it’s completely smooth and looks like a luscious, green shake.
Now it’s time for your ice cream maker! Every machine is a little different, so follow the manufacturer’s directions. Most require you to chill the blended mixture for a couple of hours before churning, while others you can pour straight in. Don’t skip this chilling step if your machine recommends it – it helps the ice cream freeze properly.
Pour the smooth, chilled mixture into your ice cream maker and churn according to the instructions. This usually takes about 20-30 minutes, depending on your machine.
Once churning is complete, you’ll have soft-serve consistency ice cream. If you love soft serve, grab a spoon and dive right in!
If you prefer a firmer scoop, spoon the churned ice cream into a freezer-safe container with a tight-fitting lid. Pop it in the freezer for at least 2 hours to firm up properly. The longer it freezes, the harder it will get.
Scoop, serve, and prepare for smiles!
Substitutions & Additions
Want to play around a little? Here are some ideas:
- Sweetener: You can try substituting the sugar with maple syrup, agave, or a sugar substitute, adjusting the amount to taste. Just be aware that liquid sweeteners might slightly affect the texture.
- Make it Vegan: Omit the heavy cream and use a second can of full-fat coconut milk (just the thick cream part if you can separate it) or a dairy-free heavy cream alternative.
- Flavor Boosts: Add a teaspoon of vanilla extract or almond extract to the blend. A little lime zest would also be fantastic!
- Mix-Ins: Once the ice cream is done churning (before freezing for a firmer scoop), fold in things like shredded coconut, chopped nuts, mini chocolate chips, or even a swirl of raspberry purée.
Tips for Success
A few little pointers to make sure your ice cream is absolutely perfect:
- Ripe Avocados are Non-Negotiable: I really can’t stress this enough. Underripe avocados won’t blend smoothly and can leave a weird texture or even a slightly bitter taste. Overripe ones can sometimes have off-flavors. Aim for perfectly ripe!
- Blend Until Silky Smooth: Don’t rush the blending step. Any tiny chunks of avocado will affect the final texture. Blend until it looks like liquid silk.
- Chill Thoroughly: If your ice cream maker requires pre-chilling the base, make sure you give it enough time. This helps the ice cream freeze faster in the machine, resulting in smaller ice crystals and a creamier texture.
- Don’t Overfill Your Ice Cream Maker: Leave room for expansion as it freezes.
How to Store It
Once churned and/or frozen, transfer any leftover ice cream to an airtight, freezer-safe container. Press a piece of parchment paper or plastic wrap directly onto the surface of the ice cream before putting the lid on. This helps prevent ice crystals from forming (aka freezer burn!).
Homemade ice cream is best enjoyed within a couple of weeks, but it can last up to a month in a deep freezer. The texture might change slightly over time.
FAQs
Got questions? I’ve got answers!
Can I make this without an ice cream maker?
While an ice cream maker gives the best creamy texture, you can try a no-churn method. Pour the blended mixture into a shallow freezer-safe container. Freeze for about 30-45 minutes, then take it out and vigorously stir and break up any frozen parts with a fork or spoon. Repeat this process every 30-45 minutes for about 3-4 hours, until it’s frozen through but still scoopable. It won’t be quite as smooth as churned ice cream, but it will still be delicious!
Does it taste like avocado?
Surprisingly, no! When combined with the coconut milk, cream, and sugar, the avocado flavor is very mild. Its primary role is to provide that incredible creaminess and a beautiful green hue. It tastes more like a delicate, tropical, creamy dessert.
Is this recipe vegan?
As written, no, because of the heavy cream. However, as noted in the Substitutions section, it’s very easy to make it vegan by swapping the heavy cream for more full-fat coconut milk or a vegan heavy cream alternative.

Dreamy Creamy California Avocado Coconut Ice Cream
Ingredients
Equipment
Method
- Step 1: Prepare your blender or food processor.
- Step 2: Carefully add all ingredients (sugar, salt, California avocado quarters, coconut milk, heavy cream, and lemon juice) into the blender container.
- Step 3: Secure the lid and blend for about 2 minutes until the mixture is super smooth with absolutely no lumps or bits of avocado left.
- Step 4: If needed, stop the blender, use a spatula to carefully scrape down the sides, and blend again until completely smooth.
- Step 5: Chill the blended mixture for a couple of hours before churning if your ice cream maker requires it, following the manufacturer's directions.
- Step 6: Pour the smooth, chilled mixture into your ice cream maker and churn according to the instructions. This usually takes about 20-30 minutes.
- Step 7: Once churning is complete, you will have soft-serve consistency ice cream. You can serve it immediately if you love soft serve.
- Step 8: If you prefer a firmer scoop, spoon the churned ice cream into a freezer-safe container with a tight-fitting lid and pop it in the freezer for at least 2 hours to firm up properly.
- Step 9: Scoop, serve, and enjoy!