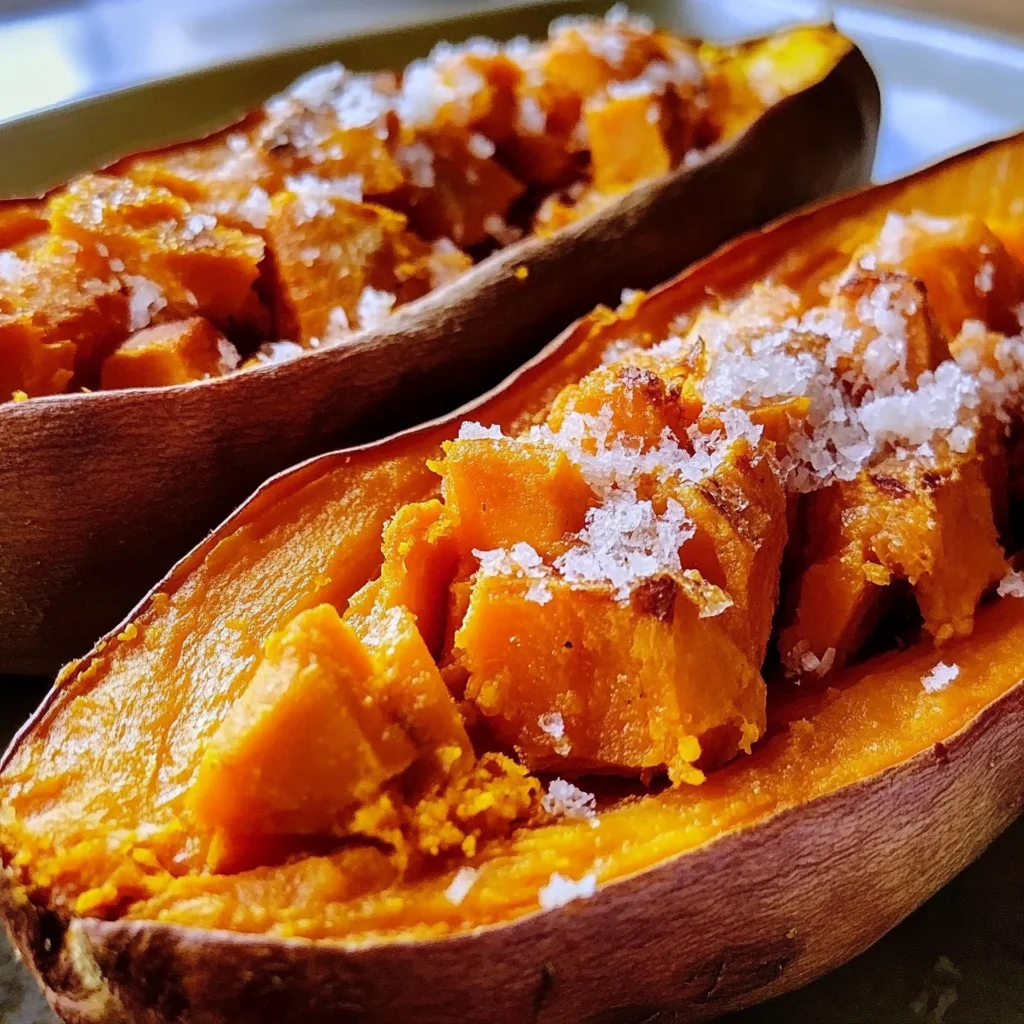
Oh, sweet potatoes! Just the sound of them conjures up images of cozy fall evenings, heartwarming holiday feasts, or even just a simple, satisfying weeknight dinner. There’s something truly magical about their vibrant color and natural sweetness, isn’t there? For me, a perfectly baked sweet potato is pure comfort on a plate. It’s one of those dishes that feels like a warm hug, but here’s the best part: it’s incredibly easy, surprisingly quick, and memorable in the best possible way. Forget complicated preparations; this recipe is all about letting the sweet potato shine with minimal effort and maximum flavor. Get ready to fall in love with your new go-to side dish!
Why You’ll Love Baked Sweet Potato
- Fast: With just a few minutes of prep, your oven does all the heavy lifting!
- Easy: No fancy techniques, just simple steps for a perfect result.
- Giftable: While you can’t literally “gift” a hot baked potato, the idea of providing a nourishing, easy side is a gift in itself. Plus, the raw potatoes themselves are a lovely hostess gift!
- Crowd-pleasing: Loved by adults and kids alike, their natural sweetness makes them a hit every time.
Ingredients

You really don’t need much to make these beauties shine. It’s all about quality ingredients and letting them speak for themselves!
- 4 medium-sized, long and thin sweet potatoes: Look for firm, unblemished potatoes. The “long and thin” part is key here – they tend to bake more evenly and get wonderfully tender all the way through.
- 1 tablespoon olive oil: A good quality olive oil adds a lovely richness and helps the skin crisp up.
- 1 teaspoon sea salt or kosher salt: Don’t skip the salt! It works wonders to enhance that natural sweetness and balances the flavors beautifully.
How to Make Baked Sweet Potato
Alright, let’s get these golden gems baking! You’re going to be amazed at how straightforward this is.
- First things first, let’s get that oven nice and toasty. You’ll want to preheat it to 400°F (200°C). While it’s warming up, you can start on the sweet potatoes.
- Grab those beautiful sweet potatoes and give them a good wash under cool running water. Scrub away any dirt, then pat them completely dry with a clean kitchen towel. A dry potato is a happy, crispy-skinned potato!
- Now for a little spa treatment! Pour the olive oil into your palm and rub each sweet potato generously, making sure they’re coated evenly all over. This helps them get that lovely golden, slightly crispy skin we all adore.
- Next, it’s time for seasoning. Sprinkle the sea salt (or kosher salt) liberally over each sweet potato. Don’t be shy here; the salt really brings out their incredible natural sweetness. Give them a little roll around to make sure the salt adheres well.
- Time for the oven! You can place the sweet potatoes directly on the oven rack. If you’re a bit worried about any potential drips, or just prefer an easier cleanup, you can absolutely use a baking sheet lined with foil instead.
- Bake them for 45-55 minutes. How do you know they’re ready? They’ll be wonderfully tender when you pierce them with a fork. It should slide in with very little resistance, almost like butter! If you’re planning on turning these into something more elaborate, like these amazing stuffed sweet potatoes, you might want them on the softer side.
- Once they’re perfectly baked, carefully remove them from the oven. Let them cool slightly for a few minutes before slicing them open and diving in. The residual heat will continue to cook them ever so slightly, making them even more tender.
You know, sweet potatoes aren’t just for savory dishes! They’re so versatile and complement so many different flavors, much like how a good batch of other fantastic veggie sides can elevate any meal. And just like you might create your own loaded potato bar, sweet potatoes are perfect for piling on your favorite toppings!
Substitutions & Additions
This basic recipe is a perfect canvas for your culinary creativity! Here are some ideas to make it your own:
- For a sweeter touch: A drizzle of maple syrup, honey, or a sprinkle of brown sugar and cinnamon right after baking is divine.
- For a savory kick: Try a pat of butter, a sprinkle of black pepper, a dash of garlic powder, onion powder, or even some smoked paprika. Fresh herbs like rosemary or thyme can also be baked with them.
- Make it a meal: Split open your baked sweet potato and load it up! Think black beans, corn, salsa, avocado, a dollop of Greek yogurt or sour cream, or even some leftover chili or shredded chicken.
- Spice it up: A pinch of cayenne pepper or a dash of your favorite hot sauce can add a wonderful warmth.
Tips for Success
- Choose wisely: Opt for sweet potatoes that are similar in size and shape. This ensures they cook evenly. If you have some thicker ones, they’ll just need a little more time in the oven.
- Don’t crowd the pan: If you’re using a baking sheet, give your sweet potatoes some breathing room. Overcrowding can steam them instead of baking them, preventing that lovely crispy skin.
- Prick or no prick? Some folks like to prick their sweet potatoes with a fork a few times before baking to prevent them from “exploding.” Honestly, I rarely do this for whole baked sweet potatoes, and I’ve never had an issue. The olive oil rub seems to create a good barrier. However, if you’re worried, a few shallow pokes won’t hurt!
- Prep Ahead: You can wash and dry your sweet potatoes a day in advance and store them in the fridge. When you’re ready to bake, just rub them with oil and salt, and pop them in the oven!
How to Store Baked Sweet Potato
If you happen to have any leftovers (which is rare in my house!), don’t worry, they store beautifully. Once your baked sweet potatoes have cooled completely, you can place them in an airtight container in the refrigerator for up to 3-4 days. To reheat, you can pop them back in the oven at 350°F (175°C) for about 15-20 minutes until warmed through, or microwave them for a quicker option, though the skin won’t be as crispy.
FAQs
Q: Should I wrap my sweet potatoes in foil to bake them?
A: You can, but I find that baking them directly on the rack (or a foil-lined baking sheet without wrapping each potato individually) yields the best crispy skin and tender interior. Wrapping them in foil tends to steam them, making the skin softer.
Q: Can I cut the sweet potatoes before baking?
A: Absolutely! If you prefer sweet potato wedges or cubes, you can cut them, toss with oil and salt, and bake. The cooking time will be shorter, around 20-30 minutes, depending on the size of your pieces.
Q: How do I choose a good sweet potato at the grocery store?
A: Look for sweet potatoes that are firm to the touch, with no soft spots, cracks, or sprouts. A smooth, even skin is a good indicator of quality.
Q: What’s the difference between sweet potatoes and yams?
A: In the US, what are often called “yams” are actually a type of sweet potato with darker, reddish skin and orange flesh (like what’s used in this recipe). True yams are a completely different botanical species, native to Africa and Asia, with rougher, darker skin and starchier, drier flesh. So, chances are, what you’re buying at the store labeled “yam” is just another delicious sweet potato!
For more delicious and easy recipes, be sure to follow us on Pinterest!
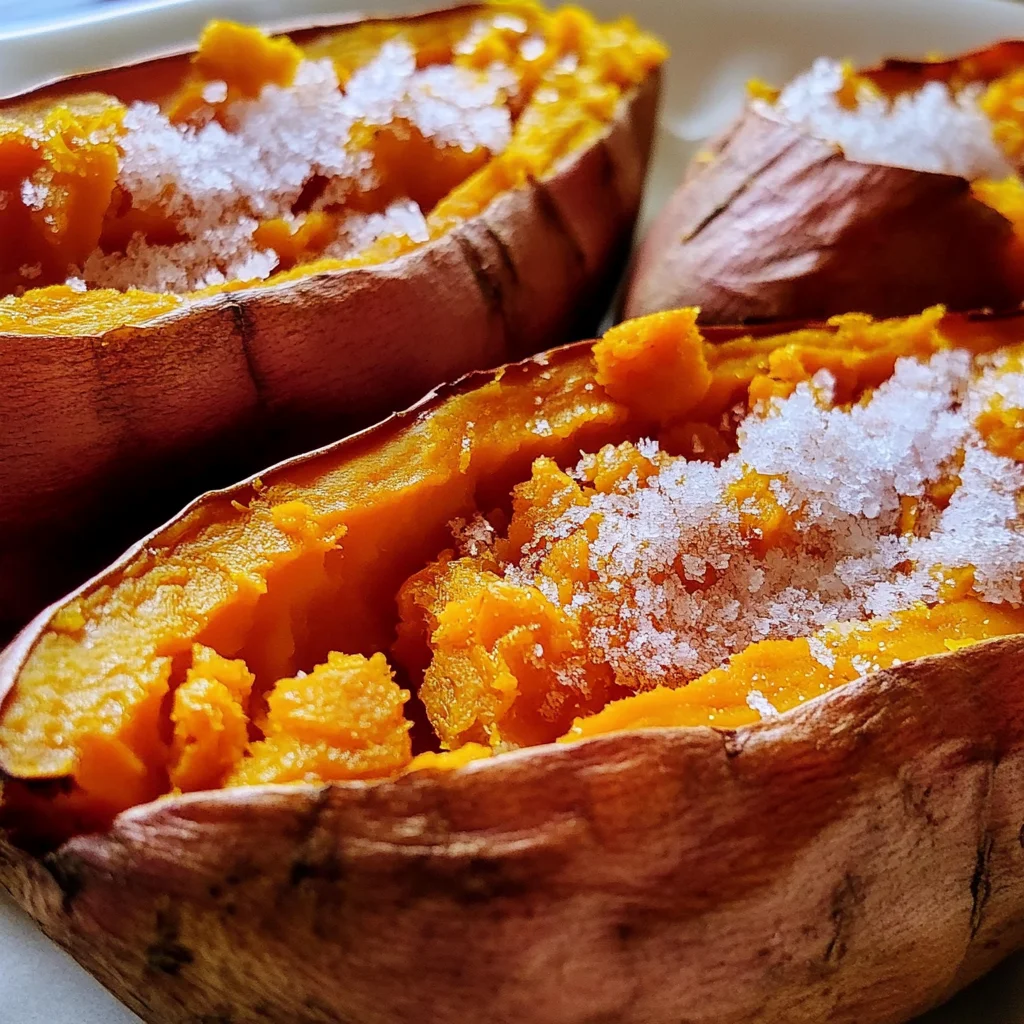
Perfectly Baked Sweet Potatoes
Ingredients
Equipment
Method
- Step 1: Preheat oven to 400°F (200°C).
- Step 2: Wash sweet potatoes under cool running water, scrub away any dirt, then pat them completely dry with a clean kitchen towel.
- Step 3: Pour the olive oil into your palm and rub each sweet potato generously, making sure they're coated evenly all over.
- Step 4: Sprinkle the sea salt (or kosher salt) liberally over each sweet potato. Give them a little roll around to make sure the salt adheres well.
- Step 5: Place the sweet potatoes directly on the oven rack. If preferred for easier cleanup, you can use a baking sheet lined with foil instead.
- Step 6: Bake for 45-55 minutes. They are ready when wonderfully tender, and a fork slides in with very little resistance.
- Step 7: Carefully remove from the oven. Let them cool slightly for a few minutes before slicing them open and serving immediately.