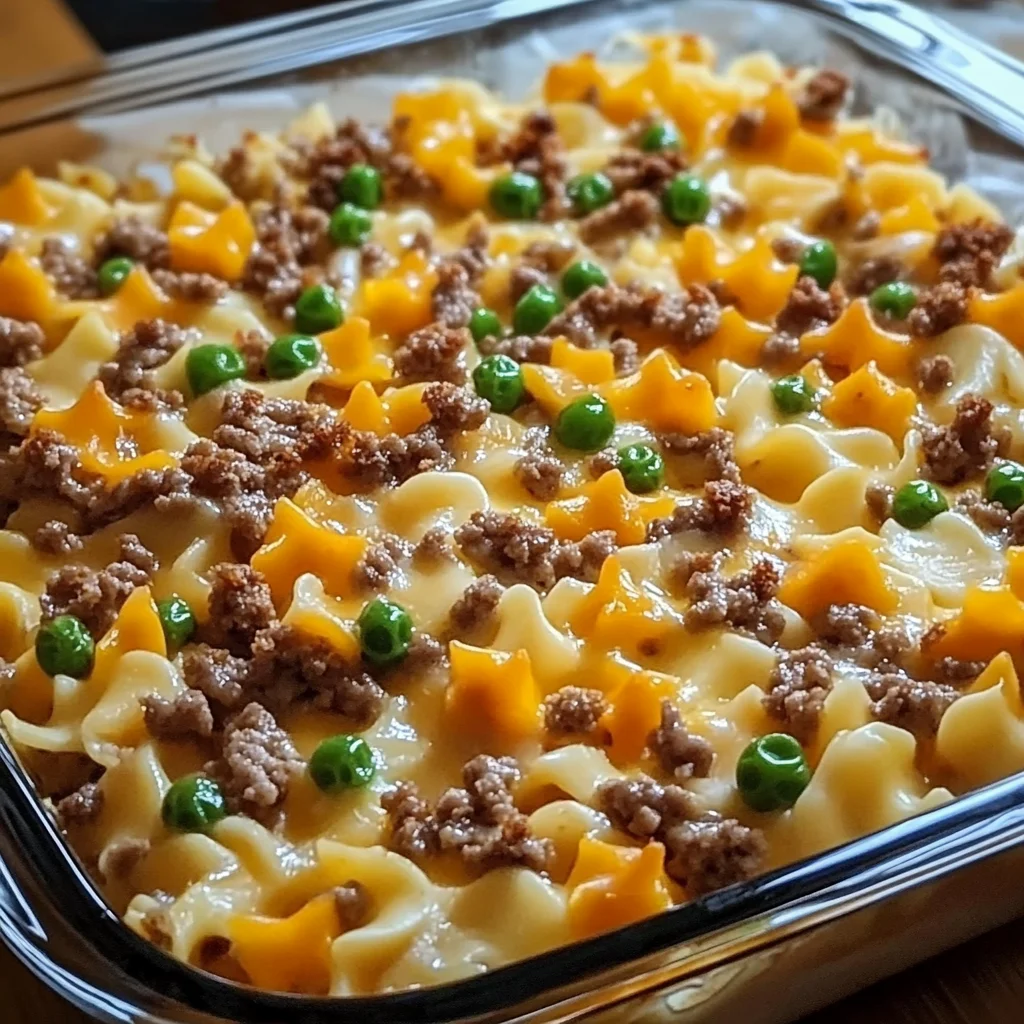
Hey there, friend! You know those days, especially Sundays, when you want something truly comforting, something that feels like a warm hug on a plate, but you just don’t have the energy for a complicated kitchen saga? Oh yeah, I know exactly what you mean! That’s where this incredible Amish Sunday Savior Casserole swoops in. It’s one of those magical dishes that brings everyone running to the table with happy smiles, and it’s surprisingly simple to whip up. It’s hearty, packed with flavor, and uses ingredients you probably already have on hand. Trust me, this is about to become your new go-to for busy weeknights or lazy weekends when only soul-soothing comfort food will do!
Why You’ll Love This Recipe
Why is this casserole such a rockstar? Let me count the ways!
- Fast: From start to finish, you can have this bubbling comfort ready in under an hour.
- Easy: Seriously simple steps, mostly done in one pan before baking. Perfect for beginners!
- Giftable: Makes a fantastic meal to take to a friend or neighbor who needs a little cheer (or a break from cooking!).
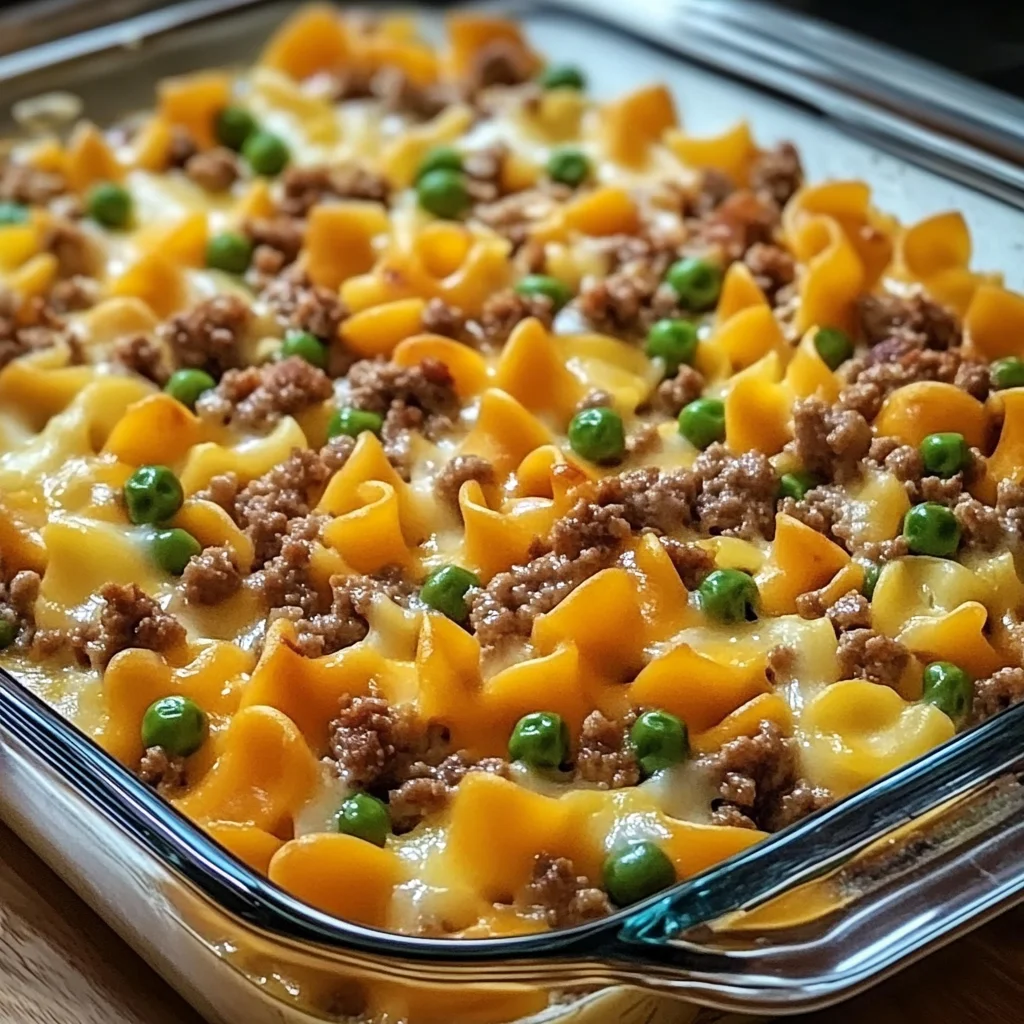
- Crowd-Pleasing: Kids and adults alike absolutely adore this classic combination of ground beef, noodles, veggies, and cheese.
- One-Pan Prep (Almost!): You do most of the work in one skillet before transferring it to the baking dish. Less mess, more happy!
Ingredients
Gather ’round, these are the simple stars of our show! You likely have most of these hanging out in your pantry and fridge already, making this super convenient.
- 1 lb Ground Beef: Your hearty base! Use lean or regular, whatever you prefer.
- 1 medium Onion, chopped: Adds essential flavor depth.
- 1 cup Carrots, sliced: Brings a touch of sweetness and color. Fresh or frozen slices work!
- 1 cup Celery, sliced: Adds a nice savory note and texture.
- 1 cup Frozen Peas: Easy veggie power! No need to thaw.
- 2 cups Cooked Egg Noodles: The classic comfort noodle! Make sure they’re cooked al dente before you add them.
- 1 can Cream of Mushroom Soup (10.5 oz): The creamy binder that makes this casserole so wonderfully… well, creamy!
- ½ cup Milk: Thins out the soup to the perfect consistency. Any milk works!
- 1 cup Shredded Cheddar Cheese, divided: Because cheese makes everything better! We’ll stir some in and sprinkle the rest on top for that glorious bubbly crust.
How to Make It
Alright, let’s get cooking! This comes together so quickly, you’ll barely believe it.
Step 1: Brown Your Beefy Base
Grab a large skillet – seriously, the biggest one you have – and pop it over medium heat. Add your ground beef and the chopped onion. Get in there with a spoon and break up the beef as it cooks. You want it nicely browned, and the onion should be soft and fragrant. Once that’s done, drain off any excess grease if you like. I usually don’t if I’m using leaner beef, but it’s totally up to you!
Step 2: Add the Veggies
Now, toss in your sliced carrots, celery, and those easy-peasy frozen peas right into the skillet with the beef. Give it a good stir and let them cook for just a few minutes. You’re not trying to make them mushy here, just giving them a head start and letting them mingle with the beef and onion flavors.
Step 3: Introduce the Noodles
Time for the cooked egg noodles! Add them right into the skillet with the beef and veggies. Give everything a gentle stir to combine.
Step 4: Get Creamy
Pour that can of cream of mushroom soup over the mixture, then add the milk. Stir everything really well until the soup and milk are totally combined and coating all the noodles, beef, and veggies. This is where it starts looking like proper comfort food!
Step 5: Cheese, Please! (Part 1)
Take half of your shredded cheddar cheese (that’s ½ cup) and sprinkle it into the skillet mixture. Stir it in gently until it melts into the creamy sauce. Oh my goodness, this adds such a lovely richness!
Step 6: Transfer to the Baking Dish
Lightly grease a 9×13-inch baking dish. Pour the entire mixture from your skillet into the prepared dish. Spread it out evenly so it’s in a nice, flat layer.
Step 7: Top with More Cheese!
Now, take the remaining ½ cup of shredded cheddar cheese and sprinkle it generously over the top of the casserole. This is going to bake into that glorious, bubbly, slightly golden crust we all love.
Step 8: Bake Until Bubbly
Pop the dish into your oven, which should be preheated to 350°F (175°C). Bake for about 25-30 minutes. You’ll know it’s ready when the edges are bubbling happily and that cheese topping is beautifully melted and maybe just a little golden brown. It smells amazing at this stage!
Step 9: Rest and Serve
Once it’s out of the oven, resist the urge to dive in immediately! Let the casserole sit for 5-10 minutes before you scoop it out. This helps it set up a little so it doesn’t just run all over the plate. Then, serve it up and watch those happy faces!
Substitutions & Additions
This casserole is wonderfully adaptable! Feel free to play around based on what you have or what you love.
- Protein Swaps: Instead of ground beef, try ground turkey, ground chicken, or even Italian sausage.
- Veggie Boost: Add chopped bell peppers, corn, green beans, or even a handful of spinach (stir in during step 4).
- Soup Swap: No cream of mushroom? Cream of chicken or cream of celery soup work beautifully too.
- Cheesy Variations: Use Monterey Jack, Colby Jack, a cheddar blend, or even a sprinkle of Parmesan on top.
- Add Flavor: Stir in a clove or two of minced garlic with the onion. A teaspoon of dried Italian seasoning or a dash of Worcestershire sauce can also boost the savory notes.
- Crunchy Topping: For extra texture, mix the top layer of cheese with some breadcrumbs or crushed crackers (like Ritz!).
Tips for Success
Here are a few little pointers I’ve picked up to make sure your casserole is a winner every time:
- Don’t Overcook Noodles: Cook your egg noodles just until al dente according to package directions. They’ll finish cooking and soften more in the oven, and you don’t want them mushy!
- Drain the Beef: If your ground beef is particularly greasy, draining off the excess fat after browning helps keep the casserole from being oily.
- Seasoning: While the soup provides saltiness, taste the mixture before adding the final cheese layer in the skillet. You might want to add a pinch of salt and pepper, especially if you’re using unsalted milk or broth.
- Prep Ahead: You can assemble the entire casserole (steps 1-7) and store it covered in the refrigerator for up to 24 hours before baking. Add a few extra minutes to the baking time if baking from cold.
How to Store It
Got leftovers? Lucky you! This casserole tastes great the next day.
- Refrigerator: Let the casserole cool completely. Cover the baking dish tightly with plastic wrap or foil, or transfer individual portions to airtight containers. It will keep in the fridge for 3-4 days.
- Freezer: To freeze the baked casserole, let it cool completely. You can freeze the whole dish (if it’s freezer-safe and you plan to reheat the whole thing) wrapped tightly in plastic wrap, then foil. Or, portion it into individual freezer-safe containers. Freeze for up to 3 months.
- Reheating: Thaw frozen casserole in the refrigerator overnight. Reheat individual portions in the microwave. To reheat a whole dish, cover with foil and bake at 325°F (160°C) until heated through, uncovering for the last few minutes if you want to crisp up the cheese again.
FAQs
Quick answers to a couple of common questions:
Q: Can I make this casserole ahead of time?
A: Absolutely! You can assemble the entire dish (steps 1-7) up to a day in advance and keep it covered in the fridge before baking. Just add a little extra baking time since it will be cold.
Q: What kind of egg noodles should I use?
A: Medium or wide egg noodles work best in this recipe, providing that classic comfort food texture.
Q: Can I use frozen vegetables instead of fresh?
A: Yes, absolutely! The recipe specifically calls for frozen peas, but you can often use frozen sliced carrots or chopped celery (though fresh is preferred for those for texture) – just stir them in frozen as the recipe suggests for peas.
Q: Is this casserole freezer-friendly?
A: Yes, it freezes beautifully! See the storage instructions above for details on how to freeze and reheat.
Hope you and your loved ones enjoy this Amish Sunday Savior Casserole as much as we do! It truly is a lifesaver on those busy days and a comforting classic any time.

Amish Sunday Savior Casserole
Ingredients
Equipment
Method
- Step 1: Brown Your Beefy Base
Grab a large skillet and pop it over medium heat. Add your ground beef and the chopped onion. Break up the beef as it cooks until nicely browned and the onion is soft. Drain off any excess grease if desired. - Step 2: Add the Veggies
Toss in your sliced carrots, celery, and frozen peas right into the skillet with the beef. Stir and let them cook for a few minutes to soften slightly and mingle flavors. - Step 3: Introduce the Noodles
Add the cooked egg noodles right into the skillet with the beef and veggies. Give everything a gentle stir to combine. - Step 4: Get Creamy
Pour the can of cream of mushroom soup over the mixture, then add the milk. Stir everything really well until the soup and milk are totally combined and coating all the ingredients. - Step 5: Cheese, Please! (Part 1)
Take half of your shredded cheddar cheese (½ cup) and sprinkle it into the skillet mixture. Stir it in gently until it melts into the creamy sauce. - Step 6: Transfer to the Baking Dish
Lightly grease a 9x13-inch baking dish. Pour the entire mixture from your skillet into the prepared dish. Spread it out evenly. - Step 7: Top with More Cheese!
Take the remaining ½ cup of shredded cheddar cheese and sprinkle it generously over the top of the casserole. - Step 8: Bake Until Bubbly
Pop the dish into your oven, preheated to 350°F (175°C). Bake for about 25-30 minutes, or until the edges are bubbling and the cheese topping is melted and slightly golden brown. - Step 9: Rest and Serve
Once it's out of the oven, let the casserole sit for 5-10 minutes before scooping it out and serving.